前言
今天我们一起来看一下如何使用LabVIEW实现语义分割。
一、什么是语义分割
图像语义分割(semantic segmentation),从字面意思上理解就是让计算机根据图像的语义来进行分割,例如让计算机在输入下面左图的情况下,能够输出右图。语义在语音识别中指的是语音的意思,在图像领域,语义指的是图像的内容,对图片意思的理解,比如下图的语义就是一个人牵着四只羊;分割的意思是从像素的角度分割出图片中的不同对象,对原图中的每个像素都进行标注,比如下图中浅黄色代表人,蓝绿色代表羊。语义分割任务就是将图片中的不同类别,用不同的颜色标记出来,每一个类别使用一种颜色。常用于医学图像,卫星图像,无人车驾驶,机器人等领域。

-
如何做到将像素点上色呢?
语义分割的输出和图像分类网络类似,图像分类类别数是一个一维的one hot 矩阵。例如:三分类的[0,1,0]。语义分割任务最后的输出特征图是一个三维结构,大小与原图类似,其中通道数是类别数,每个通道所标记的像素点,是该类别在图像中的位置,最后通过argmax 取每个通道有用像素 合成一张图像,用不同颜色表示其类别位置。 语义分割任务其实也是分类任务中的一种,他不过是对每一个像素点进行细分,找到每一个像素点所述的类别。 这就是语义分割任务啦~

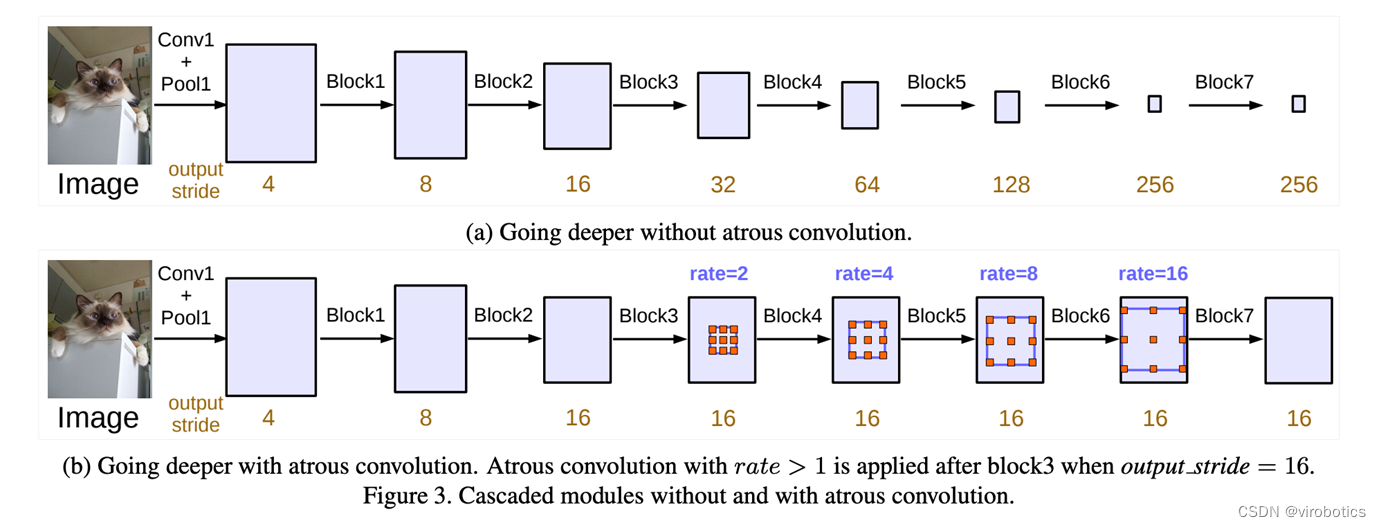
二、什么是deeplabv3
DeepLabv3是一种语义分割架构,它在DeepLabv2的基础上进行了一些修改。为了处理在多个尺度上分割对象的问题,设计了在级联或并行中采用多孔卷积的模块,通过采用多个多孔速率来捕获多尺度上下文。此外,来自 DeepLabv2 的 Atrous Spatial Pyramid Pooling模块增加了编码全局上下文的图像级特征,并进一步提高了性能。
三、LabVIEW调用DeepLabv3实现图像语义分割
1、模型获取及转换
-
安装pytorch和torchvision
-
获取torchvision中的模型:deeplabv3_resnet101(我们获取预训练好的模型):
original_model = models.segmentation.deeplabv3_resnet101(pretrained=True)
-
转onnx


1 def get_pytorch_onnx_model(original_model): 2 # define the directory for further converted model save 3 onnx_model_path = dirname 4 # define the name of further converted model 5 onnx_model_name = "deeplabv3_resnet101.onnx" 6 7 # create directory for further converted model 8 os.makedirs(onnx_model_path, exist_ok=True) 9 10 # get full path to the converted model 11 full_model_path = os.path.join(onnx_model_path, onnx_model_name) 12 13 # generate model input 14 generated_input = Variable( 15 torch.randn(1, 3, 448, 448) 16 ) 17 18 # model export into ONNX format 19 torch.onnx.export( 20 original_model, 21 generated_input, 22 full_model_path, 23 verbose=True, 24 input_names=["input"], 25 output_names=["output",'aux'], 26 opset_version=11 27 ) 28 29 return full_model_pathView Code
完整获取及模型转换python代码如下:
1 import os
2 import torch
3 import torch.onnx
4 from torch.autograd import Variable
5 from torchvision import models
6 import re
7
8 dirname, filename = os.path.split(os.path.abspath(__file__))
9 print(dirname)
10
11 def get_pytorch_onnx_model(original_model):
12 # define the directory for further converted model save
13 onnx_model_path = dirname
14 # define the name of further converted model
15 onnx_model_name = "deeplabv3_resnet101.onnx"
16
17 # create directory for further converted model
18 os.makedirs(onnx_model_path, exist_ok=True)
19
20 # get full path to the converted model
21 full_model_path = os.path.join(onnx_model_path, onnx_model_name)
22
23 # generate model input
24 generated_input = Variable(
25 torch.randn(1, 3, 448, 448)
26 )
27
28 # model export into ONNX format
29 torch.onnx.export(
30 original_model,
31 generated_input,
32 full_model_path,
33 verbose=True,
34 input_names=["input"],
35 output_names=["output",'aux'],
36 opset_version=11
37 )
38
39 return full_model_path
40
41
42 def main():
43 # initialize PyTorch ResNet-101 model
44 original_model = models.segmentation.deeplabv3_resnet101(pretrained=True)
45
46 # get the path to the converted into ONNX PyTorch model
47 full_model_path = get_pytorch_onnx_model(original_model)
48 print("PyTorch ResNet-101 model was successfully converted: ", full_model_path)
49
50
51 if __name__ == "__main__":
52 main()
View Code
我们会发现,基于pytorch的DeepLabv3模型获取和之前的mask rcnn模型大同小异。
2、关于deeplabv3_resnet101
我们使用的模型是:deeplabv3_resnet101,该模型返回两个张量,与输入张量相同,但有21个classes。输出[“out”]包含语义掩码,而输出[“aux”]包含每像素的辅助损失值。在推理模式中,输出[‘aux]没有用处。因此,输出“out”形状为(N、21、H、W)。我们在转模型的时候设置H,W为448,N一般为1;
我们的模型是基于VOC2012数据集 VOC2012数据集分为20类,包括背景为21类,分别如下:
-
人 :人
-
动物:鸟、猫、牛、狗、马、羊
-
车辆:飞机、自行车、船、巴士、汽车、摩托车、火车
-
室内:瓶、椅子、餐桌、盆栽植物、沙发、电视/监视器

3、LabVIEW opencv dnn调用 deeplabv3 实现图像语义分割(deeplabv3_opencv.vi)
deeplabv3模型可以使用OpenCV dnn去加载的,也可以使用onnxruntime加载推理,所以我们分两种方式给大家介绍LabVIEW调用deeplabv3实现图像语义分割。
-
opencv dnn 调用onnx模型并选择

-
图像预处理 最终还是采用了比较中规中矩的处理方式

-
执行推理

-
后处理并实现实例分割 因为后处理内容较多,所以直接封装为了一个子VI, deeplabv3_postprocess.vi,因为Labview没有专门的切片函数,所以会稍慢一些,所以接下来还会开发针对后处理和矩阵有关的函数,加快处理结果。
-
整体的程序框架如下:

-
语义分割结果如下:

4、LabVIEW onnxruntime调用 deeplabv3实现图像语义分割 (deeplabv3_onnx.vi)
-
整体的程序框架如下:

-
语义分割结果如下:

5、LabVIEW onnxruntime调用 deeplabv3 使用TensorRT加速模型实现图像语义分割(deeplabv3_onnx_camera.vi)

如上图所示,可以看到可以把人和背景完全分割开来,使用TensorRT加速推理,速度也比较快。
四、deeplabv3训练自己的数据集
训练可参考:https://github.com/pytorch/vision
总结
以上就是今天要给大家分享的内容。大家可关注微信公众号: VIRobotics,回复关键字:DeepLabv3图像语义分割源码 获取本次分享内容的完整项目源码及模型。
如果有问题可以在评论区里讨论,提问前请先点赞支持一下博主哦,如您想要探讨更多关于LabVIEW与人工智能技术,欢迎加入我们的技术交流群:705637299。
标签:分割,onnx,语义,LabVIEW,pytorch,DeepLabv3,deeplabv3,path,model From: https://www.cnblogs.com/virobotics/p/16857905.html如果文章对你有帮助,欢迎关注、点赞、收藏