在微服务系统中,缓存、限流、熔断是保证系统高可用的三板斧。本文通过如下几个小步骤,即可让spring项目快速集成使用sentinel实现系统限流。
1、环境和资源准备
sentinel支持许多流控方式,比如:单机限流、熔断降级、集群限流、系统保护规则、黑白名单授权等。
本文介绍如何快速集成使用sentinel,文中以单机限流为例,使用代码而非控制台配置的方式限流。
- sentinel官网地址:https://sentinelguard.io/zh-cn/index.html
- github地址:https://github.com/alibaba/Sentinel
- 本文采用的版本是1.8.0,下载地址:https://github.com/alibaba/Sentinel/releases/tag/v1.8.0
- sentinel-dashboard下载地址:https://github.com/alibaba/Sentinel/releases/download/v1.8.0/sentinel-dashboard-1.8.0.jar
- 本文使用的项目地址:https://github.com/yclxiao/spring-sentinel-demo,代码中有一部分使用的是官方demo。
2、启动sentinel-dashboard
从上文地址下载sentinel-dashboard,然后执行命令启动:java -jar sentinel-dashboard-1.8.0.jar
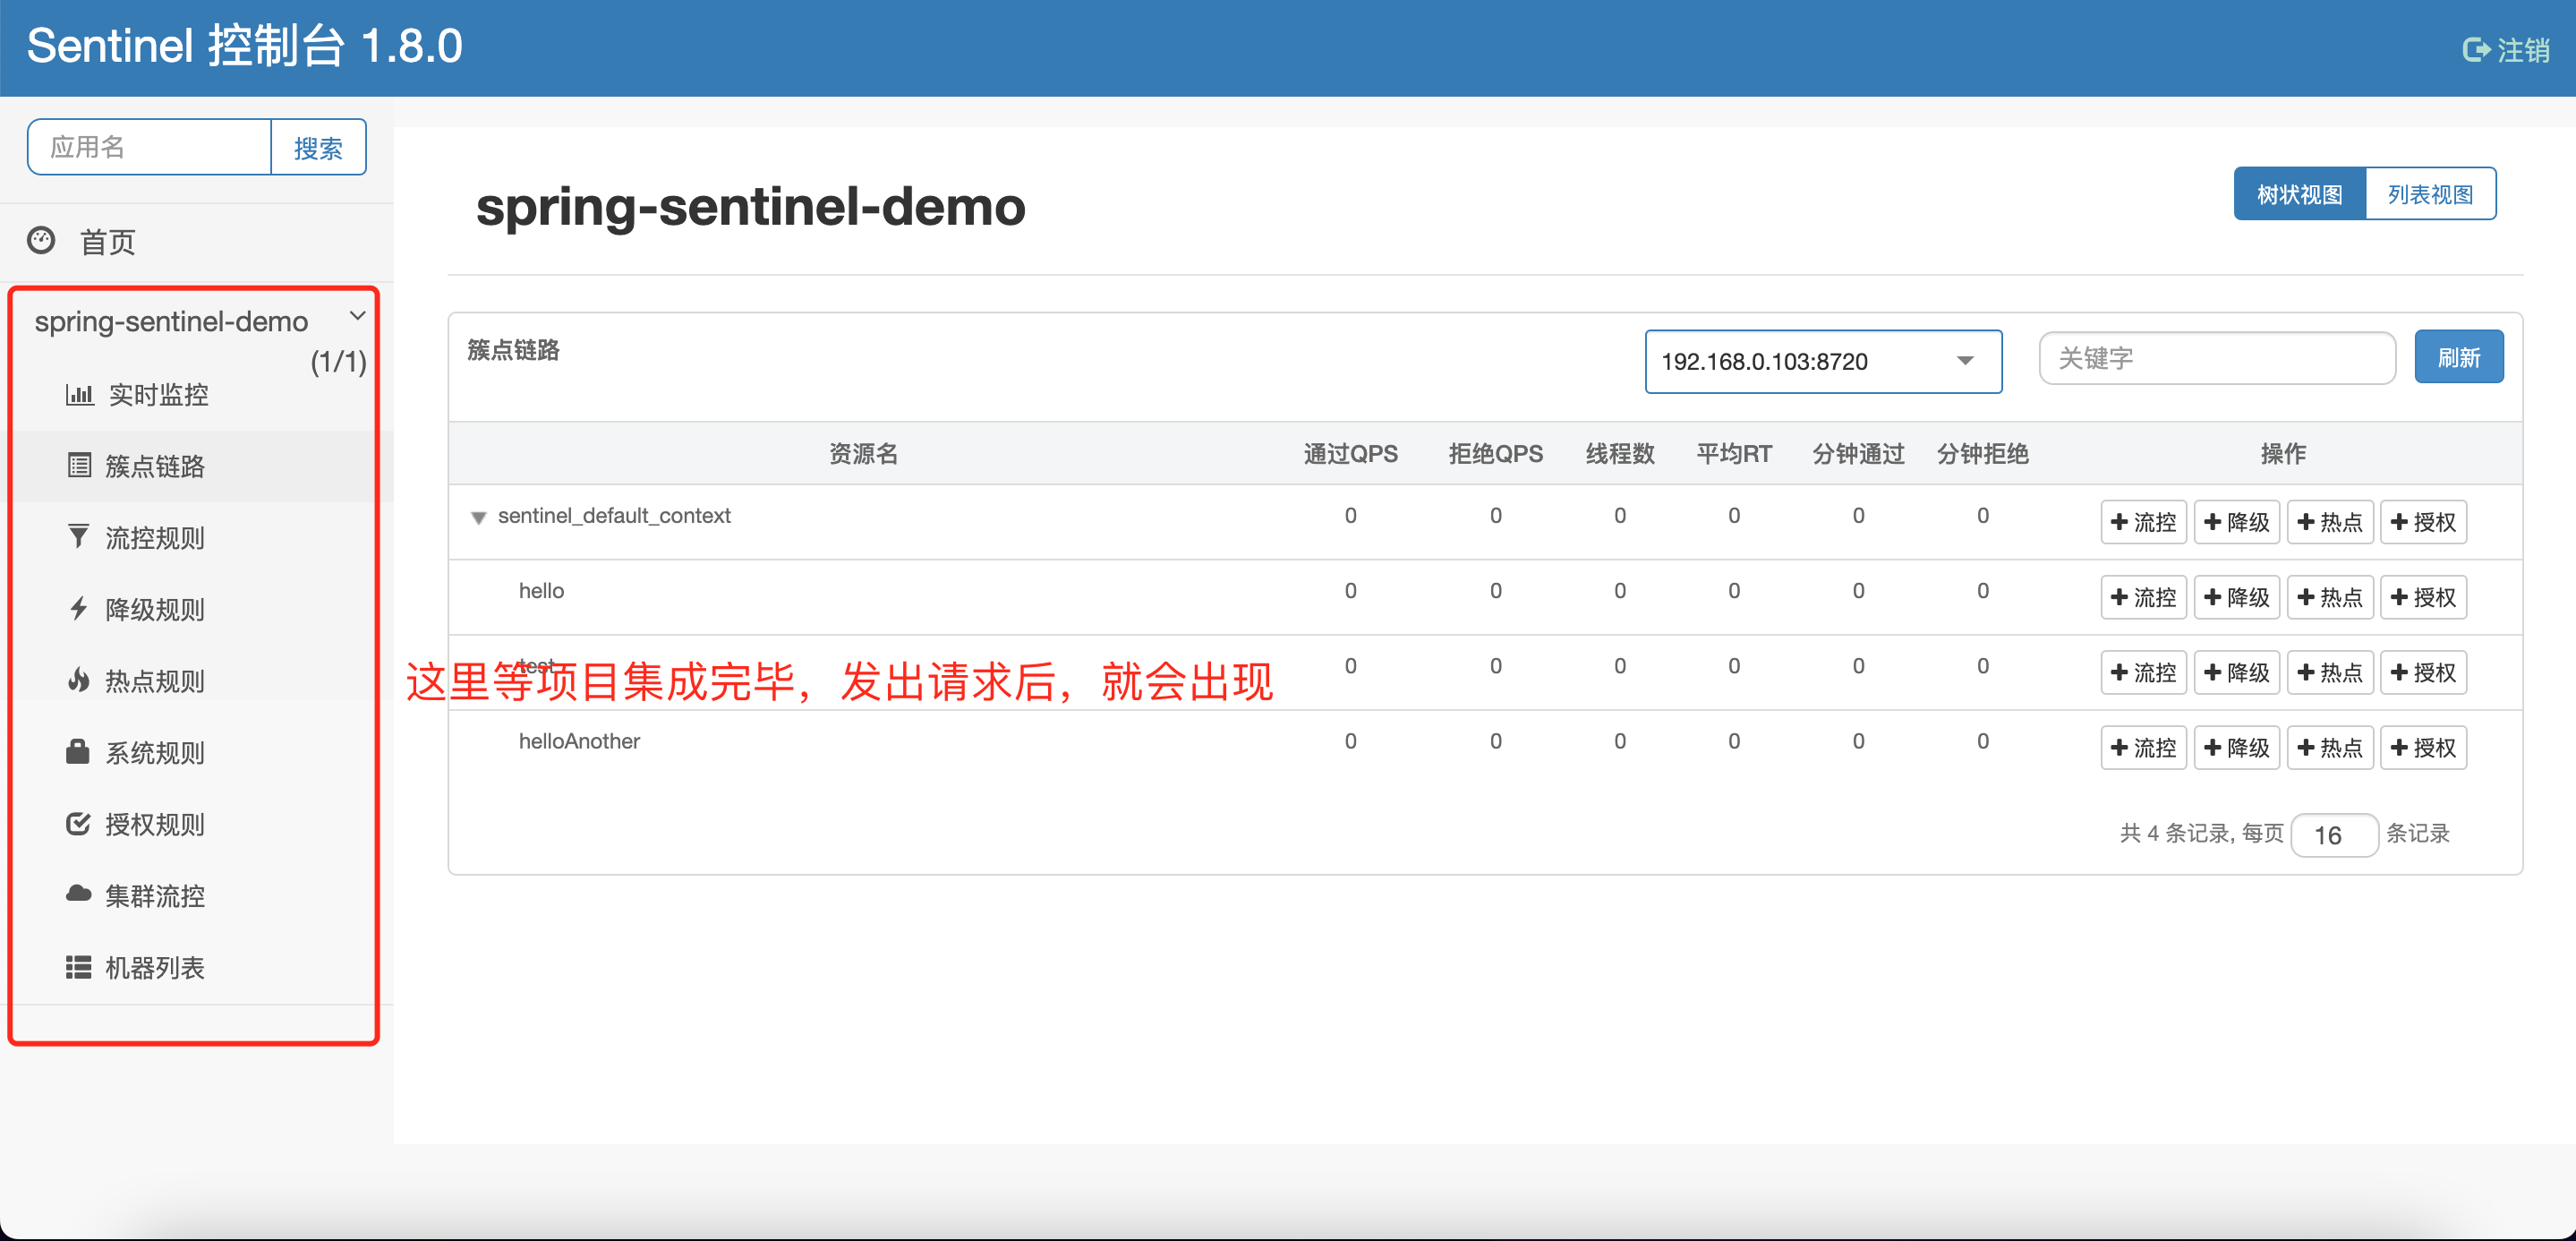
启动完毕后,通过http://localhost:8080/#/dashboard访问dashboard,出现如下界面:
3、项目集成sentinel
项目中集成sentinel分如下5步。
3.1、引入pom
<!-- 这是sentinel的核心依赖 -->
<dependency>
  <groupId>com.alibaba.csp</groupId>
  <artifactId>sentinel-core</artifactId>
  <version>1.8.0</version>
</dependency>
<!-- 这是将自己项目和sentinel-dashboard打通的依赖 -->
<dependency>
  <groupId>com.alibaba.csp</groupId>
  <artifactId>sentinel-transport-simple-http</artifactId>
  <version>1.8.0</version>
</dependency>
<!-- 这是使用sentinel对限流资源进行AOP -->
<dependency>
  <groupId>com.alibaba.csp</groupId>
  <artifactId>sentinel-annotation-aspectj</artifactId>
  <version>1.8.0</version>
</dependency>
3.2、增加sentinel-aop
@Configuration
public class AopConfiguration {
    @Bean
    public SentinelResourceAspect sentinelResourceAspect() {
        return new SentinelResourceAspect();
    }
}
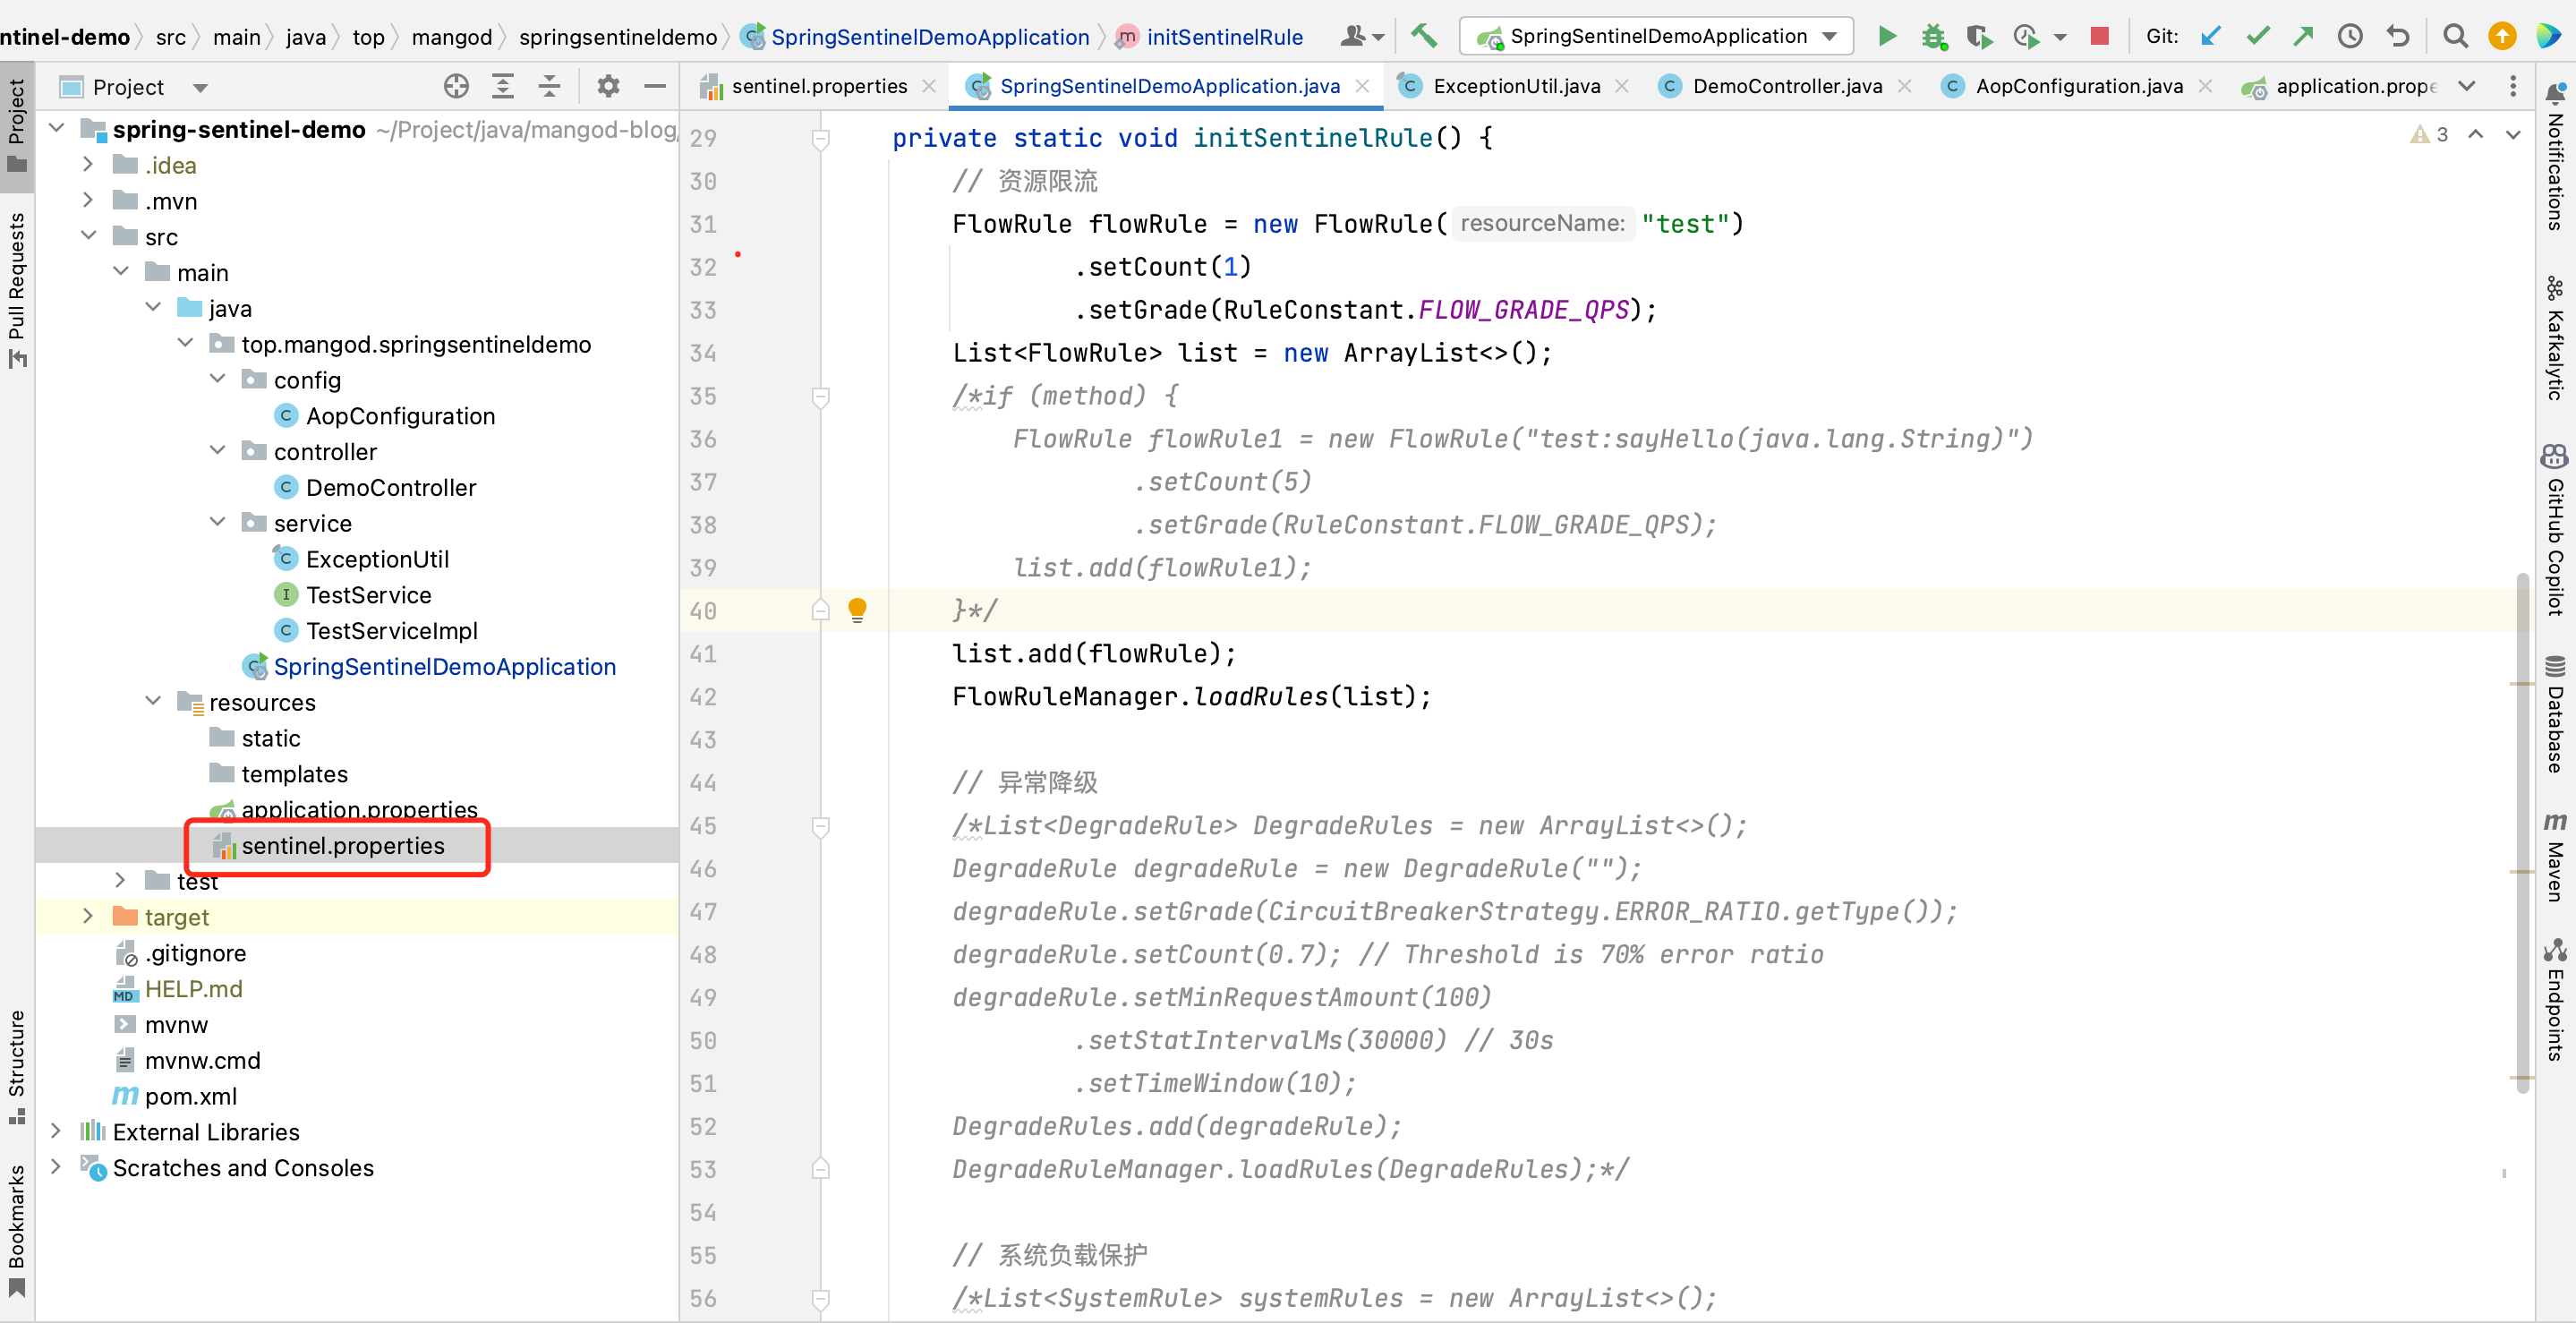
3.3、增加sentinel.properties配置
在application.properties同级目录下,增加sentinel.properties文件,配置内容如下:
# 集成到sentinel的项目名称
project.name=spring-sentinel-demo
# 对应的sentinel-dashboard地址
csp.sentinel.dashboard.server=localhost:8080
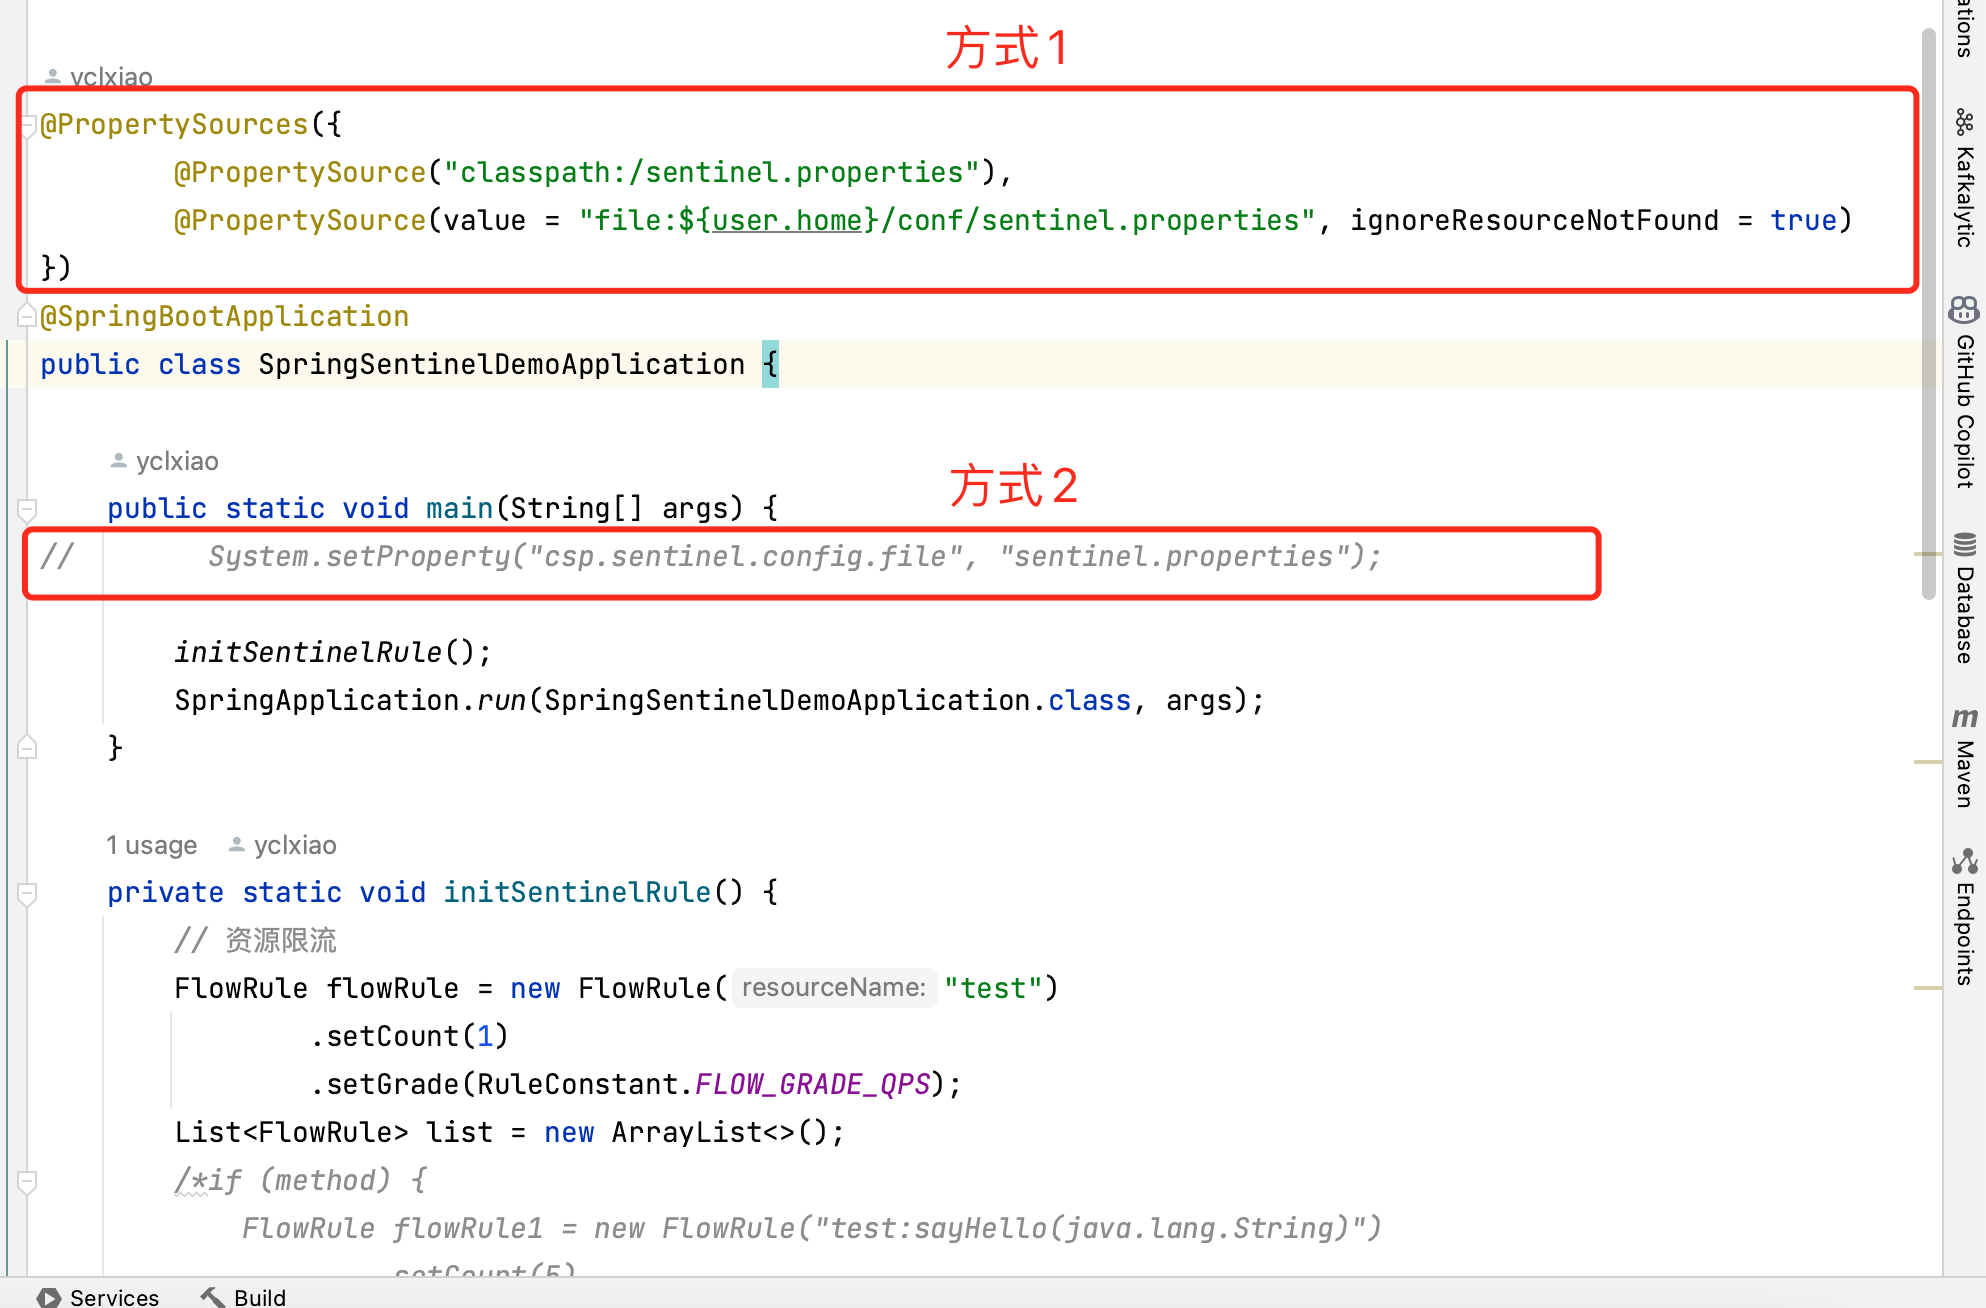
同时需要加载sentinel.properties配置,有两种加载方式,选择一种即可,如下:
3.4、设置需要被限流的资源
给需要被限流的资源打上注解@SentinelResource,使用方式如下。
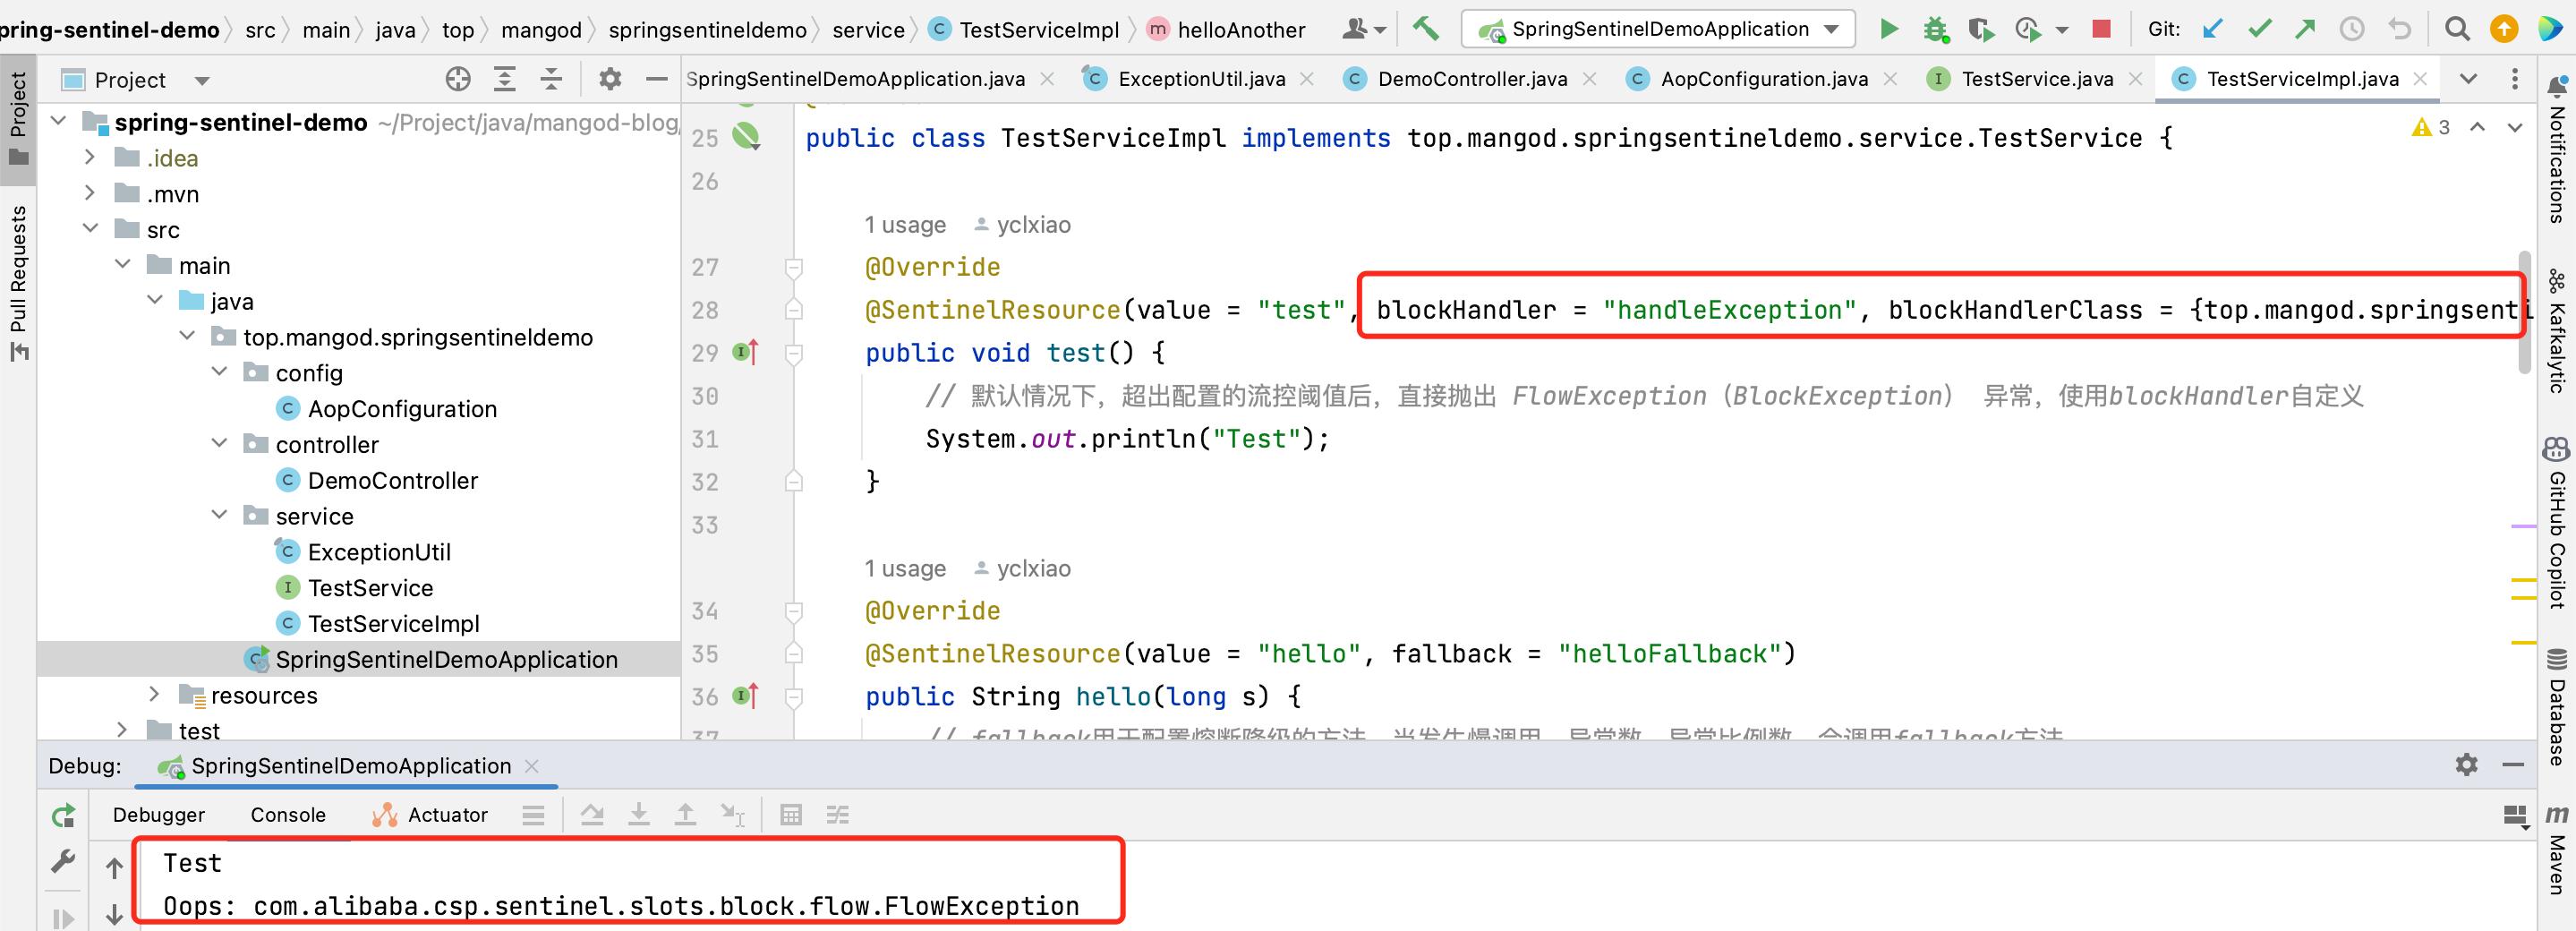
- 默认情况下,超出配置的流控阈值后,直接抛出 FlowException(BlockException) 异常,可以使用blockHandler自定义。
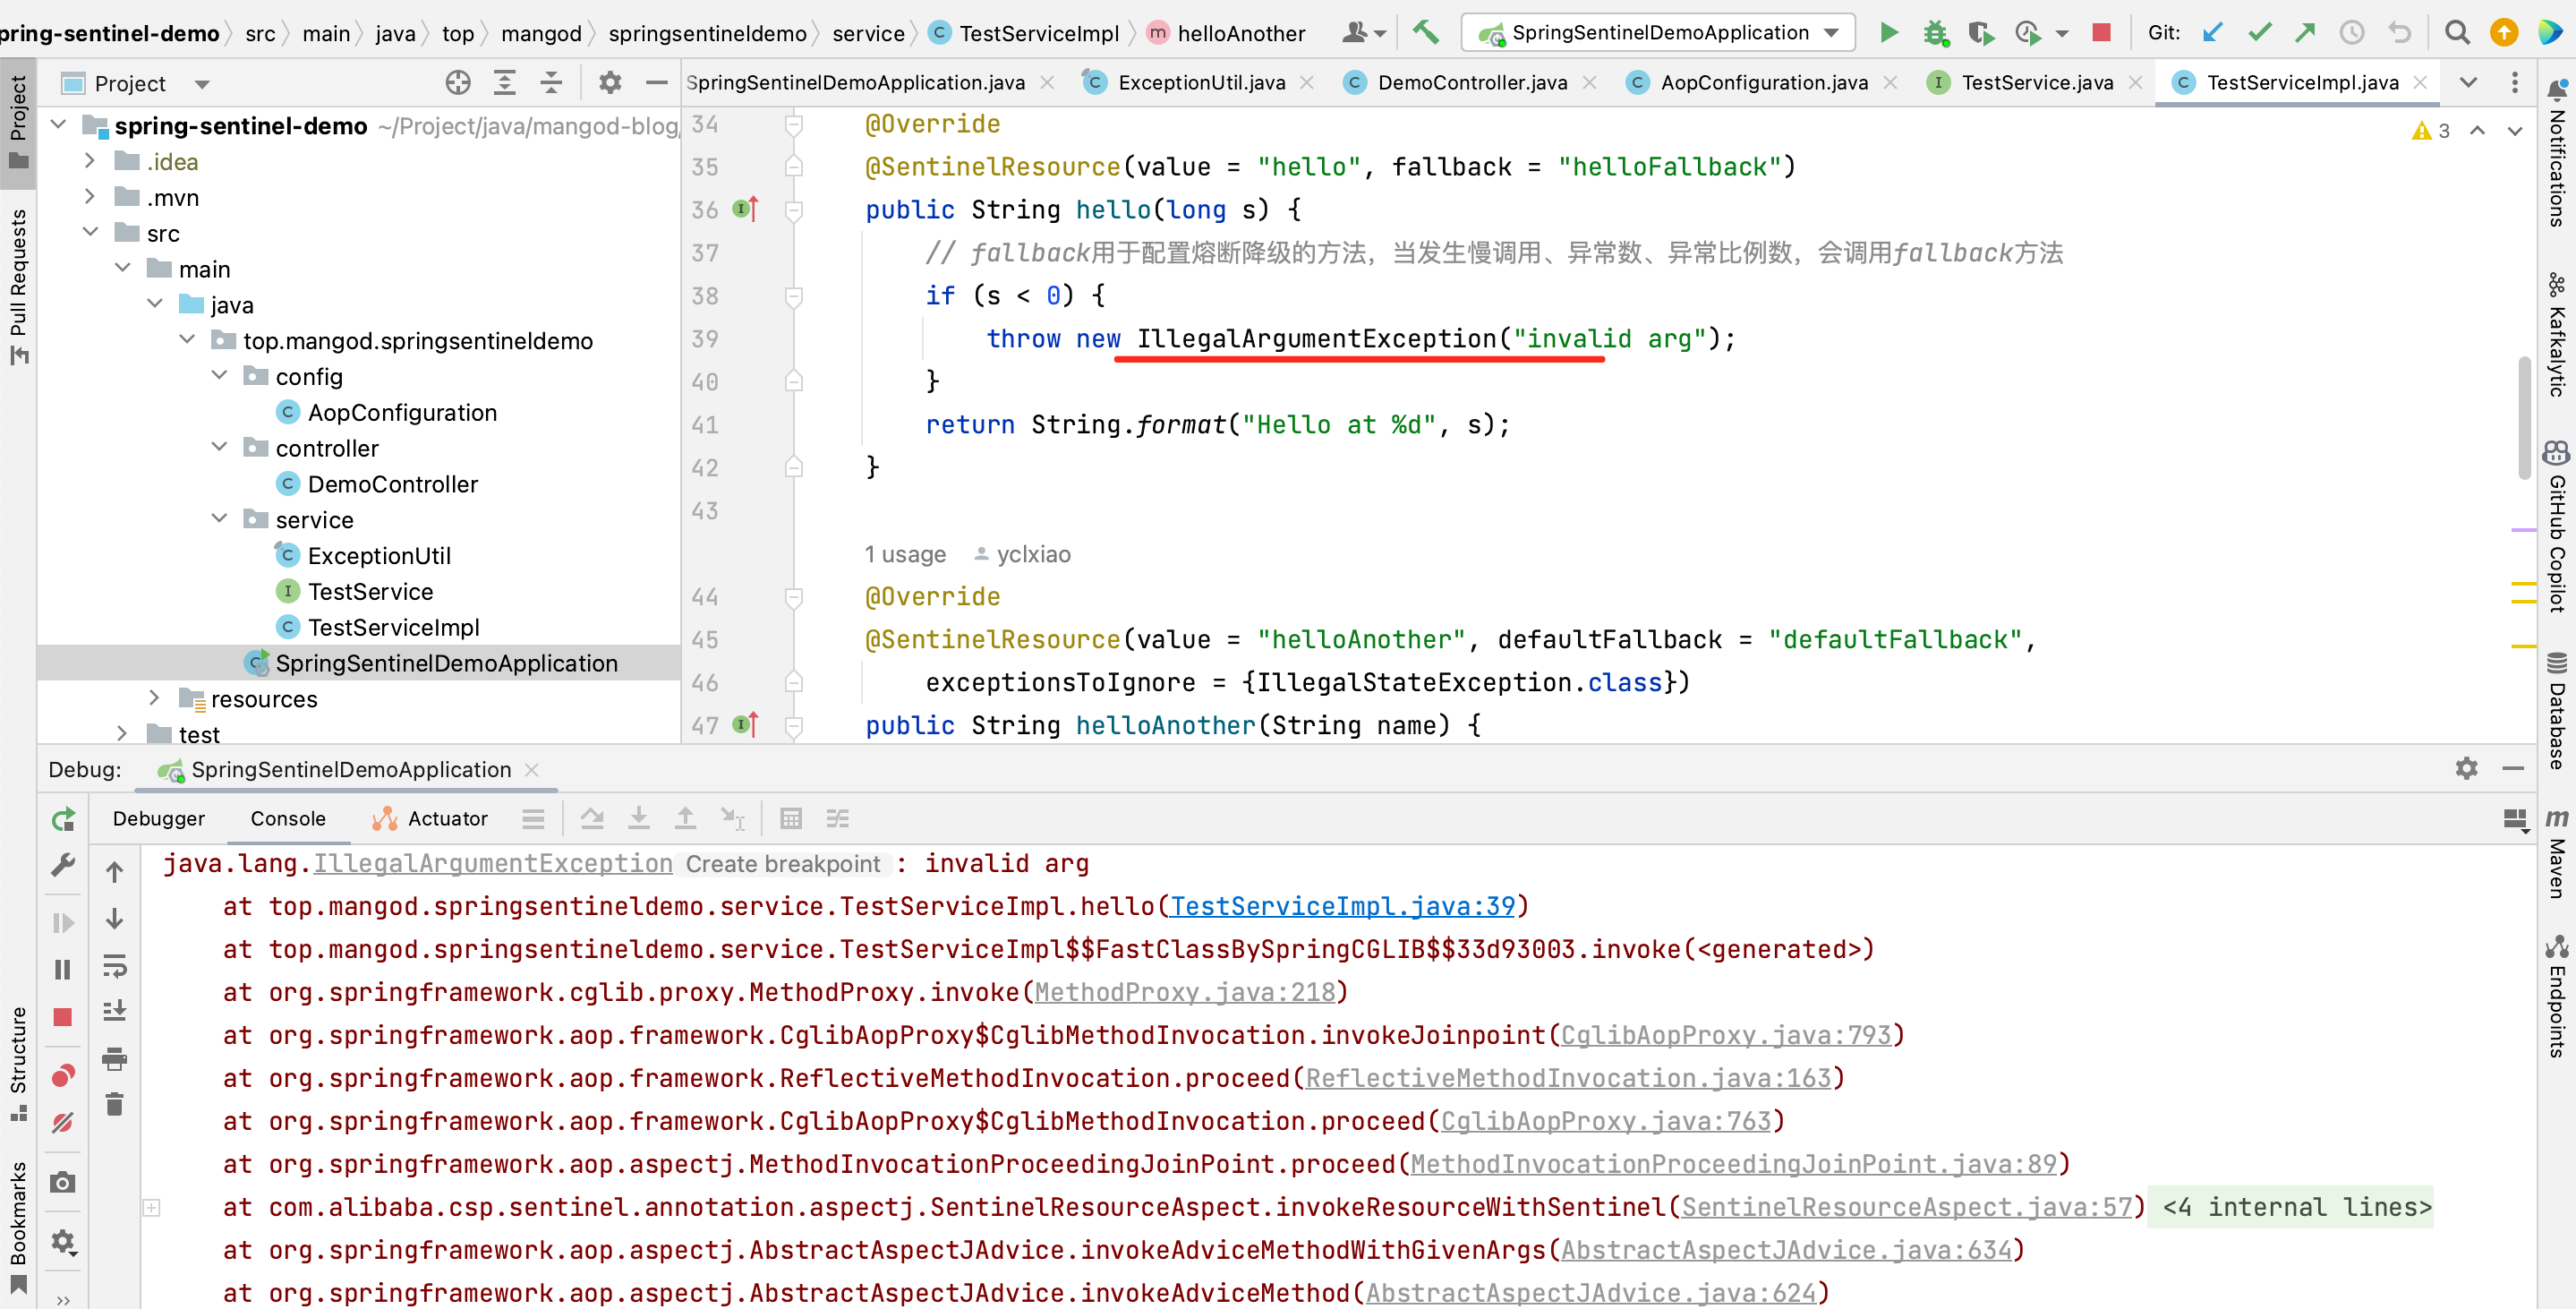
- fallback用于配置熔断降级的方法,当发生慢调用、异常数、异常比例数,会调用fallback方法。
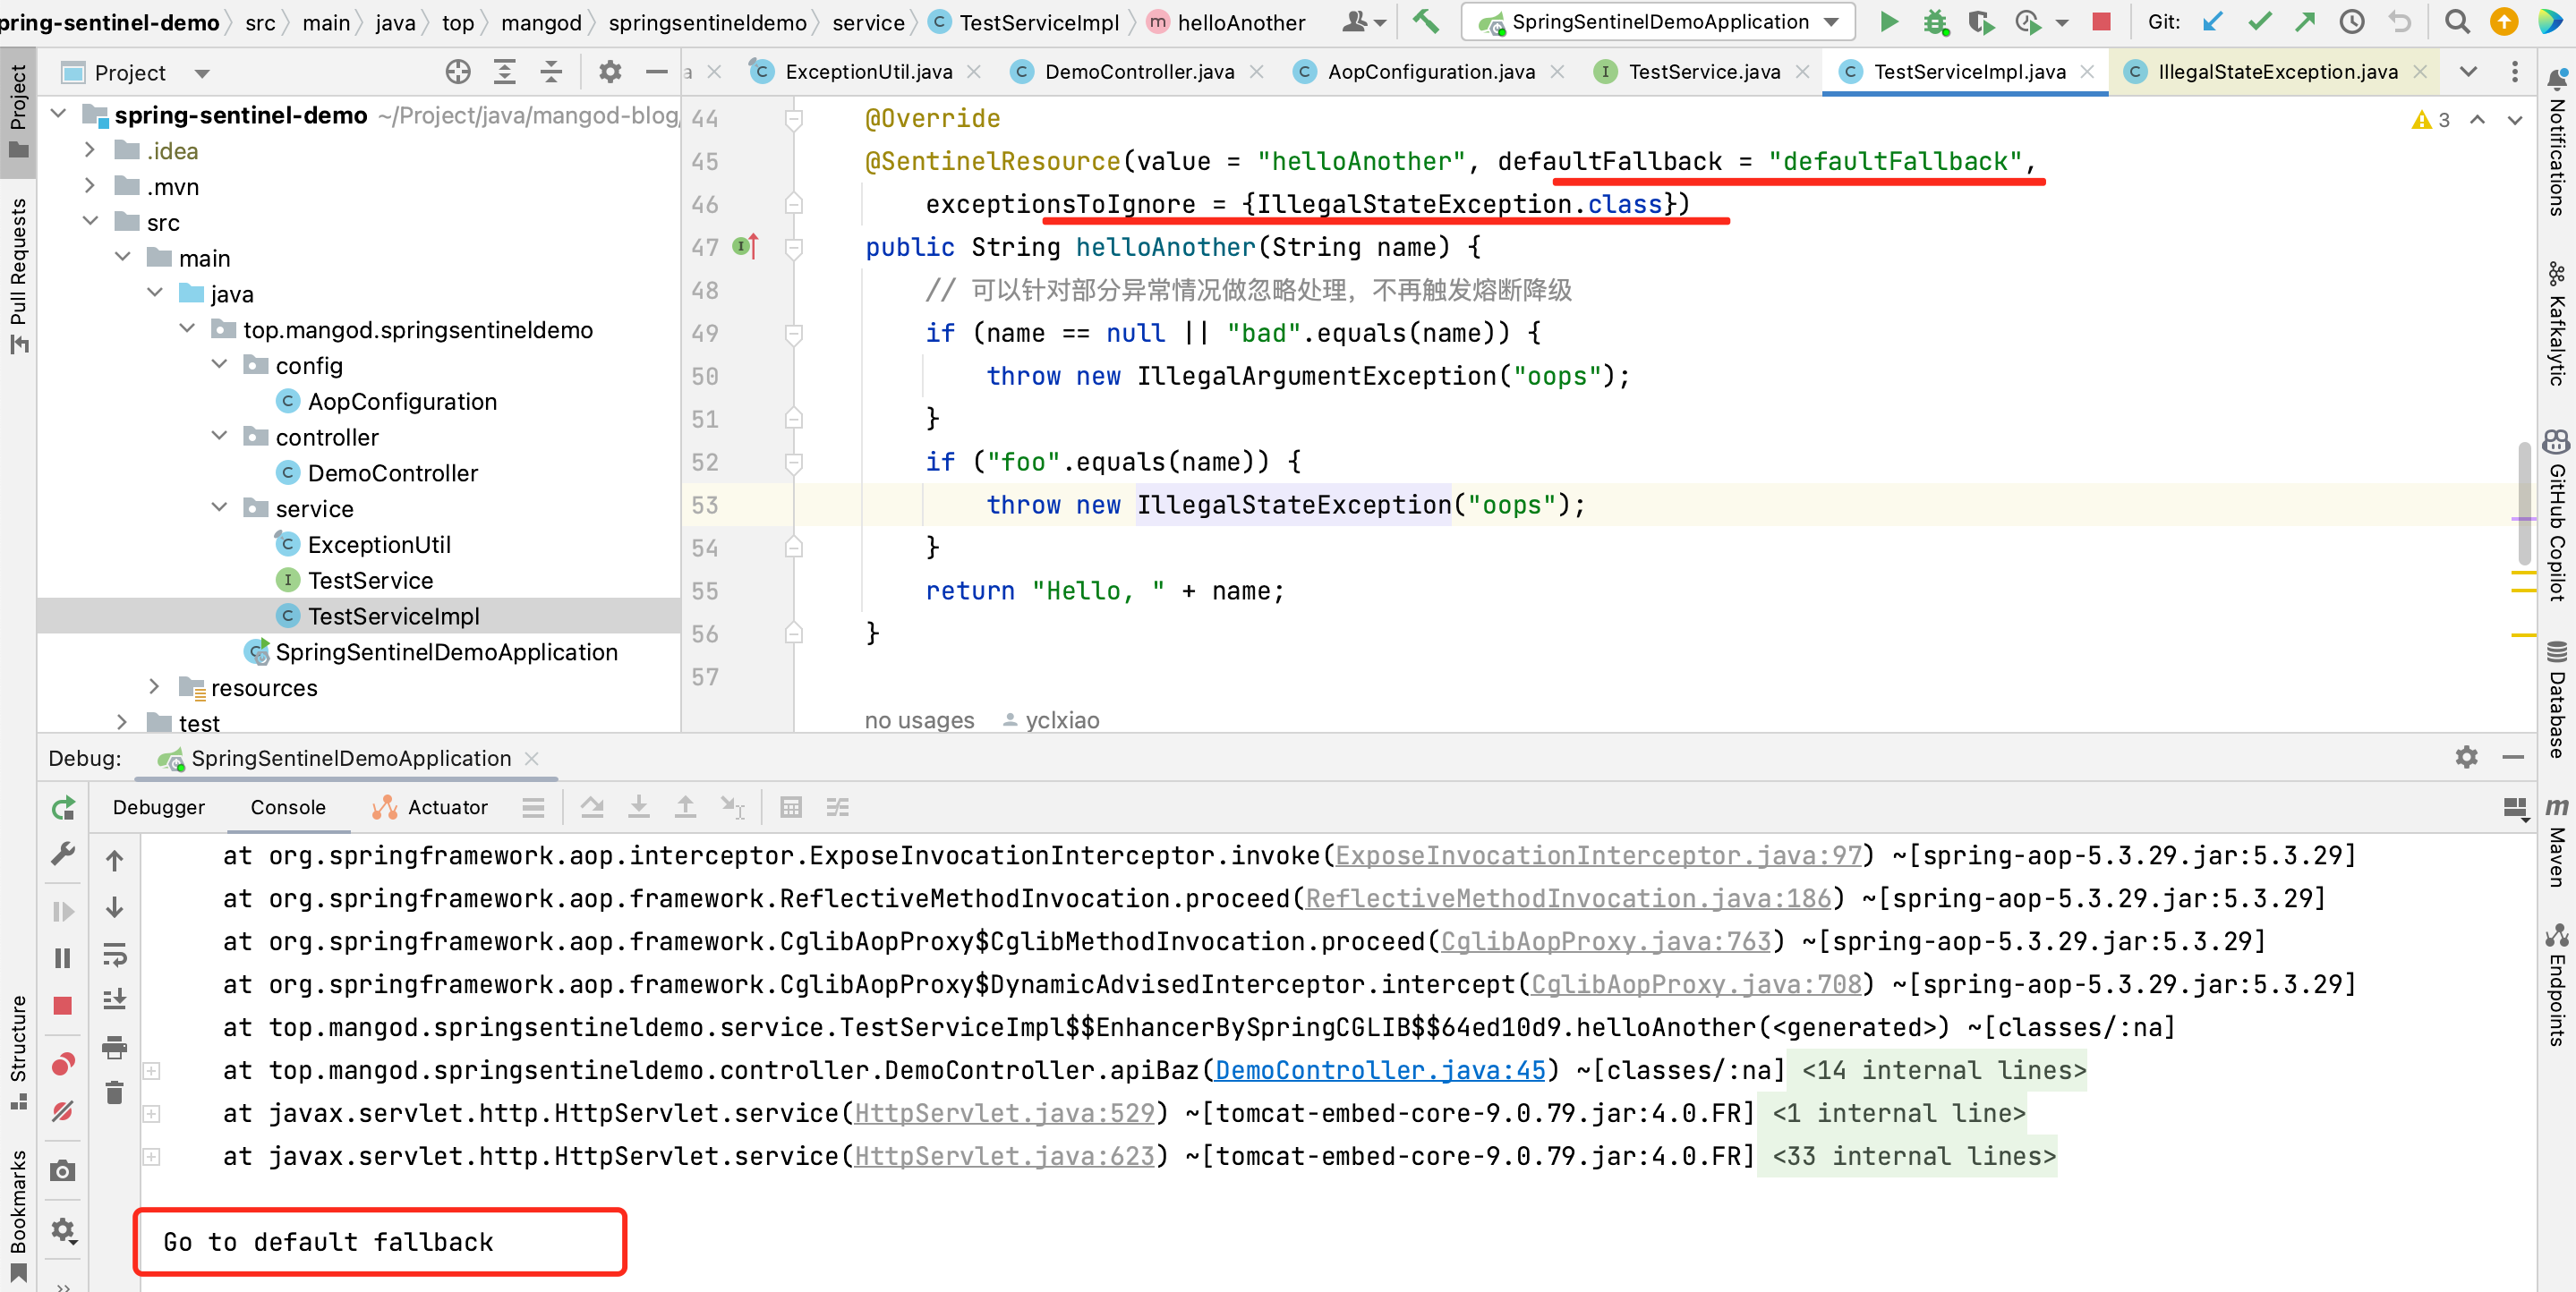
- 可以针对部分异常情况做忽略处理,不再触发熔断降级。
@Service
public class TestServiceImpl implements top.mangod.springsentineldemo.service.TestService {

    @Override
    @SentinelResource(value = "test", blockHandler = "handleException", blockHandlerClass = {top.mangod.springsentineldemo.service.ExceptionUtil.class})
    public void test() {
        System.out.println("Test");
    }

    @Override
    @SentinelResource(value = "hello", fallback = "helloFallback")
    public String hello(long s) {
        if (s < 0) {
            throw new IllegalArgumentException("invalid arg");
        }
        return String.format("Hello at %d", s);
    }

    @Override
    @SentinelResource(value = "helloAnother", defaultFallback = "defaultFallback",
        exceptionsToIgnore = {IllegalStateException.class})
    public String helloAnother(String name) {
        if (name == null || "bad".equals(name)) {
            throw new IllegalArgumentException("oops");
        }
        if ("foo".equals(name)) {
            throw new IllegalStateException("oops");
        }
        return "Hello, " + name;
    }

    public String helloFallback(long s, Throwable ex) {
        // Do some log here.
        ex.printStackTrace();
        return "Oops, error occurred at " + s;
    }

    public String defaultFallback() {
        System.out.println("Go to default fallback");
        return "default_fallback";
    }
}
3.5、指定和加载流控规则
文中我使用代码方式制定流控规则,在控制台中也可以直接配置流控规则,为什么不使用控制台方式呢?
如果是类似云原生的部署环境,比如:将spring应用打成docker镜像,然后在部署到Kubernetes中,部署之后Pod地址是会变化。
只要应用的地址变化后,之前的配置就消失了。不可能每次地址变化后都到控制台去重新配置策略,所以需要选择代码方式制定规则。
流控规则一般会有如下几个:
- 资源限流规则
FlowRule - 异常熔断降级规则
DegradeRule - 系统过载保护规则
SystemRule - 访问黑白名单规则
AuthorityRule
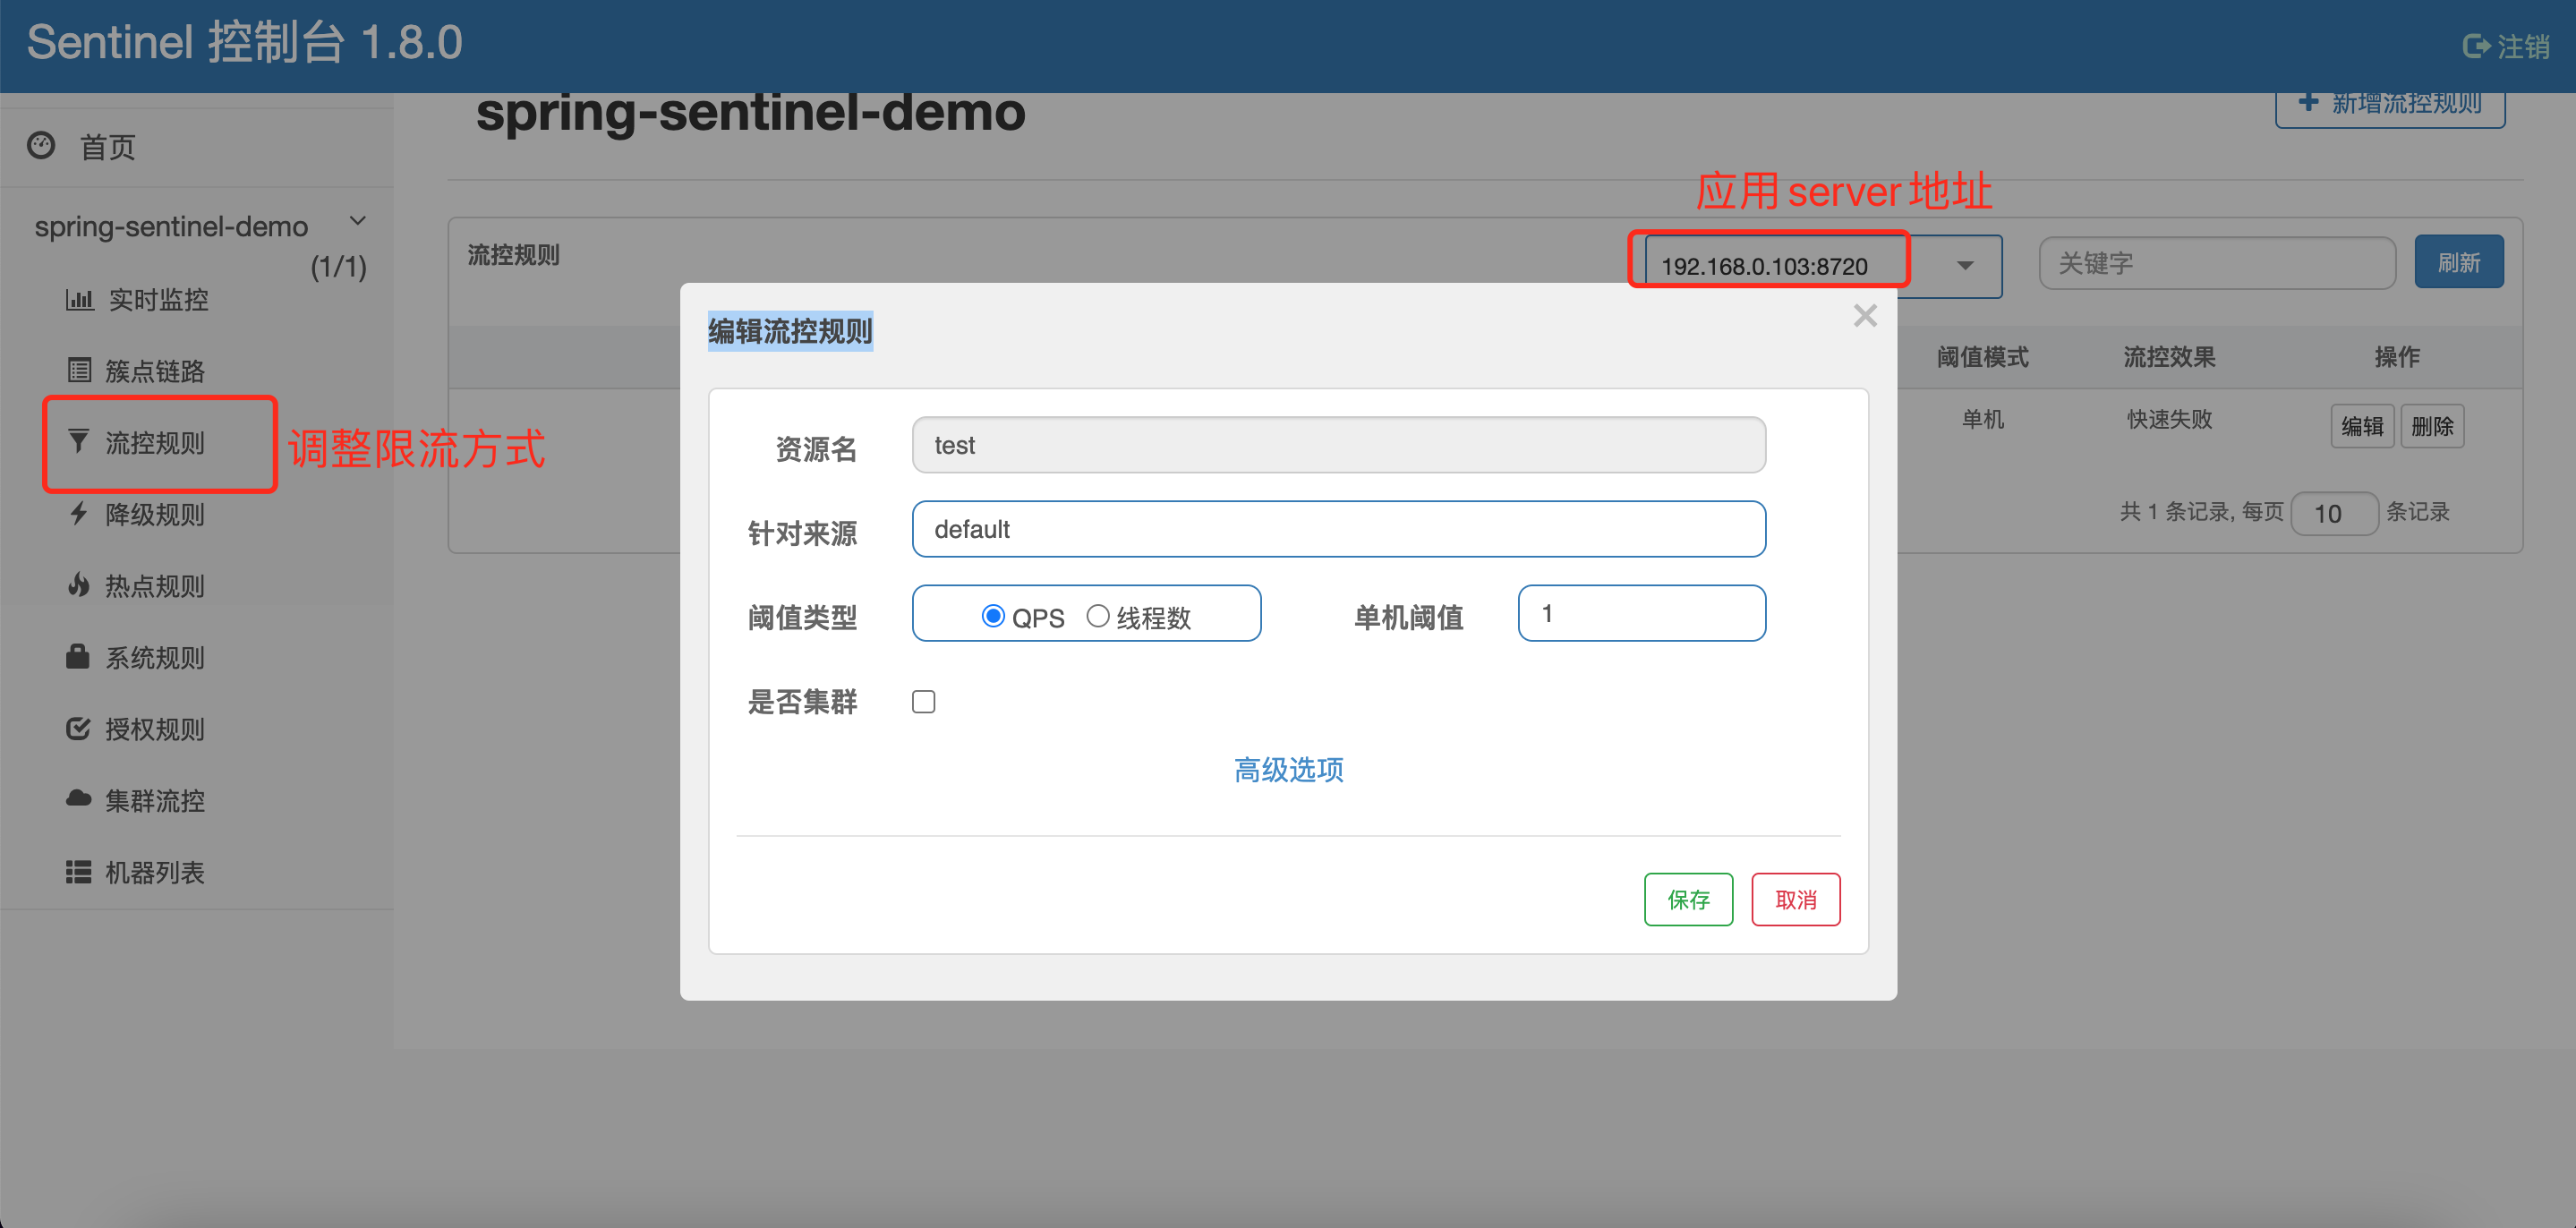
控制台设置流控规则,如下:
代码制定和加载流控规则,如下:
public static void main(String[] args) {
    // 加载限流规则
    initSentinelRule();
    SpringApplication.run(SpringSentinelDemoApplication.class, args);
  }

  private static void initSentinelRule() {
    // 资源限流
    FlowRule flowRule = new FlowRule("test")
        .setCount(1)
        .setGrade(RuleConstant.FLOW_GRADE_QPS);
    List<FlowRule> list = new ArrayList<>();
        /*if (method) {
            FlowRule flowRule1 = new FlowRule("test:sayHello(java.lang.String)")
                    .setCount(5)
                    .setGrade(RuleConstant.FLOW_GRADE_QPS);
            list.add(flowRule1);
        }*/
    list.add(flowRule);
    FlowRuleManager.loadRules(list);

    // 异常降级
    /*List<DegradeRule> DegradeRules = new ArrayList<>();
    DegradeRule degradeRule = new DegradeRule("");
    degradeRule.setGrade(CircuitBreakerStrategy.ERROR_RATIO.getType());
    degradeRule.setCount(0.7); // Threshold is 70% error ratio
    degradeRule.setMinRequestAmount(100)
            .setStatIntervalMs(30000) // 30s
            .setTimeWindow(10);
    DegradeRules.add(degradeRule);
    DegradeRuleManager.loadRules(DegradeRules);*/

    // 系统负载保护
    /*List<SystemRule> systemRules = new ArrayList<>();
    SystemRule systemRule = new SystemRule();
    systemRule.setHighestSystemLoad(10);
    systemRules.add(systemRule);
    SystemRuleManager.loadRules(systemRules);*/

    // 黑白名单授权访问
    /*AuthorityRule rule = new AuthorityRule();
    rule.setResource("test");
    rule.setStrategy(RuleConstant.AUTHORITY_WHITE);
    rule.setLimitApp("appA,appB");
    AuthorityRuleManager.loadRules(Collections.singletonList(rule));*/
  }
4、启动测试
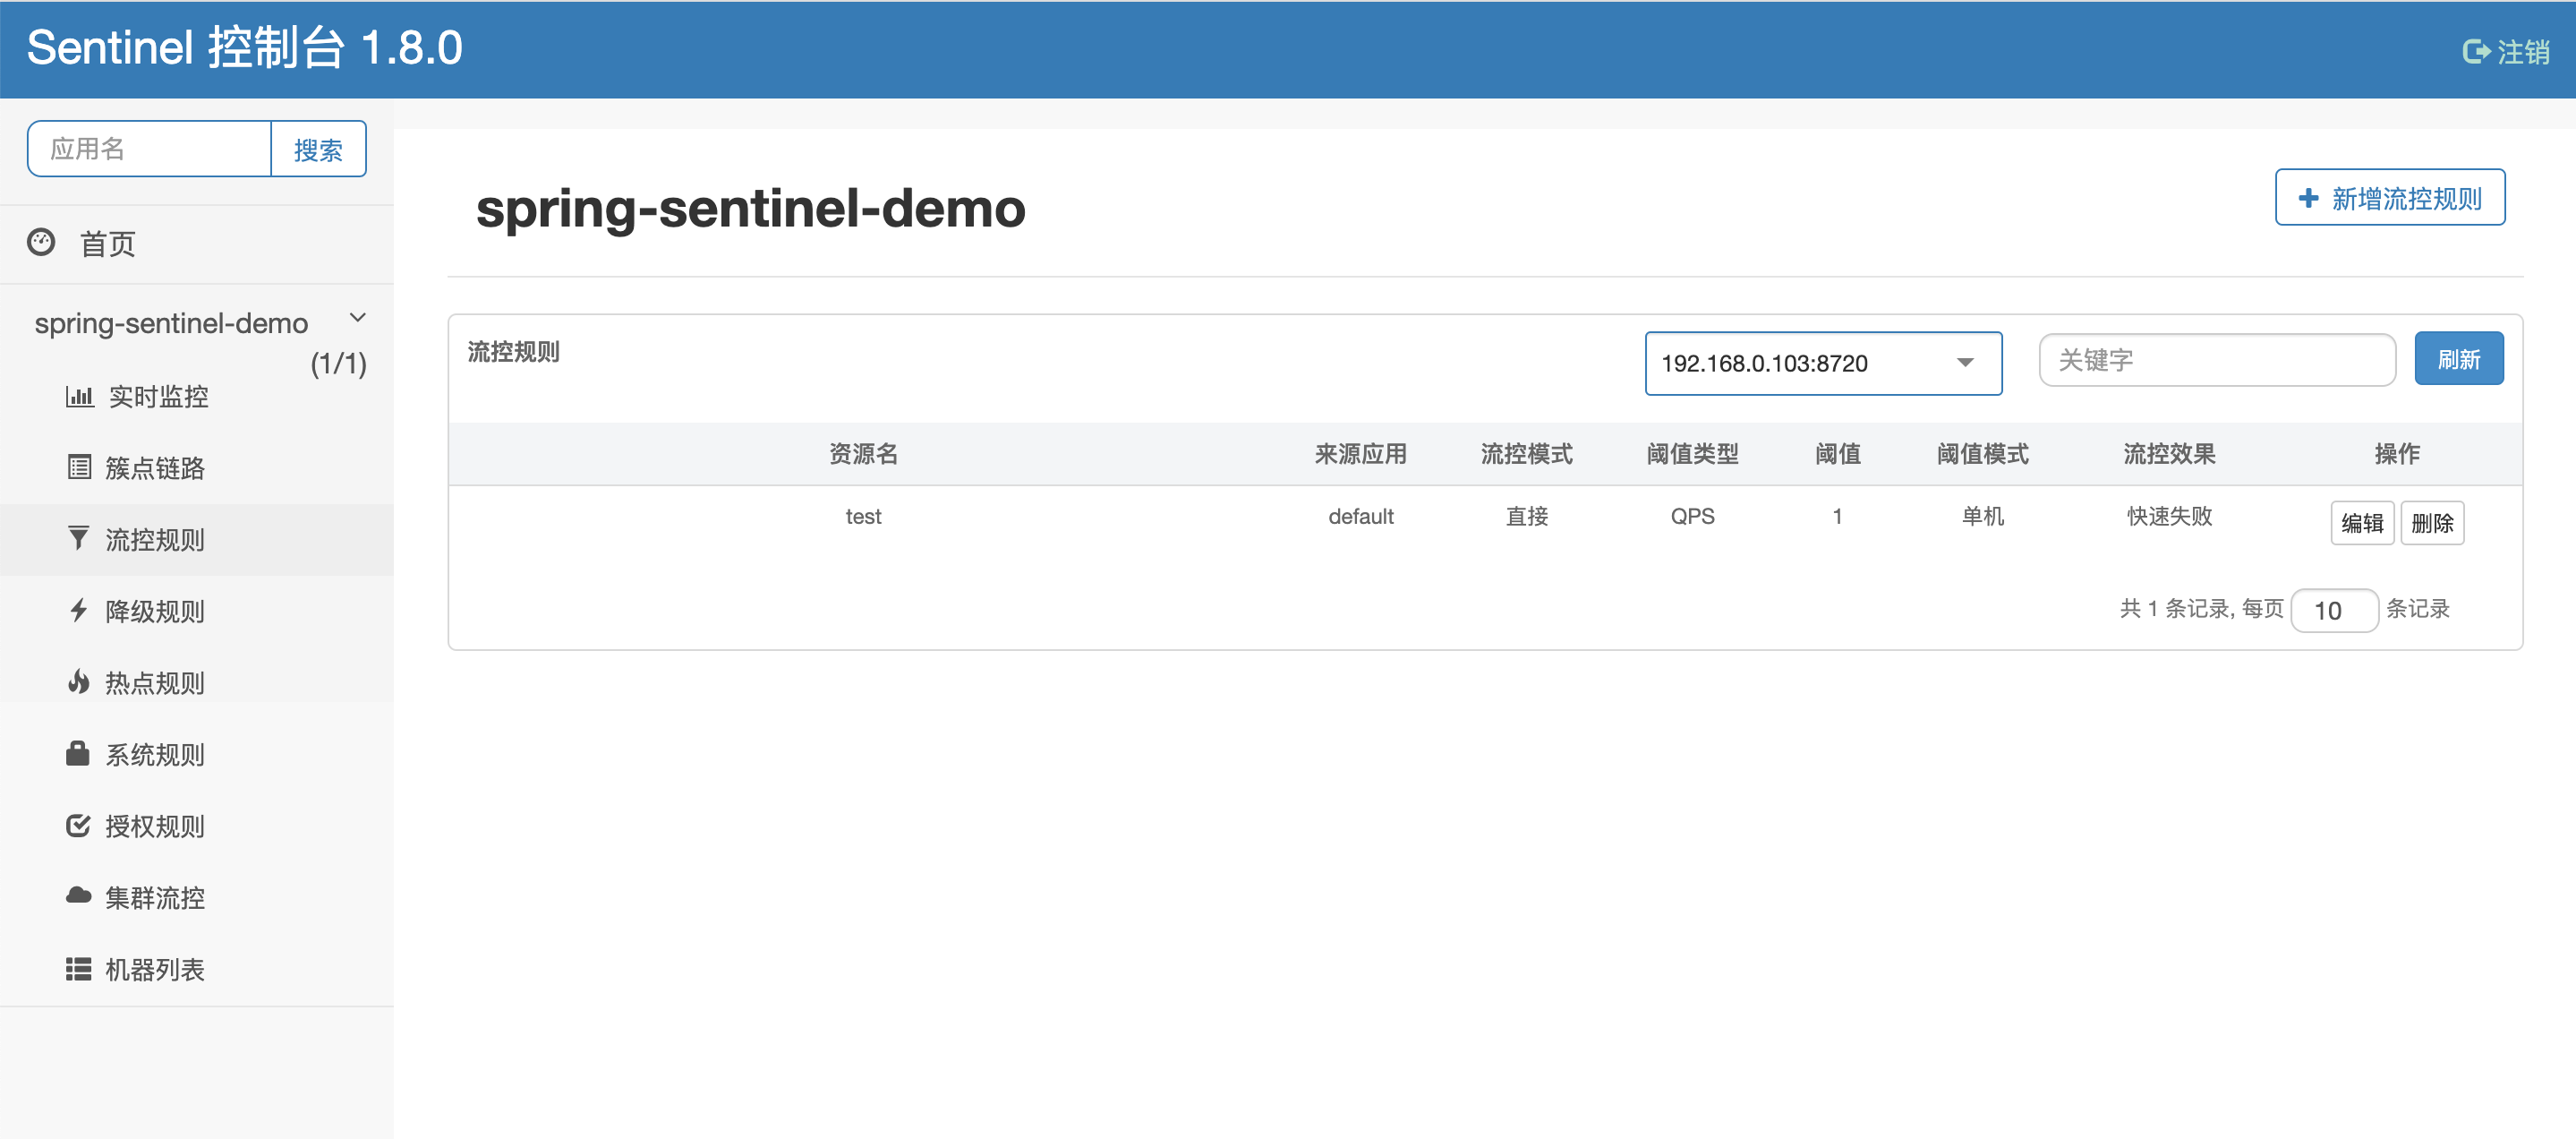
项目启动完毕后,访问链接http://localhost:9091/foo,就可以在控制台上看到被限流的资源

在流控规则这里,可以看到上文中在代码里设置的规则:
启动项目后,测试限流效果,如下:
-
1秒内多次访问http://localhost:9091/foo,可以看到触发了限流异常:
-
输入http://localhost:9091/foo?t=-1会触发异常。fallback用于配置熔断降级的方法,当发生慢调用、异常数、异常比例数时,会调用fallback方法。
-
输入http://localhost:9091/baz/foo、http://localhost:9091/baz/bad,会分别触发异常和默认fallback。
5、总结
本文主要介绍spring项目如何快速集成sentinel实现系统限流。
首先启动sentinel-dashboard,然后使用5个简单步骤即可使用sentinel限流。
在应用server的IP地址频繁变动的场景下,建议使用代码方式限流。
流控的方式较多,你需要根据自身的业务需求做选择,我一般情况下选择单机流控和系统保护。
本篇完结!感谢你的阅读,欢迎点赞 关注 收藏 私信!!!
原文链接:http://www.mangod.top/articles/2023/09/18/1695000997906.html、https://mp.weixin.qq.com/s/RY00MV5nICMUQuTIF8cOeg
