Shadow Mapping (Games202)
2-Pass Algorithm
Pass 1. Render from Light
Pass1需要知道光线能照射到的点,也就是从光源所在的视角去渲染模型,有哪些是能被渲染出,哪些会被遮挡住而不被渲染。
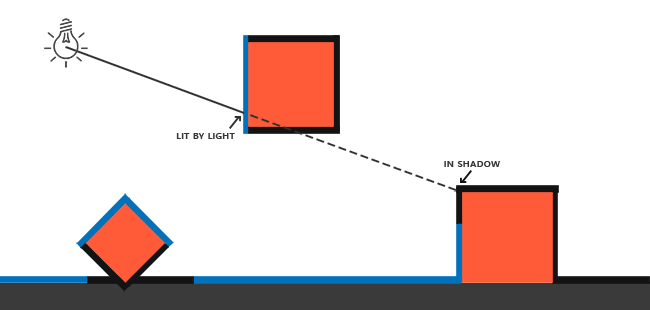
我们知道深度测试所做的就是从Camera View去看哪些点是能被看到,忽略那些被遮挡的点。所以在这里判断光线是否能照射到点也用到深度测试。在OpenGL里,我们需要利用帧缓冲(FrameBuffer) (参考这篇帧缓冲文章)绑定一个从Light View看到的画面,这帧缓冲绑定一个纹理作为颜色缓冲,还绑定了一个深度缓冲用以深度测试。用来渲染这个帧缓冲的Shader会根据深度测试将光源能看见的点渲染到颜色缓冲中,我需要修改FragmentShader使得颜色缓冲输出的颜色和深度Pack在一起。我们创建的帧缓冲并不会直接影响屏幕上的输出,只有默认帧缓冲才会直接影响屏幕输出。
在作业1框架的 FBO.js文件中绑定了颜色缓冲和深度缓冲,这样我们可以得到从光源视角看到的模型,也就是模拟了光线照射到的地方。
//FBO.js
    class FBO{
        constructor(gl){
            var framebuffer, texture, depthBuffer;

            //定义错误函数

            ...

            //创建帧缓冲区对象
            framebuffer = gl.createFramebuffer();

            ...

            //创建纹理对象并设置其尺寸和参数
            texture = gl.createTexture();

            ...

            framebuffer.texture = texture;//将纹理对象存入framebuffer

            //创建渲染缓冲区对象并设置其尺寸和参数
            depthBuffer = gl.createRenderbuffer();

            ...

            gl.bindRenderbuffer(gl.RENDERBUFFER, depthBuffer);
            gl.renderbufferStorage(gl.RENDERBUFFER, gl.DEPTH_COMPONENT16, resolution, resolution);

            //将纹理和渲染缓冲区对象关联到帧缓冲区对象上
            gl.bindFramebuffer(gl.FRAMEBUFFER, framebuffer);
            gl.framebufferTexture2D(gl.FRAMEBUFFER, gl.COLOR_ATTACHMENT0, gl.TEXTURE_2D, texture, 0);//深度缓冲
            gl.framebufferRenderbuffer(gl.FRAMEBUFFER, gl.DEPTH_ATTACHMENT, gl.RENDERBUFFER,depthBuffer);//颜色缓冲

            //检查帧缓冲区对象是否被正确设置
            ...

            //取消当前的focus对象
            ...

            return framebuffer;
        }
    }
在 DirectionalLight.js文件中给光源light绑定一个帧缓冲FBO
//DirectionalLight.js
class DirectionalLight {

    constructor(lightIntensity, lightColor, lightPos, focalPoint, lightUp, hasShadowMap, gl) {
        ...

        this.fbo = new FBO(gl);//给光源绑定一个缓冲帧

        ...
        }
    }

    CalcLightMVP(translate, scale) {

        ...

        return lightMVP;//转换到Light View的MVP矩阵
    }
}
在 loadOBJ.js文件中将light传入ShadowMaterial中,这样ShadowMaterial就能绑定light的 FBO和 lightMVP。这里创建的material是camera view,绑定默认的缓冲帧。而shadowMaterial则是light view,绑定我们创建的缓冲帧。
//loadOBJ.js 51行
case 'PhongMaterial':
	material = buildPhongMaterial(colorMap, mat.specular.toArray(), light, Translation, Scale, "./src/shaders/phongShader/phongVertex.glsl", "./src/shaders/phongShader/phongFragment.glsl");
	shadowMaterial = buildShadowMaterial(light, Translation, Scale, "./src/shaders/shadowShader/shadowVertex.glsl", "./src/shaders/shadowShader/shadowFragment.glsl");
//ShadowMaterial.js
class ShadowMaterial extends Material {

    constructor(light, translate, scale, vertexShader, fragmentShader) {
        let lightMVP = light.CalcLightMVP(translate, scale);

        super({
            'uLightMVP': { type: 'matrix4fv', value: lightMVP }//绑定lightMVP
        }, [], vertexShader, fragmentShader, light.fbo);//绑定了FBO
    }
}

async function buildShadowMaterial(light, translate, scale, vertexPath, fragmentPath) {


    let vertexShader = await getShaderString(vertexPath);
    let fragmentShader = await getShaderString(fragmentPath);

    return new ShadowMaterial(light, translate, scale, vertexShader, fragmentShader);

}
在 MeshRender.js中,根据是默认帧缓冲还是我们创建的帧缓冲来使用 gl.viewport。这里一定要记得调用glViewport。因为阴影贴图经常和我们原来渲染的场景(通常是窗口分辨率)有着不同的分辨率,我们需要改变视口(viewport)的参数以适应阴影贴图的尺寸。如果我们忘了更新视口参数,最后的深度贴图要么太小要么就不完整。根据material的不同会采用不同的shader来渲染。
//MeshRender.js

class MeshRender {

	#vertexBuffer;
	#normalBuffer;
	#texcoordBuffer;
	#indicesBuffer;

	constructor(gl, mesh, material) {

		this.gl = gl;
		this.mesh = mesh;
		this.material = material;

		...
	}


	...


	draw(camera) {
		const gl = this.gl;

		gl.bindFramebuffer(gl.FRAMEBUFFER, this.material.frameBuffer);
		if (this.material.frameBuffer != null) {//如果为null就是默认的帧缓冲,是camera view
			// Shadow map
			gl.viewport(0.0, 0.0, resolution, resolution);//light view
		} else {
			gl.viewport(0.0, 0.0, window.screen.width, window.screen.height);
		}

		gl.useProgram(this.shader.program.glShaderProgram);//使用shader

		...

		// Draw
		{
			const vertexCount = this.mesh.count;
			const type = gl.UNSIGNED_SHORT;
			const offset = 0;
			gl.drawElements(gl.TRIANGLES, vertexCount, type, offset);
		}
	}
}
首先渲染的是shadowMaterial,来看fragment shader。首先这不是在默认缓冲帧上的渲染,因此不会对屏幕产生直接影响。由于帧缓冲开启了深度测试,因此最终渲染的点都会是light view能看见的点,也就是光线能打到的点。这些点的深度就是 gl_FragCoord.z,由于最终输出格式是vec4的颜色值,需要利用 pack()进行格式的变换。最终,深度值被存储到颜色缓冲中,在前文中说过,在非默认FBO中颜色缓冲实际是一个纹理图,那么在Pass2的过程中就需要去采样这个纹理,然后 Unpack出其中的深度值。
//shadowFragment.glsl

#ifdef GL_ES
precision mediump float;
#endif

uniform vec3 uLightPos;
uniform vec3 uCameraPos;

varying highp vec3 vNormal;
varying highp vec2 vTextureCoord;

vec4 pack (float depth) {
    // 使用rgba 4字节共32位来存储z值,1个字节精度为1/256
    const vec4 bitShift = vec4(1.0, 256.0, 256.0 * 256.0, 256.0 * 256.0 * 256.0);
    const vec4 bitMask = vec4(1.0/256.0, 1.0/256.0, 1.0/256.0, 0.0);
    // gl_FragCoord:片元的坐标,fract():返回数值的小数部分
    vec4 rgbaDepth = fract(depth * bitShift); //计算每个点的z值
    rgbaDepth -= rgbaDepth.gbaa * bitMask; // Cut off the value which do not fit in 8 bits
    return rgbaDepth;
}

void main(){

  //gl_FragColor = vec4( 1.0, 0.0, 0.0, gl_FragCoord.z);
  gl_FragColor = pack(gl_FragCoord.z);
}
Pass 2. Render from Eye
Pass 2的步骤很简单,在Pass 1中得到了一个保存了光线能照射到的点的Shadow Map。我们从Camera View也去看每个能看到的点,将这些点转换到Light View的视角,去对比这些点的Z值和Shadow Map中对应的位置的值的大小,如果大于Shadow Map中对应位置的值,就说明光线照射不到这个点。如下图所示。
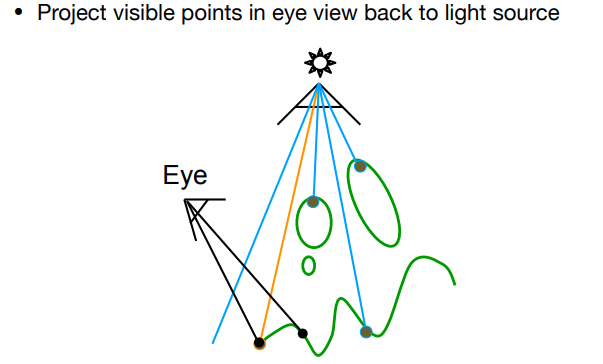
在Pass 1的部分我们知道,Shadow Map实际上是一个Pack了Z值的纹理图,这个纹理绑定在light的FBO中。
在 PhongMaterial.js中,可以看到这个light的FBO传给了PhongMaterial
class PhongMaterial extends Material {

    constructor(color, specular, light, translate, scale, vertexShader, fragmentShader) {
        let lightMVP = light.CalcLightMVP(translate, scale);
        let lightIntensity = light.mat.GetIntensity();

        super({
            // Phong
            'uSampler': { type: 'texture', value: color },
            'uKs': { type: '3fv', value: specular },
            'uLightIntensity': { type: '3fv', value: lightIntensity },
            // Shadow
            'uShadowMap': { type: 'texture', value: light.fbo },//绑定了FBO,也就能获得Shadow Map纹理
            'uLightMVP': { type: 'matrix4fv', value: lightMVP },

        }, [], vertexShader, fragmentShader);
    }
}
在 MeshRender.js中给shader绑定这个texture。
//144行
bindMaterialParameters() {
		const gl = this.gl;

		let textureNum = 0;
		for (let k in this.material.uniforms) {

			...


			} else if (this.material.uniforms[k].type == 'texture') {
				gl.activeTexture(gl.TEXTURE0 + textureNum);
				gl.bindTexture(gl.TEXTURE_2D, this.material.uniforms[k].value.texture);
				gl.uniform1i(this.shader.program.uniforms[k], textureNum);
				textureNum += 1;
			}
		}
	}
在 PhongFragment.glsl里面我们采样出纹理值,然后 Unpack出Z值。
float useShadowMap(sampler2D shadowMap, vec4 shadowCoord){
  //执行透视除法
  shadowCoord = shadowCoord * 0.5 + 0.5;
  float closestDepth = unpack(texture2D(shadowMap, shadowCoord.xy).rgba);
  float currentDepth = shadowCoord.z;
  if(closestDepth < currentDepth)
  {
    return 0.0;
  }
  return 1.0;
}
因为来自深度贴图的深度在0到1的范围,我们也打算使用shadowCoords从深度贴图中去采样,所以我们将NDC坐标变换为0到1的范围。
最终效果
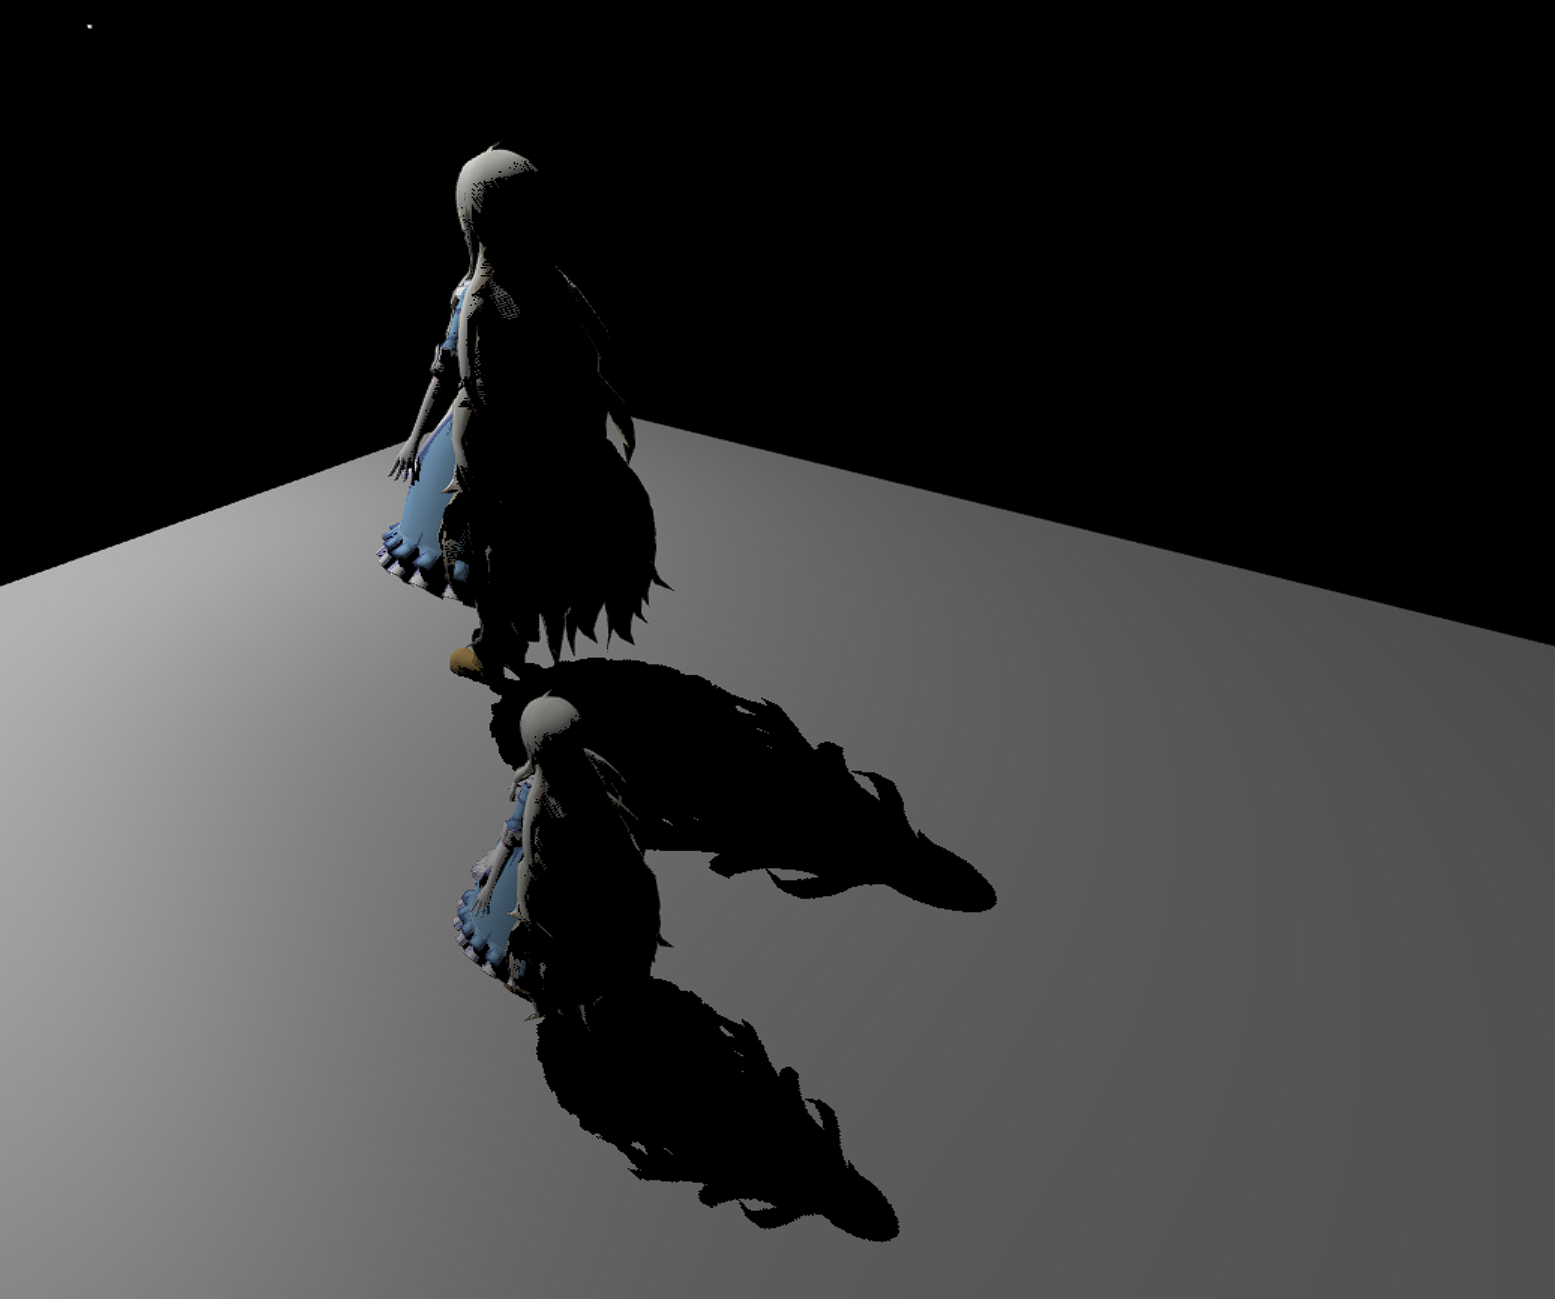
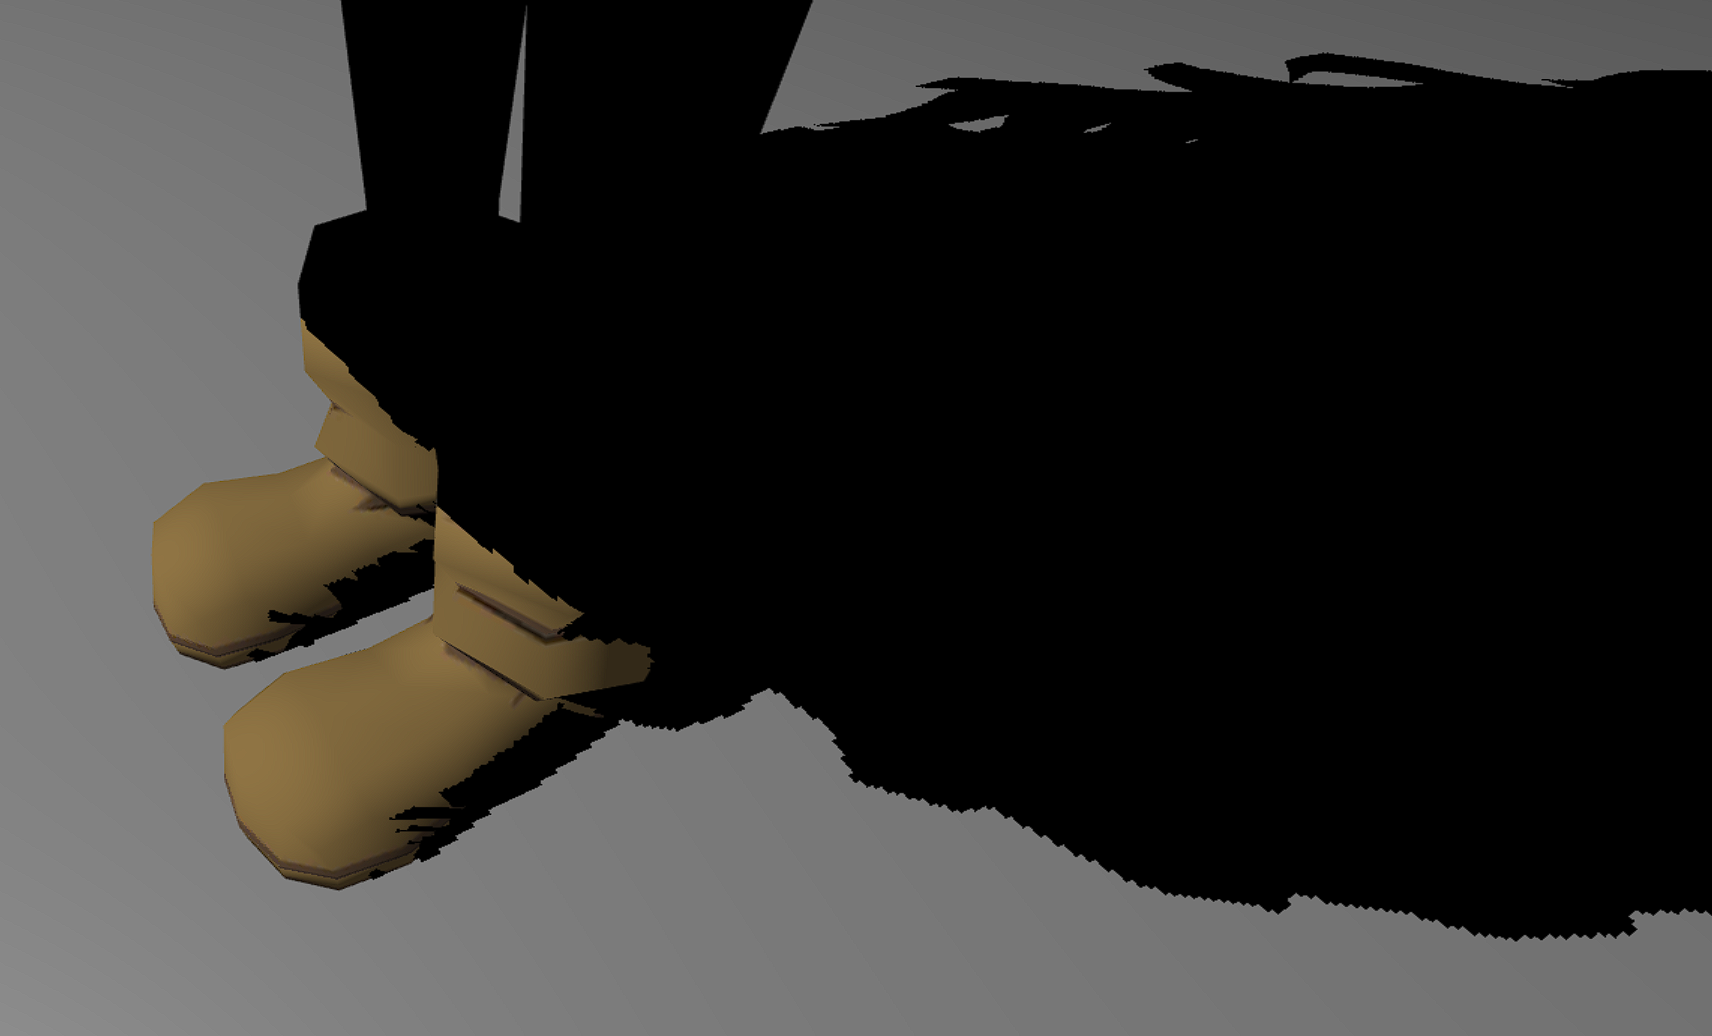
存在一些自遮挡的问题,可以参考自适应Shadow Bias算法。
PCF(Percentage Closer Filter)
PCF的作用是对Shadow边界处的反走样处理。在 PhongFragment.glsl里的 main函数里我们可以看到变量 visibility,他就是Camera View看到的点是否在阴影里的判断依据,当 visibility = 0时表示在阴影里面。PCF的做的就是对 visibility做平均处理。
void main(void) {

  float visibility;
  vec3 shadowCoord = vPositionFromLight.xyz / vPositionFromLight.w;
  visibility = useShadowMap(uShadowMap, vec4(shadowCoord, 1.0));
  //visibility = PCF(uShadowMap, vec4(shadowCoord, 1.0));
  //visibility = PCSS(uShadowMap, vec4(shadowCoord, 1.0));

  vec3 phongColor = blinnPhong();

  gl_FragColor = vec4(phongColor * visibility, 1.0);
  //gl_FragColor = vec4(phongColor, 1.0);
}
简单的采样周围的点
最简单的做法就是用当前点的currentDepth对当前点及其周围八个点的closestDepth比较的结果做一个平均:
//PhongFragment.glsl
float PCF(sampler2D shadowMap, vec4 coords) {
  float visibility = 0.0;
  float texelSize = 1.0 / 2048.0; // 单独纹理像素的大小
  coords = coords * 0.5 + 0.5;
  float currentDepth = coords.z;

  for(int i = -1; i <= 1; i++){
    for(int j = -1; j <= 1; j++)
    {
      float closestDepth = unpack(texture2D(shadowMap, coords.xy + vec2(i, j) * texelSize).rgba);
      visibility += currentDepth > closestDepth? 0.0 : 1.0;
    }
  }
  return visibility /= 9.0;

}
这个texelSizes是单独纹理像素的大小。前文说过Shadow Map是一个纹理图,阅读代码知道它的分辨率是2048 * 2048。用1除以Shadow Map的宽高(都是2048)就能返回一个单独纹理像素的大小,我们用以对纹理坐标进行偏移(由于宽高一样,x和y方向偏移值一样),确保每个新样本来自不同的深度值。这里我们采样得到9个值,它们在投影坐标的x和y值的周围,为阴影阻挡进行测试,并最终通过样本的总数目将结果平均化。
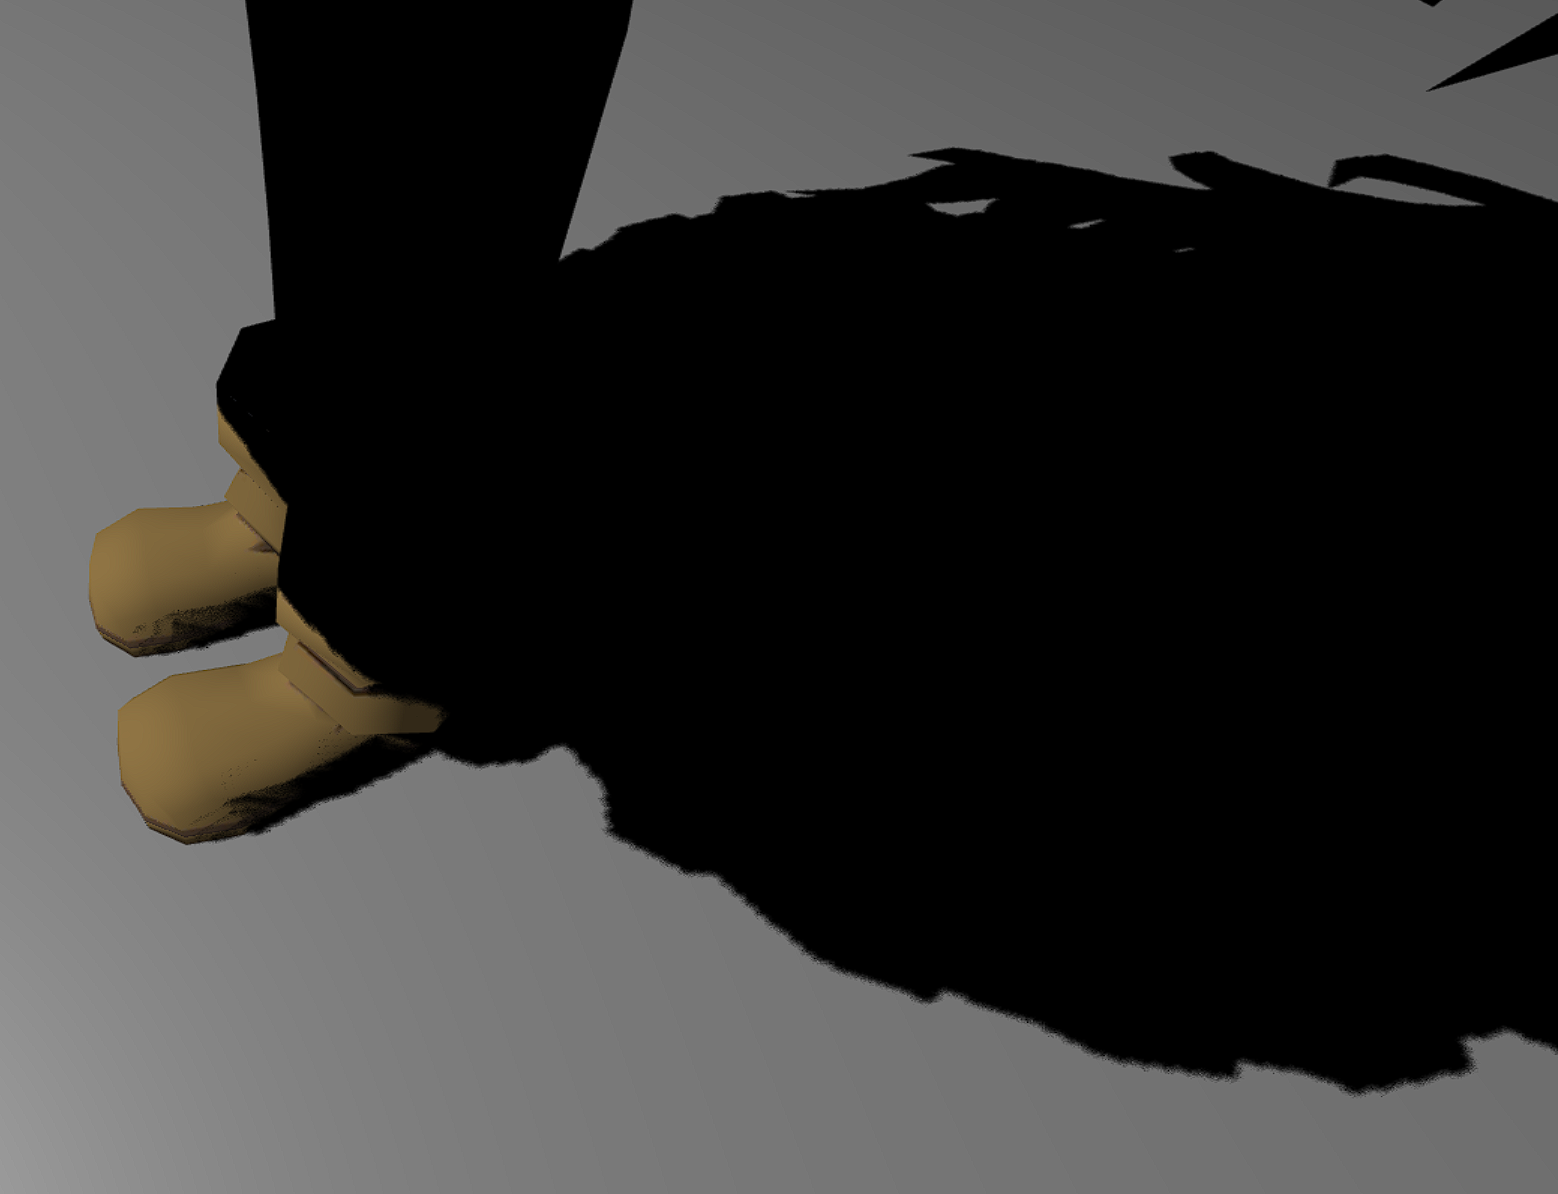
最终结果如下
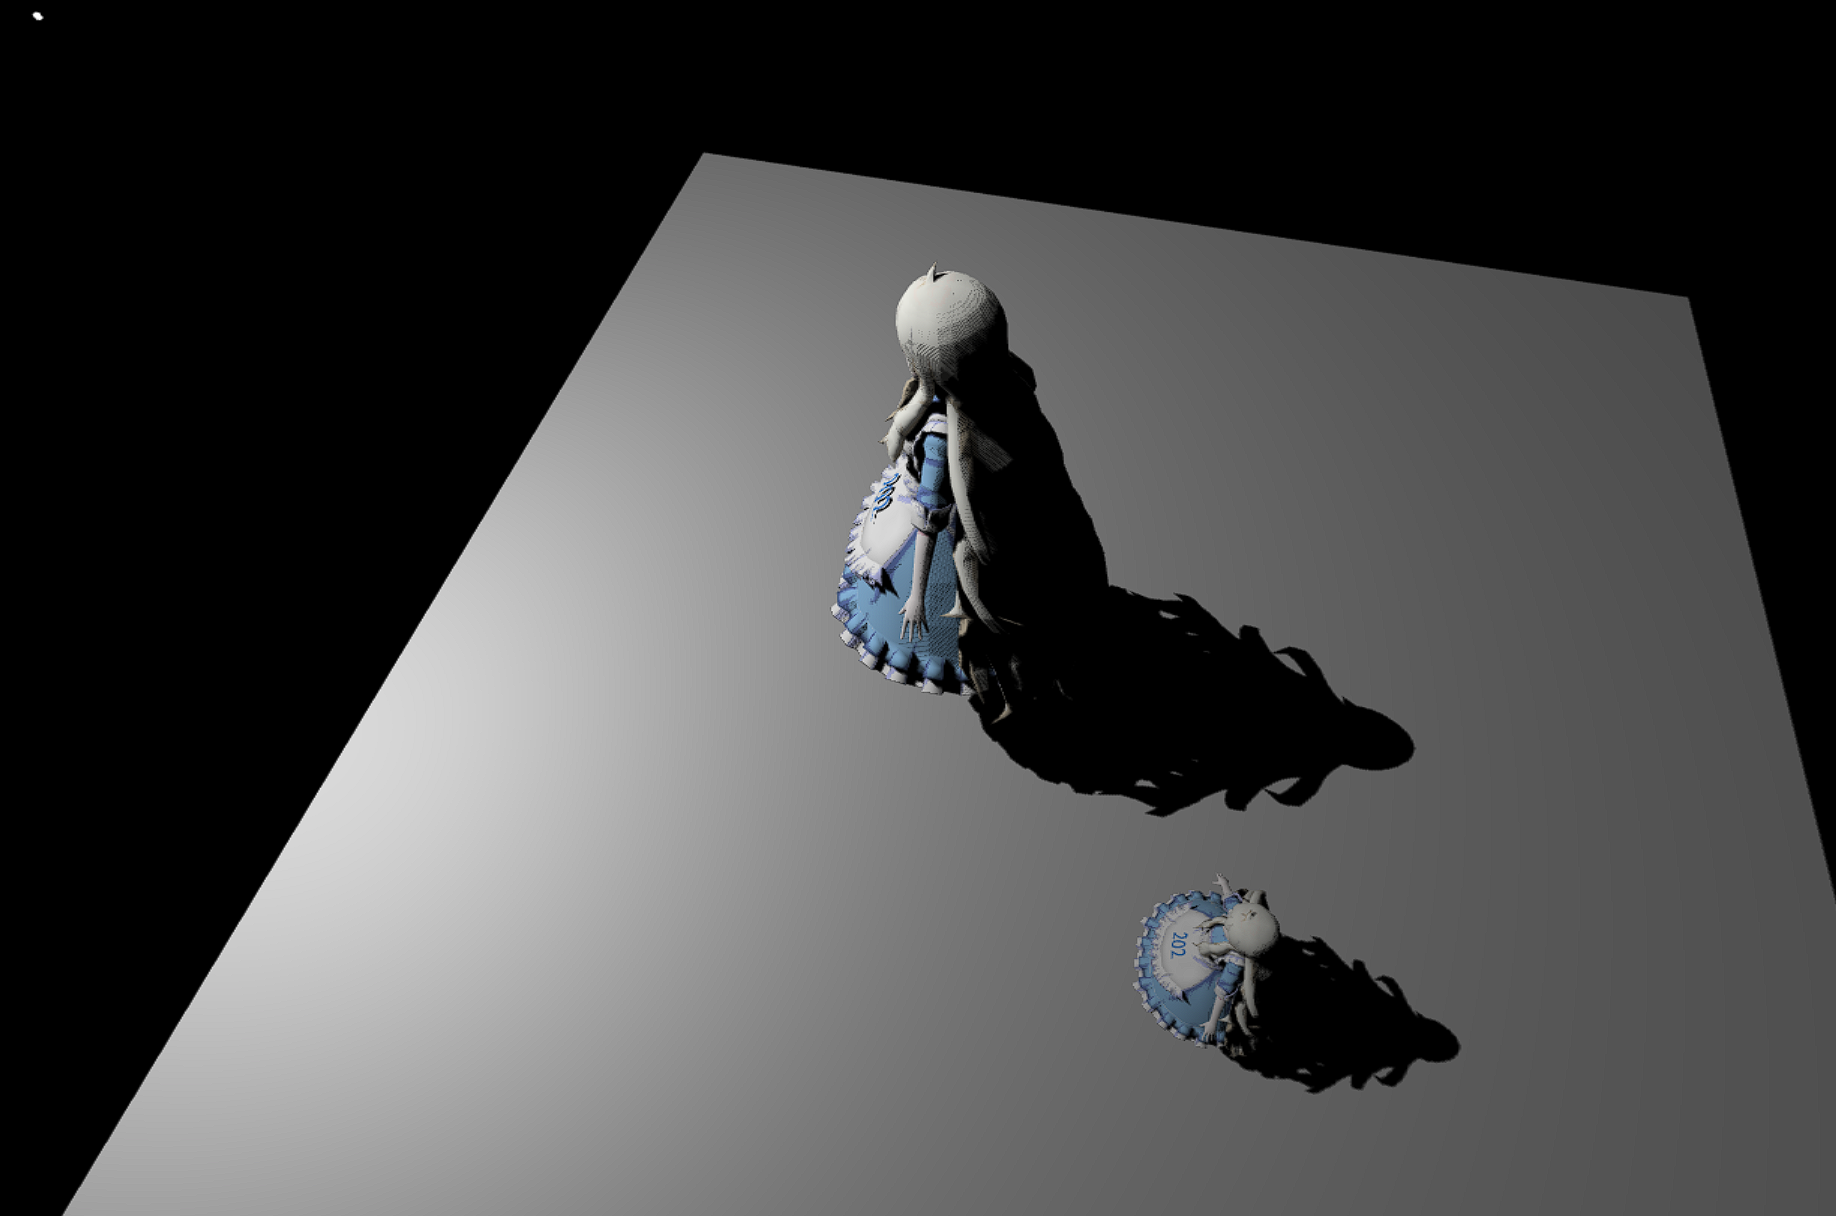
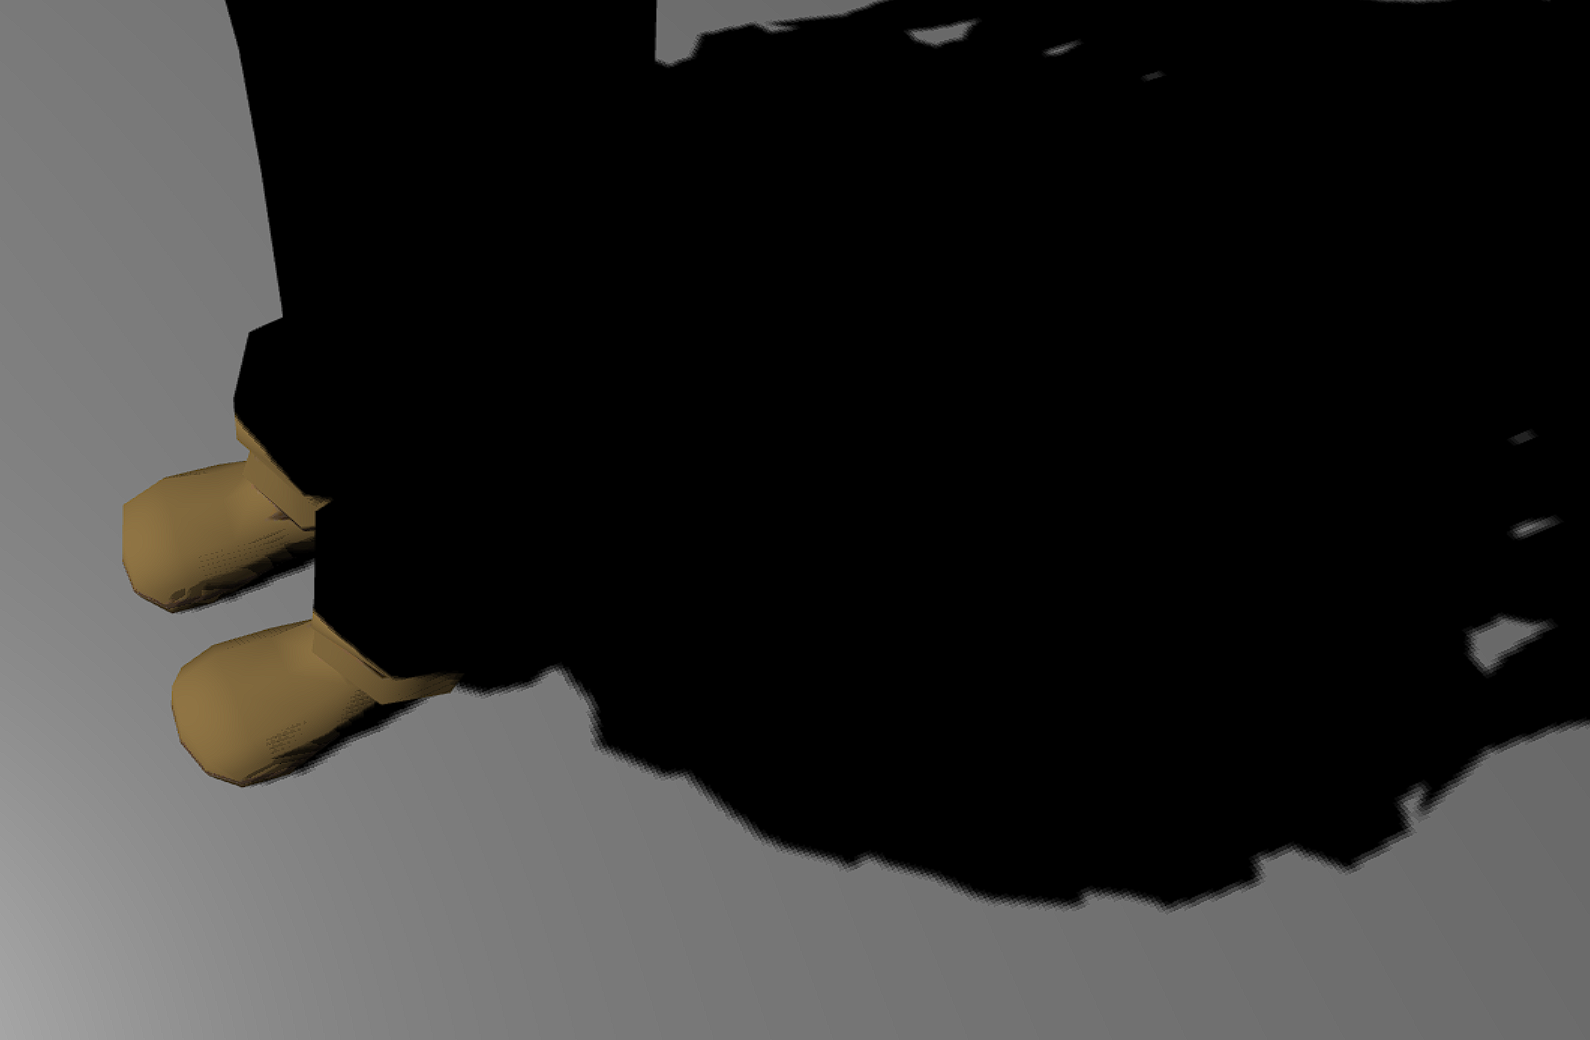
用采样函数随机采样
float PCF(sampler2D shadowMap, vec4 coords) {
  float visibility = 0.0;
  float texelSize = 1.0 / 2048.0; // 单独纹理像素的大小
  coords = coords * 0.5 + 0.5;
  float currentDepth = coords.z;

  //泊松圆盘采样
  poissonDiskSamples(coords.xy);
  //均匀圆盘采样
  //uniformDiskSamples(coords.xy);

  for(int i=0; i<NUM_SAMPLES; i++)
  {
    float closestDepth = unpack(texture2D(shadowMap, coords.xy + poissonDisk[i] * texelSize).rgba);
    visibility += (currentDepth > closestDepth? 0.0 : 1.0);
  }

  return visibility /= float(NUM_SAMPLES);

}
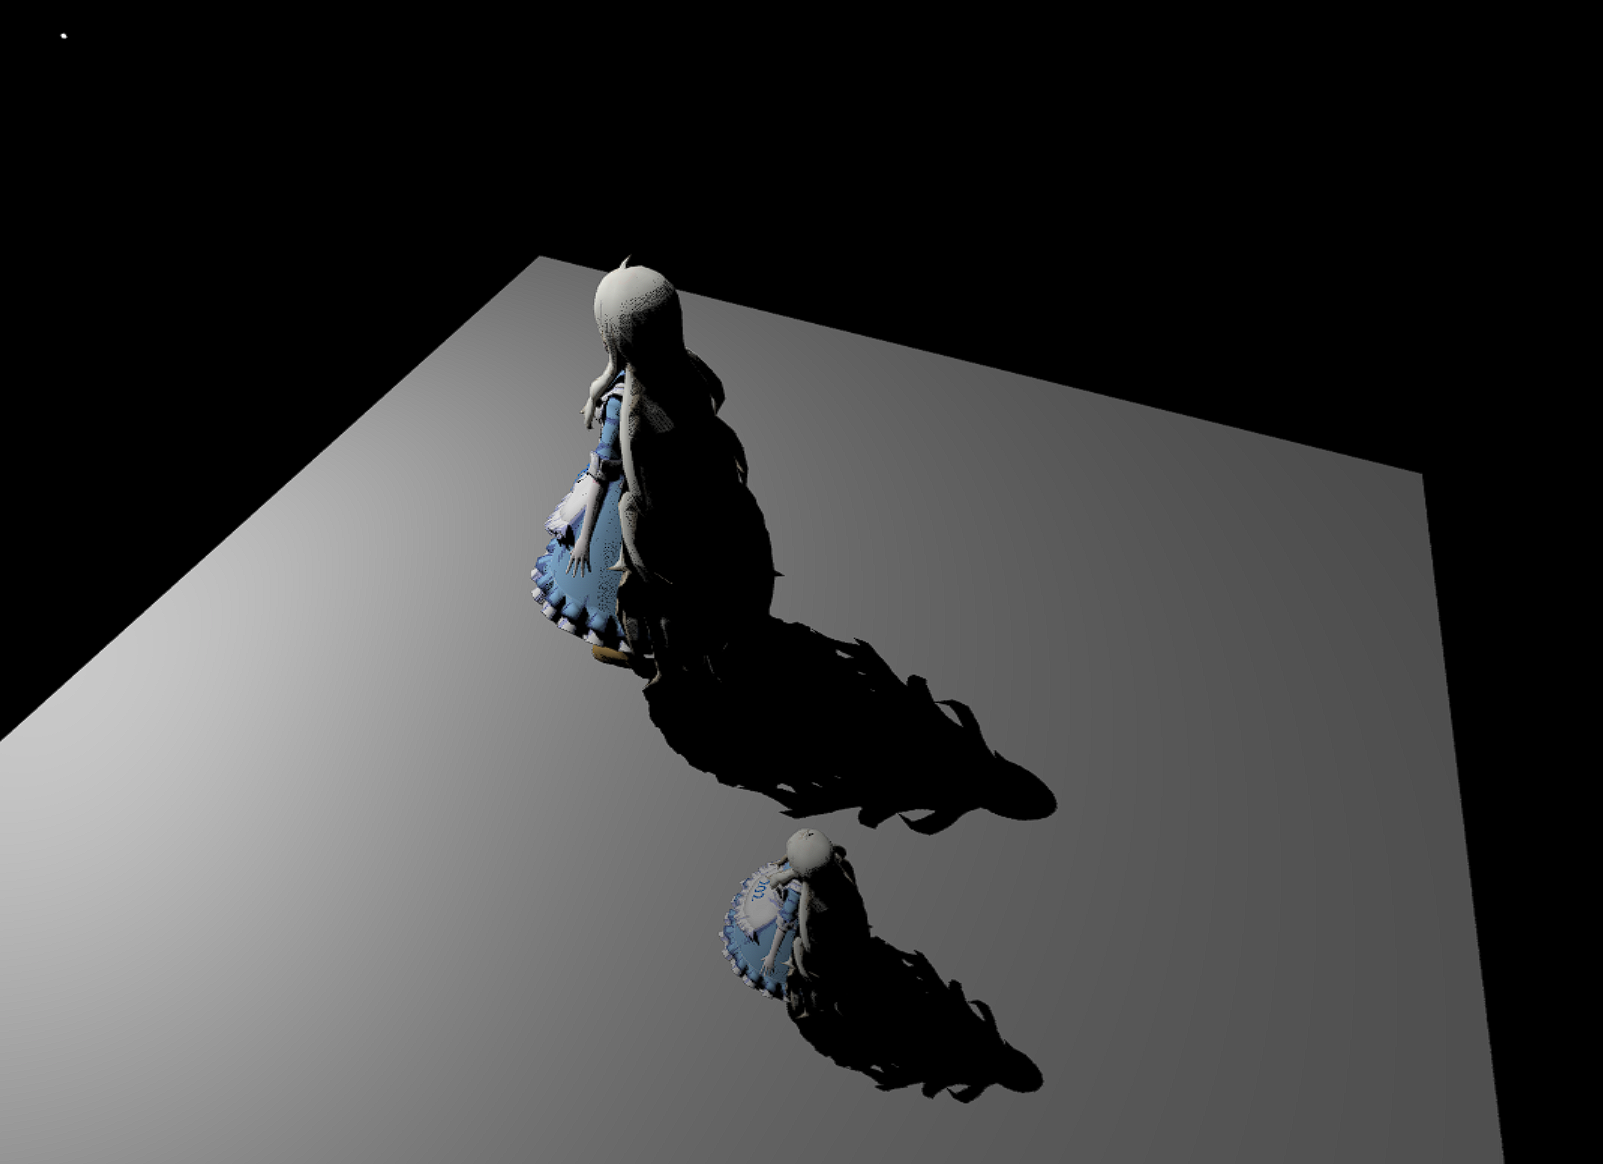
-
泊松圆盘采样
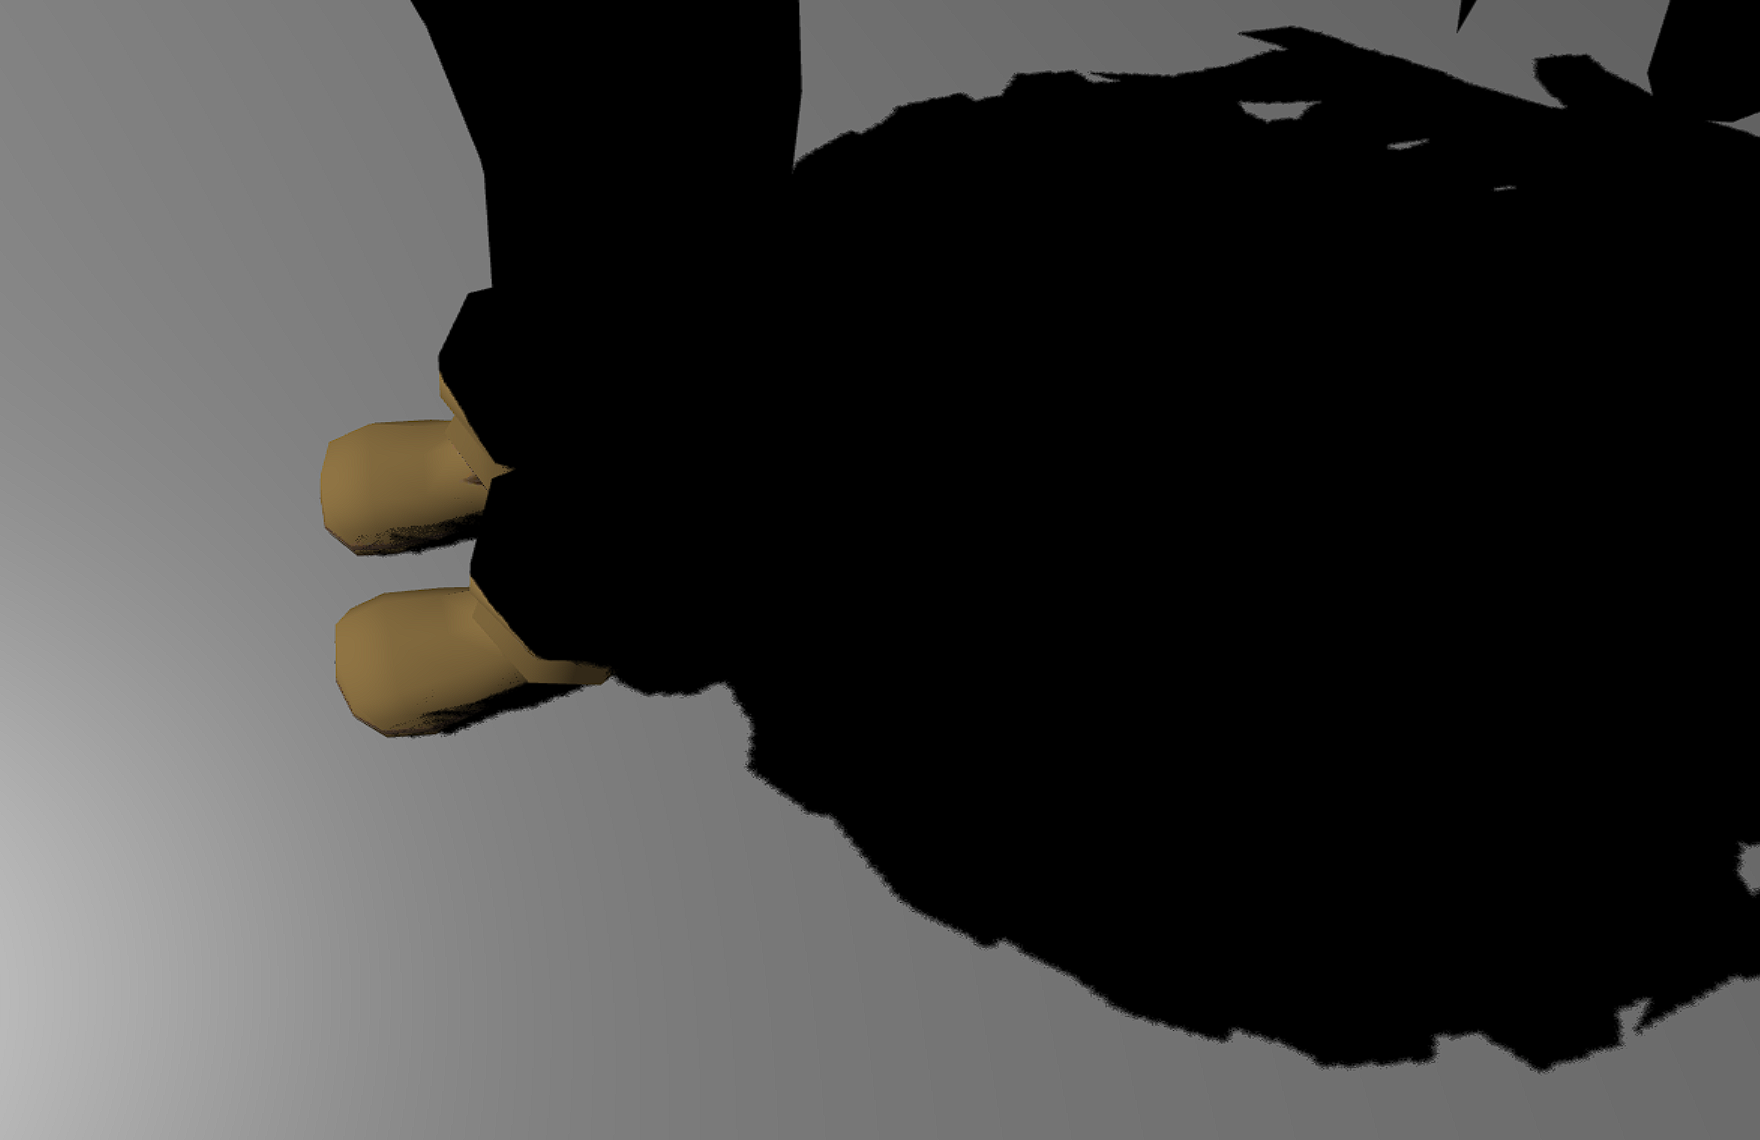
-
均匀圆盘采样
PCSS(Percentage Closer Soft Shadows)
PCSS的流程一些资料和博客介绍的会很清楚:
记录一点自己的理解,在做PCF的时候我们会在Shadow Map采样Shading Point周边的点做一个滤波,可以看下CNN 基础知识 - 卷积 (Convolution) 填充 (Padding) 步长 (Stride)。
采样时会基于单位步长 float texelSize = 1.0 / 2048.0;。2048是Shadow Map纹理的宽和高的分辨率,所以 texelSize就是单位纹理像素的大小。在我们采样周边点时,这个就是步长的基本单位。
在做PCSS时,我们需要计算出半影(Penumbra)的大小,Penumbra乘以texelSize用以调整采样的步长大小,也就是调整滤波核的stride, 如果我们增加采样点数NUM_SAMPLES,相当于增大滤波核的大小。在这篇博客里有对步长和卷积比较详细的分析。
接下来是代码和效果:
float PCSS(sampler2D shadowMap, vec4 coords){

  // STEP 1: avgblocker depth
  coords = coords * 0.5 + 0.5;
  float zReceiver = coords.z;
  float d_Blocker = findBlocker(shadowMap, coords.xy, zReceiver);

  // STEP 2: penumbra size
  float w_light = 20.;
  float w_Penumbra = (zReceiver - d_Blocker) * w_light / d_Blocker;

  // STEP 3: filtering
  float texelSize = 1.0 / 2048.0; // 单独纹理像素的大小
  float visibility = 0.0;
  float currentDepth = coords.z;
  //poissonDiskSamples(coords.xy); //已经在findBlocker中做了
  for(int i=0; i<NUM_SAMPLES; i++)
  {
    float closestDepth = unpack(texture2D(shadowMap, coords.xy + poissonDisk[i] * w_Penumbra * texelSize).rgba);//w_Penumbra调整步长大小
    visibility += (currentDepth > closestDepth? 0.0 : 1.0);
  }


  return visibility /= float(NUM_SAMPLES);

}
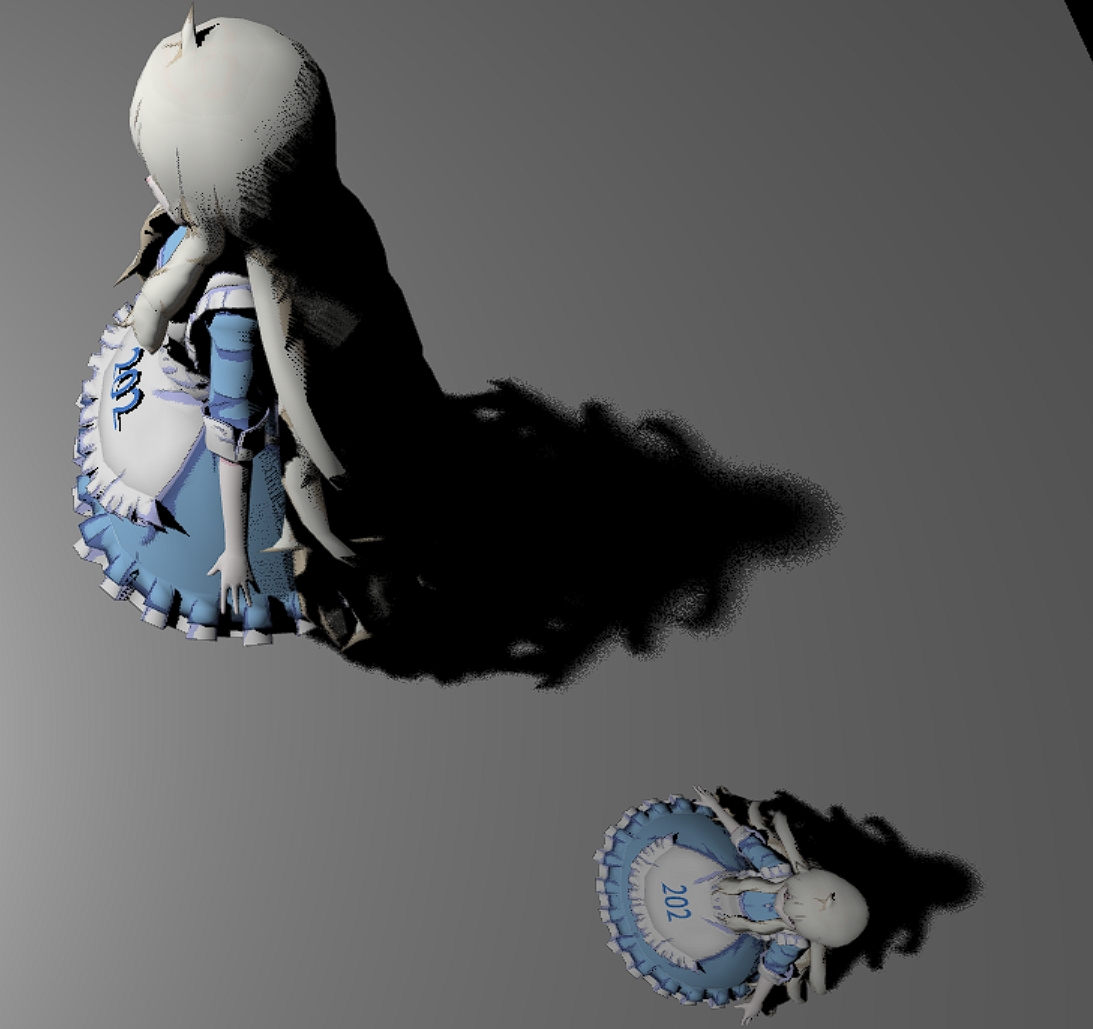
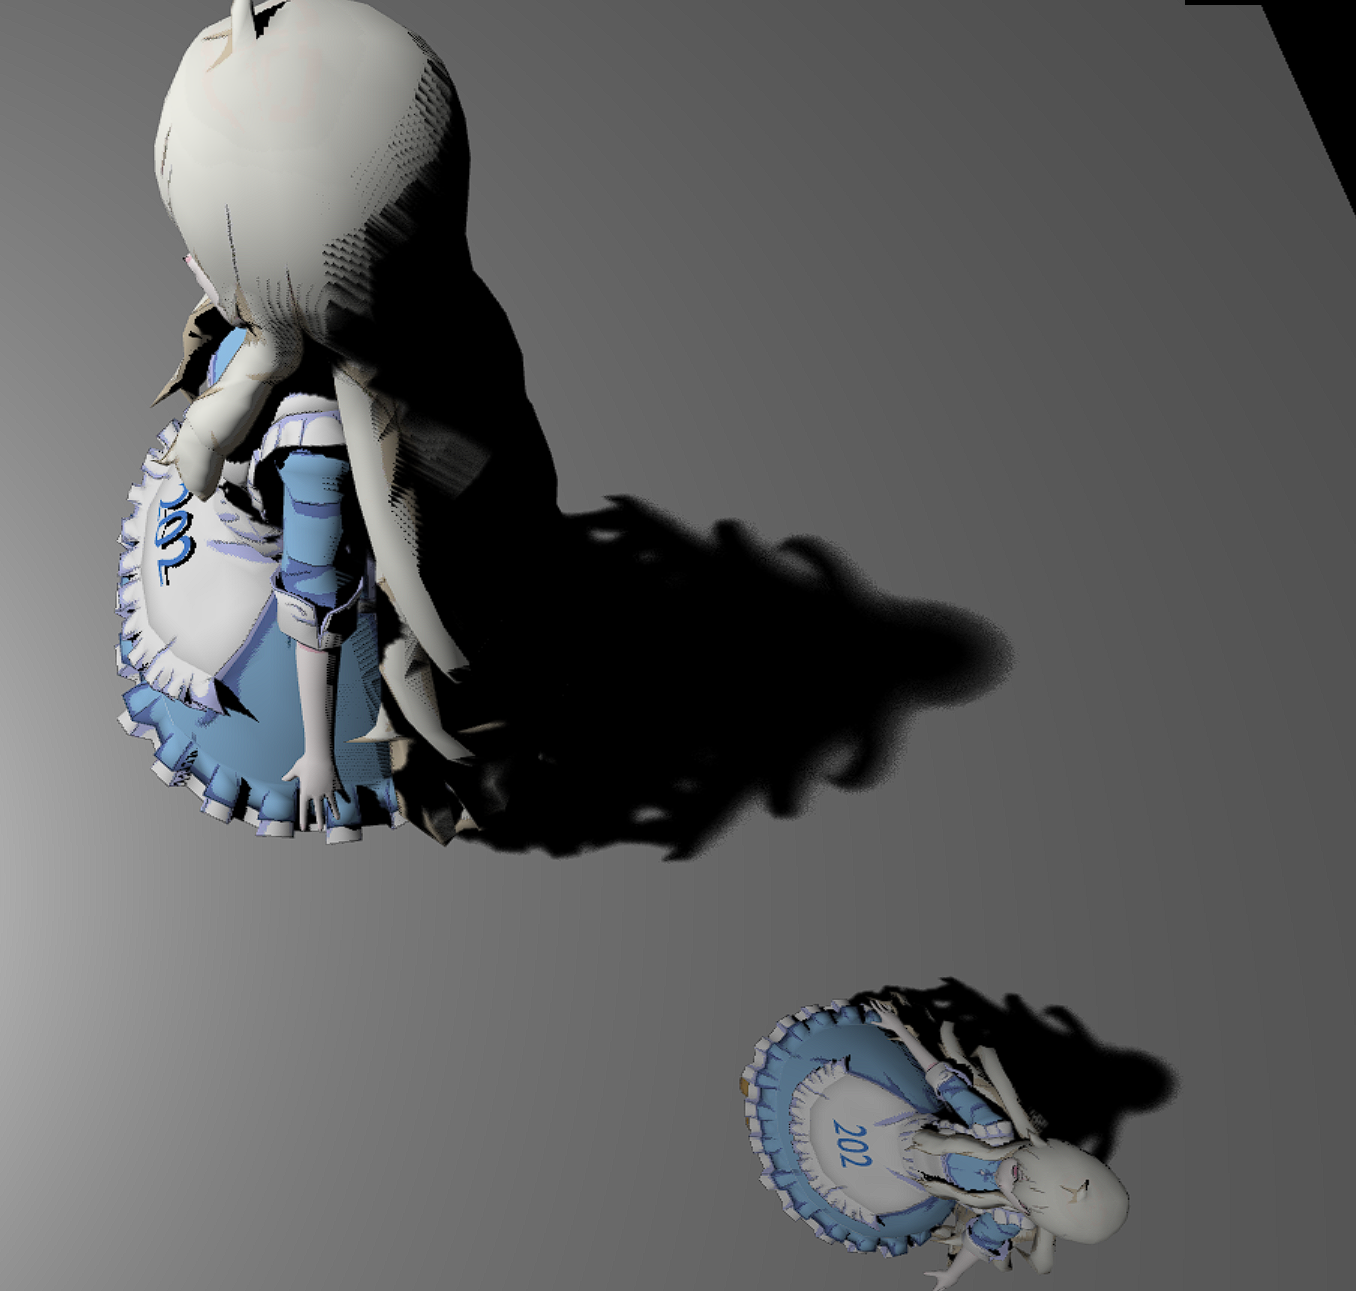
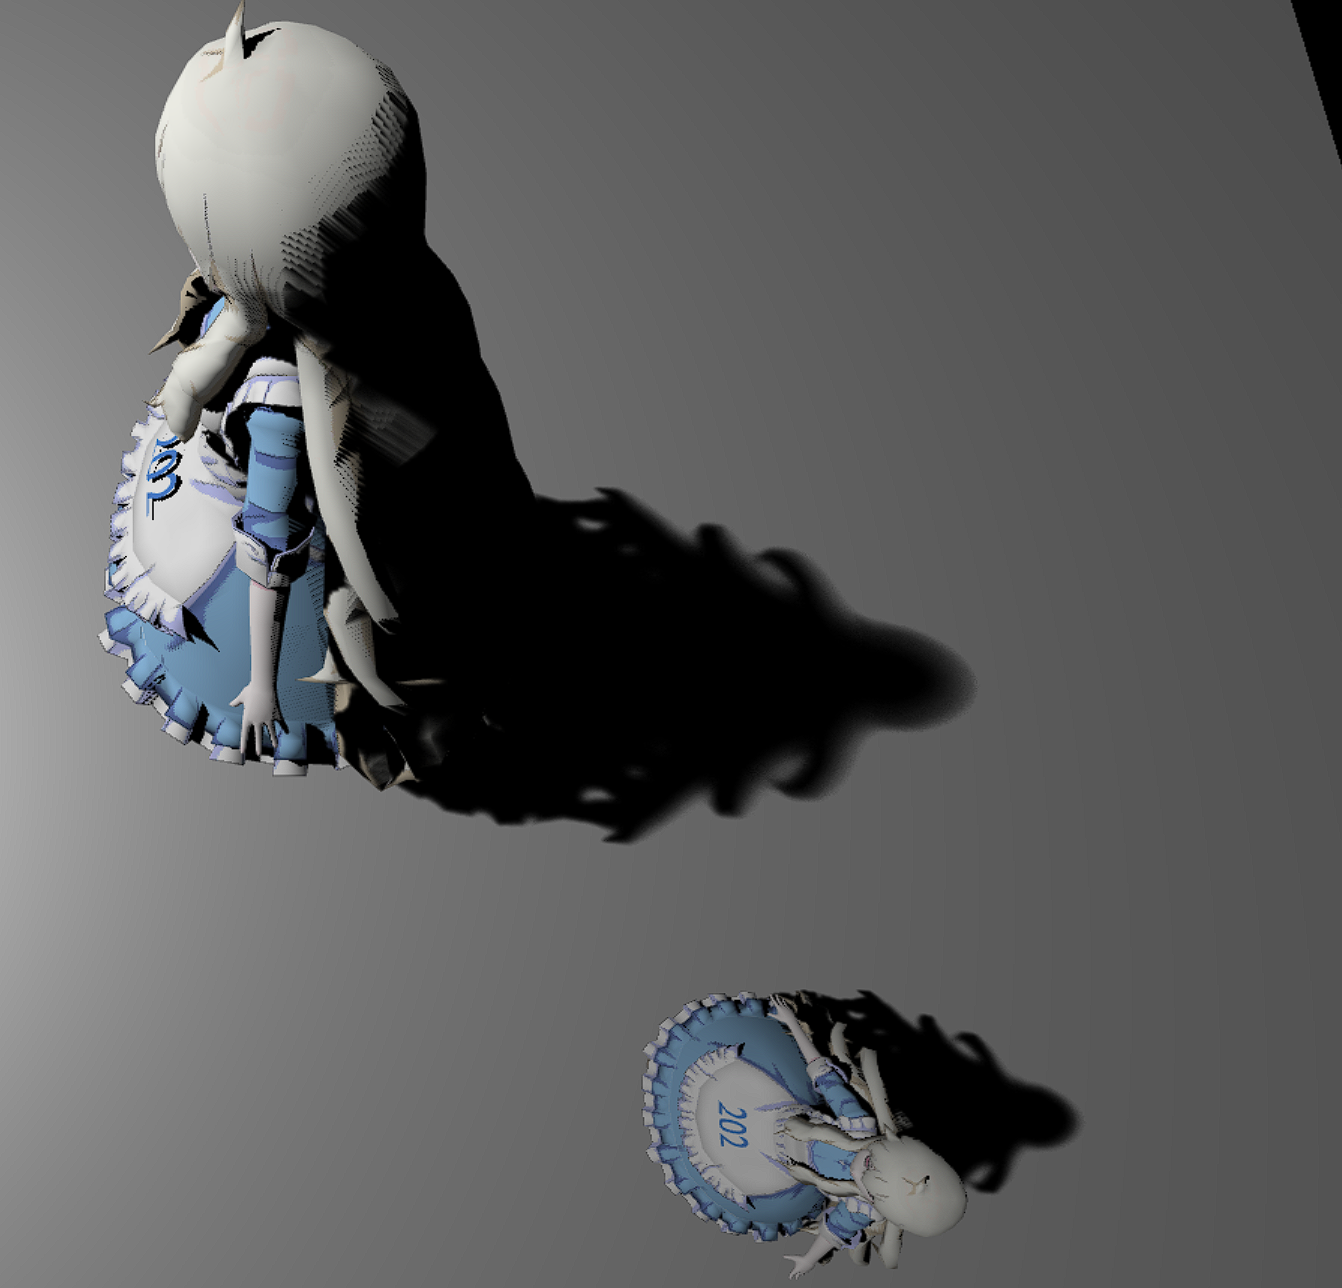
我做出来的最终效果:
- 20个采样点
- 50个采样点
- 100个采样点
Reference
- WebGL简易教程(十三):帧缓存对象(离屏渲染)
- Shadow Mapping原理与实践
- GAMES202作业1-万字分析代码框架&帮助更好理解框架内容
- 阴影映射
- 实时阴影技术(Real-time Shadows)
- GAMES202 作业1解答
- GAMES202作业1-实现过程详细步骤