一.下载依赖
npm i vue-ueditor-wrap -S二.引入组件
import VueUeditorWrap from 'vue-ueditor-wrap' // ES6 Module三.注册组件
components: {
  VueUeditorWrap
}
// 或者在 main.js 里将它注册为全局组件
Vue.component('vue-ueditor-wrap', VueUeditorWrap)
四.绑定数据
<vue-ueditor-wrap v-model="msg"></vue-ueditor-wrap>data () {
return {
msg: '<h2>今天是2020年5月8日</h2>'
}
}五.配置参数
data () {
  return {
    msg: '<h2>今天是2020年5月8日</h2>',
    myConfig: {
      // 编辑器不自动被内容撑高
      autoHeightEnabled: false,
      // 初始容器高度
      initialFrameHeight: 240,
      // 初始容器宽度
      initialFrameWidth: '100%',
      // 上传文件接口
      serverUrl: 'http://localhost:8080/upload',
      UEDITOR_HOME_URL: '/UEditor/' //一定要注意此处!!!!
    }
  }
}
注意

若出现此问题,检查UEDITOR_HOME_URL路径,本人项目vue-cli 3.x
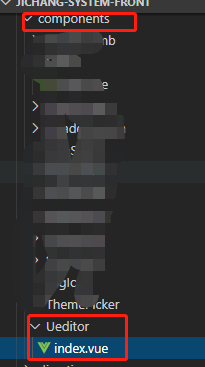
六.封装成组件使用

在需要使用此功能的页面 引入
  <dir>
      <Ueditor />
   </dir>

import Ueditor from '@/components/Ueditor';

export default {
  components: {
    Ueditor,
  },
  ......
  }
七.页面效果

八.拓展
实际开发中需要更多的功能,在此使用了大神修复部分bug的版本,点此下载
将下载的压缩包解压并重命名为 UEditor(只需要选择一个你需要的版本,比如 utf8-jsp),放入你项目的public目录下。
(ps:纯粹为记录本人使用过程和遇到的问题,如有侵权请告知)
标签:ueditor,文本编辑,vue,Ueditor,wrap,Vue,使用,组件,VueUeditorWrap From: https://www.cnblogs.com/liyunxi/p/16715003.html