https://www.arduino.cn/thread-99248-1-1.html
| 本帖最后由 vany5921 于 2020-6-29 15:03 编辑 使用百度智能云提供的人脸识别服务能非常方便的进行大数据识别,无需提前进行任何模型训练,支持人脸识别、人脸搜索、身份证信息真人核实等功能,以下示例演示如何使用M5Camera直接对人脸进行采集识别,不同的REST请求格式不同,在使用时需要注意百度参考文档https://cloud.baidu.com/doc/FACE/s/yk37c1u4t |
[mw_shl_code=arduino,true]#include "esp_camera.h"
#include "soc/soc.h"
#include "soc/rtc_cntl_reg.h"
#include <WiFiClientSecure.h>
#include <base64.h>

#define SSID              "yourssid"
#define PASSWORD          "yourpassword"
#define ACCESS_TOKEN      "4.ab9ba6cfb80d9a94392bea337d15142e.2592000.1595430949.282335-20541124" //TOKEN获取,30天过期,长期使用可通过发送http请求定时获取,这里为了验证功能直接使用postman获取。
#define Json_begin        "{\"image\":\""         //Json封装头
#define Json_end          "\",\"image_type\":\"BASE64\",\"group_id_list\":\"......\"}" //Json封装尾

//根据摄像头引脚定义修改(以下为PSRAM版本)

#define PWDN_GPIO_NUM     -1
#define RESET_GPIO_NUM    15
#define XCLK_GPIO_NUM     27
#define SIOD_GPIO_NUM     22
#define SIOC_GPIO_NUM     23

#define Y9_GPIO_NUM       19
#define Y8_GPIO_NUM       36
#define Y7_GPIO_NUM       18
#define Y6_GPIO_NUM       39
#define Y5_GPIO_NUM       5
#define Y4_GPIO_NUM       34
#define Y3_GPIO_NUM       35
#define Y2_GPIO_NUM       32
#define VSYNC_GPIO_NUM    25
#define HREF_GPIO_NUM     26
#define PCLK_GPIO_NUM     21

//图像数据需要经过base64编码后以JSON格式发送
static void Baidu_AI(camera_fb_t* &fb){
    String base64 = base64::encode(fb->buf,fb->len);
    uint16_t len = base64.length();
    WiFiClientSecure client;
    if(client.connect("aip.baidubce.com",443)){
        Serial.println("Connection succeeded");
        client.println("POST /rest/2.0/face/v3/detect?access_token=" + String(ACCESS_TOKEN) + " HTTP/1.1");
        client.println(F("Host: aip.baidubce.com"));
        client.println("Content-Length: " + String(len + strlen(Json_begin Json_end)));
        client.println(F("Content-Type: application/json"));
        client.println();
        client.print(F(Json_begin));
        for(uint16_t i = 0;i < len;i += 4096) //分段发送
        if(len > i + 4096)
        client.print(base64.substring(i,i+4096));
        else{
            client.print(base64.substring(i));
            break;
        }
        client.print(F(Json_end));
        Serial.println("Waiting for response...");
        uint8_t i = 0;
        while (!client.available()){
            i += 1;
            delay(100);
            if(i > 200){ //timeout
                Serial.println("No response...");
                break;
            }
        }
        while (client.available()){
            Serial.print(char(client.read()));
        }
        client.stop();
        Serial.println();
        }else Serial.println("Connection failed");
}

void setup()
{
    WRITE_PERI_REG(RTC_CNTL_BROWN_OUT_REG,0); //关闭欠压检测(防止低压重启)
    Serial.begin(115200);
    WiFi.begin(SSID,PASSWORD);
    while (WiFi.status() != WL_CONNECTED){
        Serial.println("Waitting for wifi connection...");
        delay(500);
    }
    camera_config_t config;
    config.ledc_channel = LEDC_CHANNEL_0;
    config.ledc_timer = LEDC_TIMER_0;
    config.pin_d0 = Y2_GPIO_NUM;
    config.pin_d1 = Y3_GPIO_NUM;
    config.pin_d2 = Y4_GPIO_NUM;
    config.pin_d3 = Y5_GPIO_NUM;
    config.pin_d4 = Y6_GPIO_NUM;
    config.pin_d5 = Y7_GPIO_NUM;
    config.pin_d6 = Y8_GPIO_NUM;
    config.pin_d7 = Y9_GPIO_NUM;
    config.pin_xclk = XCLK_GPIO_NUM;
    config.pin_pclk = PCLK_GPIO_NUM;
    config.pin_vsync = VSYNC_GPIO_NUM;
    config.pin_href = HREF_GPIO_NUM;
    config.pin_sscb_sda = SIOD_GPIO_NUM;
    config.pin_sscb_scl = SIOC_GPIO_NUM;
    config.pin_pwdn = PWDN_GPIO_NUM;
    config.pin_reset = RESET_GPIO_NUM;
    config.xclk_freq_hz = 20000000;
    config.pixel_format = PIXFORMAT_JPEG;
    config.frame_size = FRAMESIZE_VGA;
    config.jpeg_quality = 10;
    config.fb_count = 1;
    while(esp_camera_init(&config) != ESP_OK){
        Serial.println("Waitting for camera init...");
        delay(500);
    }
    sensor_t * s = esp_camera_sensor_get();
    s->set_vflip(s, 1);
}

void loop()
{
    while(WiFi.status() != WL_CONNECTED){ //断线重连
        WiFi.reconnect();
        delay(500);
    }
    camera_fb_t *fb = esp_camera_fb_get();
    if(!fb)return;
    Serial.println("Got image");
    Baidu_AI(fb);
    esp_camera_fb_return(fb);
}[/mw_shl_code]

ESP32-S3-EYE
https://github.com/Charlesguo11/Heart-Rate-esp32s3
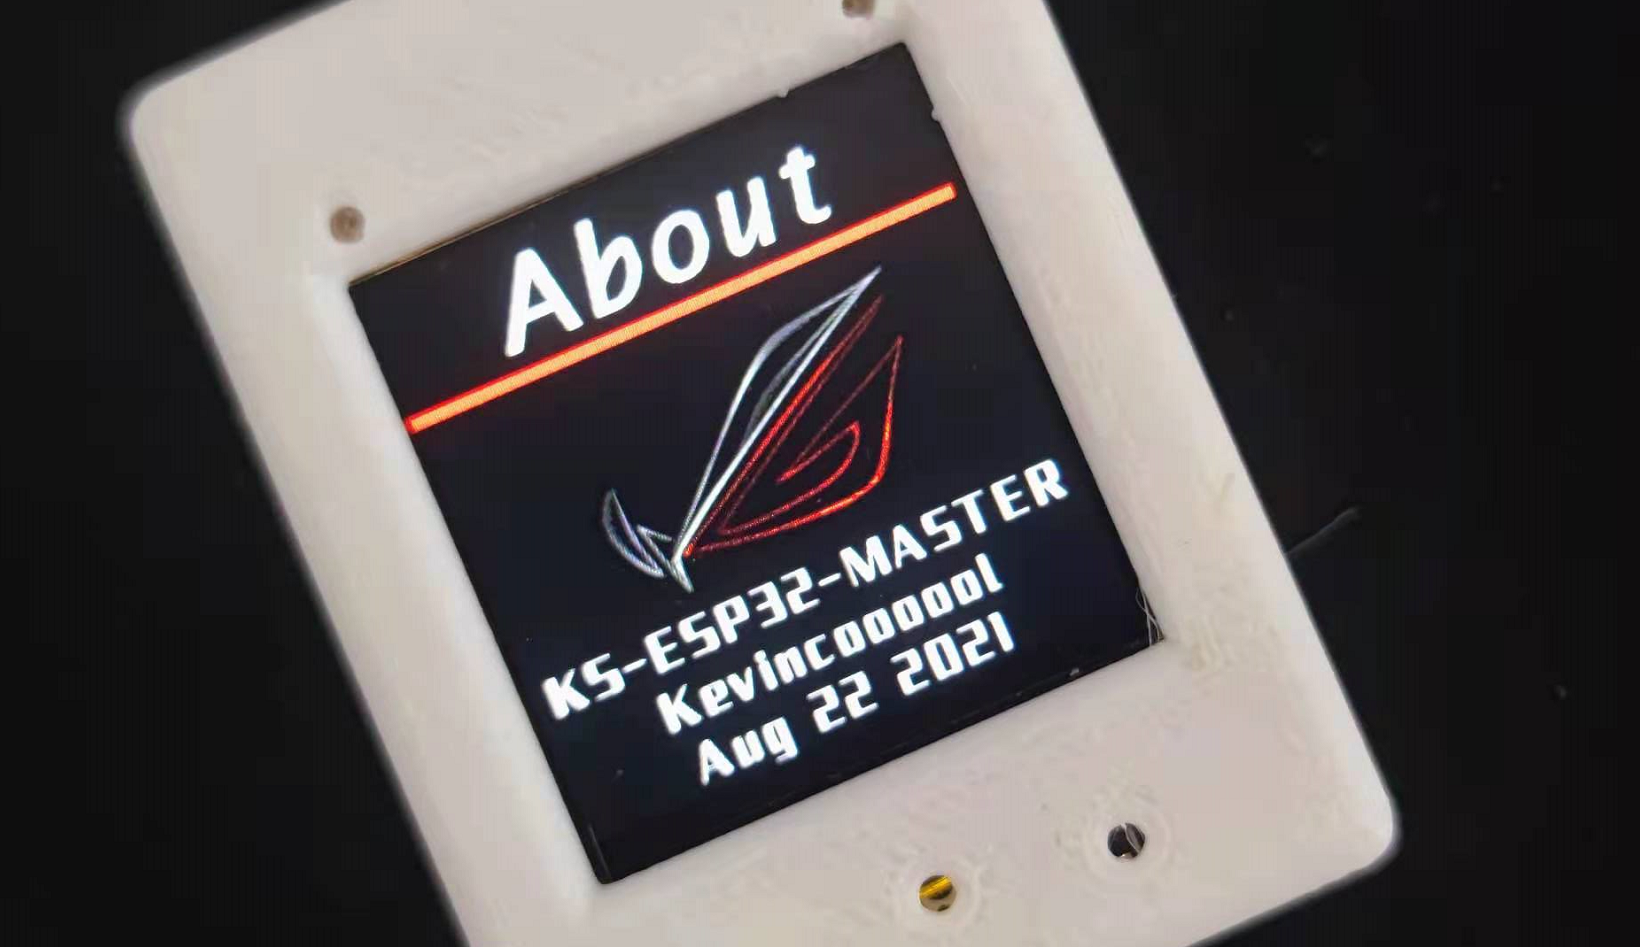
SP_MASTER
This is a comprehensive project that combines the powerful computing capabilities of ESP32, with functions such as speech recognition, image recognition, GUI learning, and FFT music spectrum. It is suitable for learning image recognition algorithms and making LVGL-based UI interfaces.
功能介绍:
1、语音识别。将数字麦克风通过I2S连接到ESP32,经过esp-skainet离线语音识别,自定义语音命令词最大个数为 100
2、物体识别、文字识别(车牌识别)。基于百度智能云,将摄像头获取的RGB图像转为JPG,经过base64和urlcode编码上传到百度云后获取识别结果来显示。
3、颜色识别。可由摄像头获取的图像将RGB转为HSL判断每一个像素点,进行颜色块的识别,获取颜色块坐标。
4、家电控制。可由语音设置空调类型,也可以在设置界面设置空调种类,当前支持格力、美的、海尔空调,空调码库由IREXT提供,码库存放在flash的spiffs分区中。
5、LVGL。基于LVGL 7.6.0,10余个界面切换。
6、ADC按键。在ESP32引脚极其不够的情况下,使用一个IO口,经过电阻分压可读取三个按键的状态。
7、FFT频谱,将数字麦克风通过I2S连接到ESP32,经过软件fft获得频谱通过lvgl img显示。
8、小游戏。移植2048和贪吃蛇游戏。
9、每日鸡汤。进入每日鸡汤界面后,HTTP随机获取一句话显示。