Linux安装python
一、 获取源码包
我们访问这个网址,就可以看到全部的python下载方式:【https://www.python.org/downloads/】
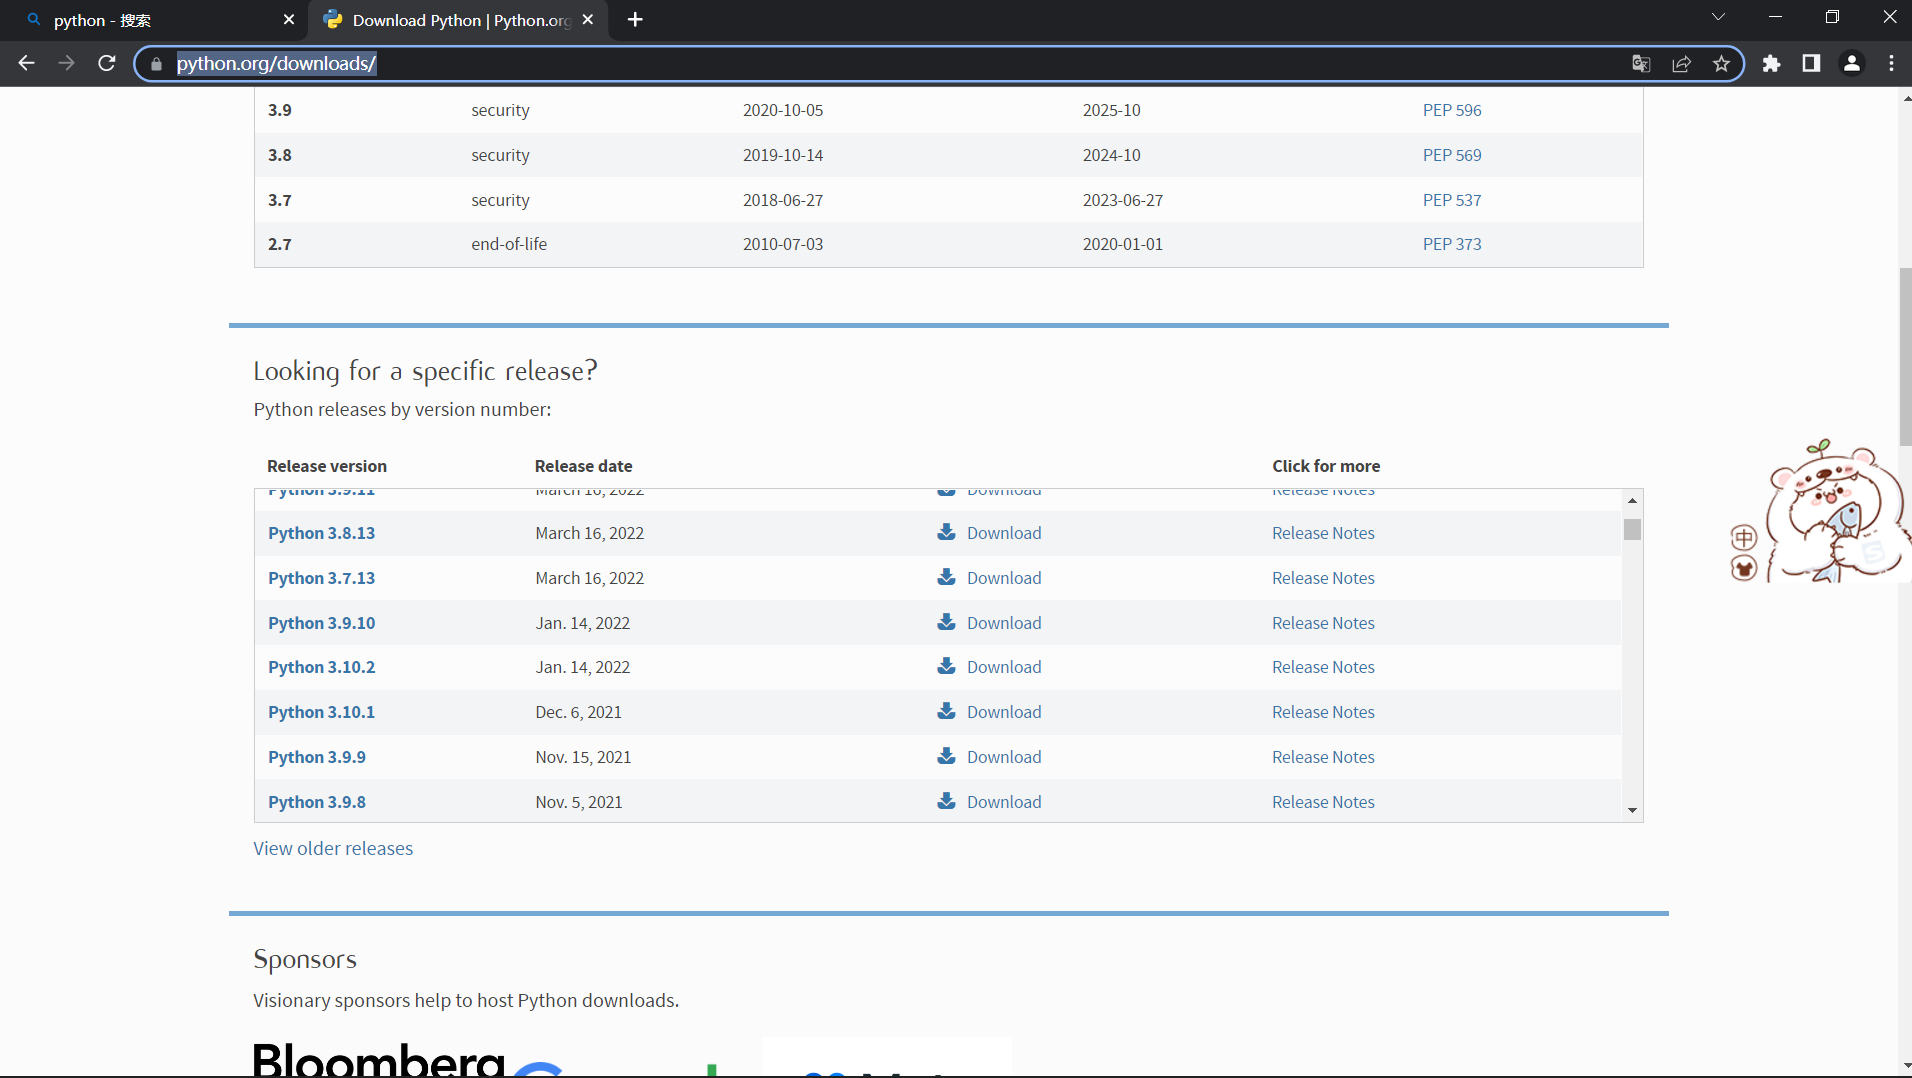
点击我们想要下载的python版本,这里我选择python3.9.10
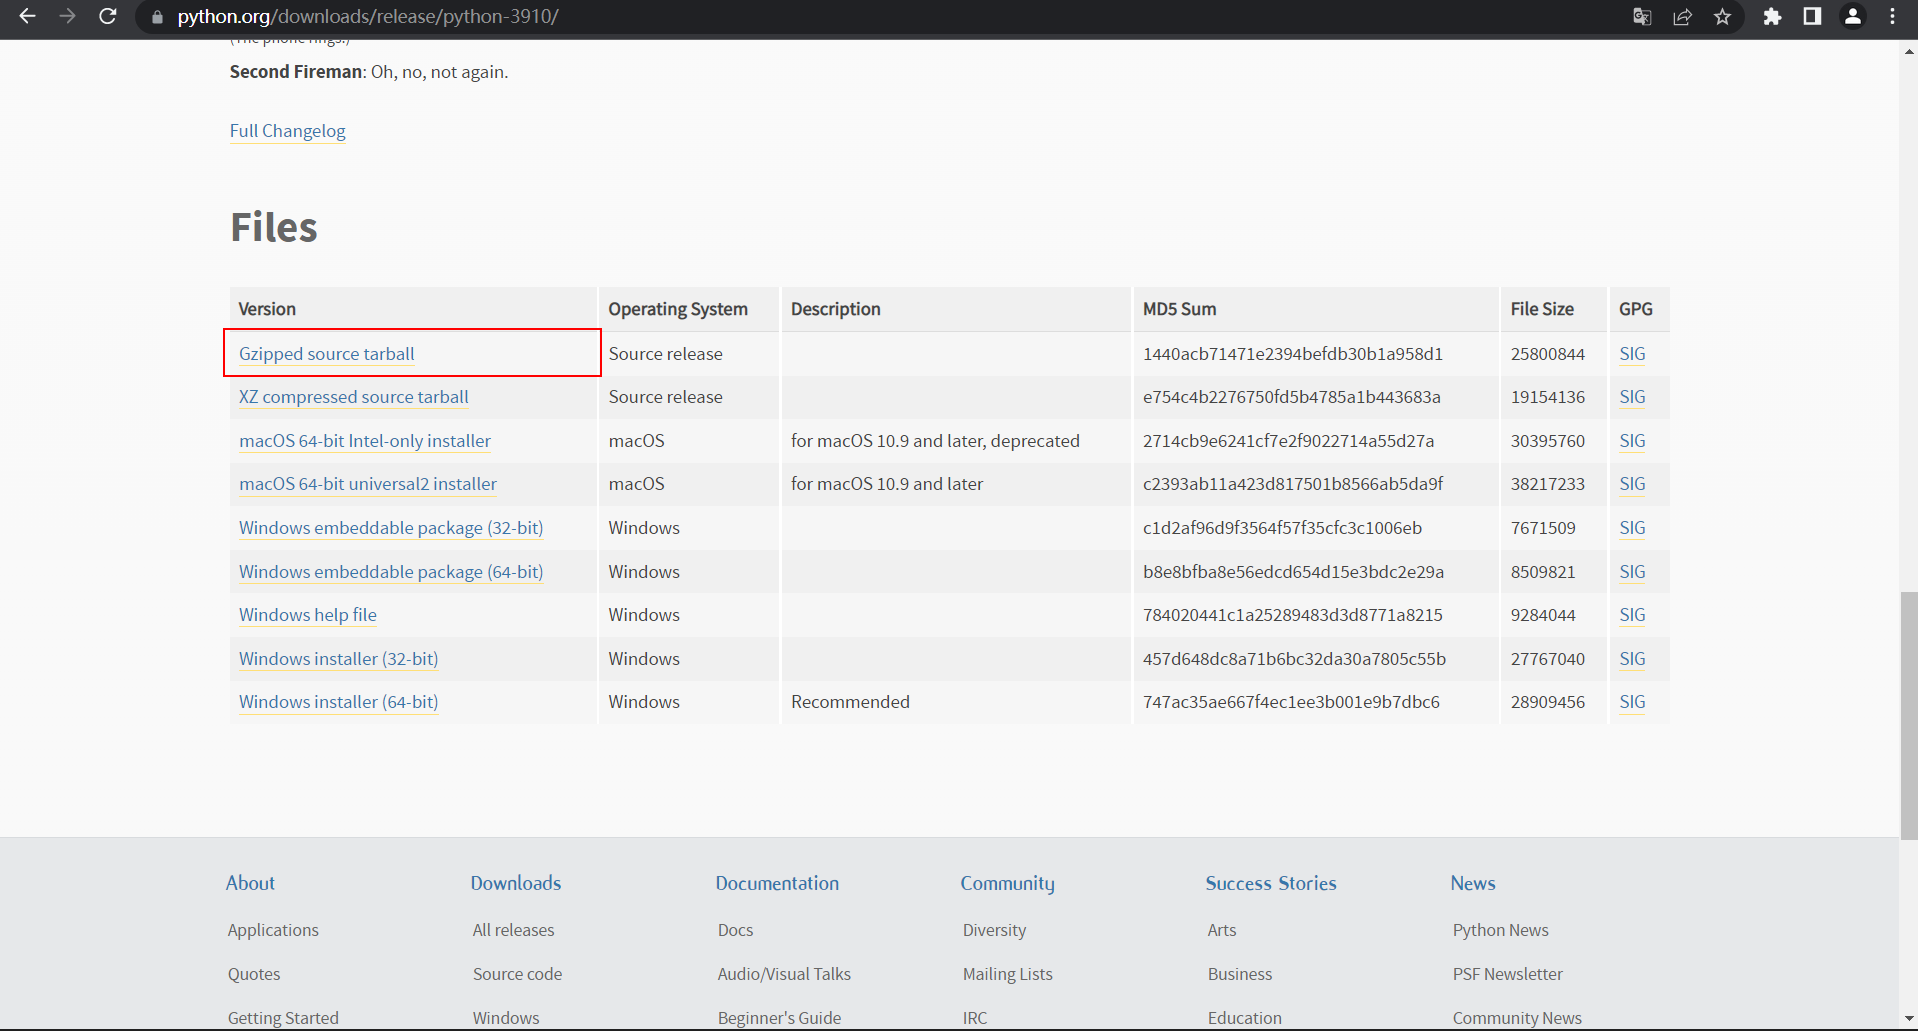
进去后,获取第一个tar包的下载地址,复制出来:【https://www.python.org/ftp/python/3.9.10/Python-3.9.10.tgz】
二、 安装python
这里,我们使用的是CentOS7做示范
我们先要安装一个获取网络资源的工具,然后把源码下载到服务器中
| yum info | grep wget1 || yum install wge # 相当于迅雷,通过链接来下载资源 | |
| wget https://www.python.org/ftp/python/3.9.10/Python-3.9.10.tgz # 获取网络包 |
下载完成后,解压压缩包,并准备好环境
| mkdir /usr/bin/python3.9 # 创建存放python的文件夹 | |
| tar -zxf Python-3.9.10.tgz # 进行解压工作 |
编译Python源码,安装python
| cd Python-3.9.10 # 进入到源码中 | |
| ./configure prefix=/usr/bin/python3.9 # 配置信息,把Python存放在/usr/bin/python3.9目录下 | |
| make && make install # 编译安装python | |
| rm -rf Python-3.9.10.tgz Python-3.9.10 # 移除附带的文件 |
配置Python环境变量,也进行一些基本配置
| which python3 && rm -rf /usr/bin/python3 # 如果存在python3软链接,移除 | |
| ln -s /usr/bin/python3.9 /usr/bin/python3 # 创建python3软链接 | |
| which pip > /dev/null 2>&1 && rm -rf /usr/bin/pip # 把python2.7的pip移除,如果没有,则什么都不干 | |
| ln -s /usr/bin/python3.9/bin/pip3 /usr/bin/pip # 创建pip软链接 | |
| echo "export $PYTHON_HOME=/usr/bin/python3.9\nexport $PATH=${PYTHON_HOME}/bin:$PATH" >> /etc/profile # 配置python环境变量 | |
| source /etc/profile # 刷新配置文件 | |
| pip config set global.index-url https://pypi.tuna.tsinghua.edu.cn/simple # 换源,也可以使用https://pypi.douban.com/simple 等国内源 |
这样,我们的Python就已经安装完成了,测试一下
| python3 --version | |
| pip --version |
三、 虚拟环境
| sudo pip install virtualenvwrapper -y # 安装虚拟环境管理器 | |
| mkdir $HOME/.virtualenvs # 创建存放虚拟环境的文件夹 | |
| echo -e "export WORKON_HOME=$HOME/.virtualenvs\nexport VIRTUALENVWRAPPER_PYTHON=/usr/bin/python3\nsource ${VIRTUALENVWRAPPER_PYTHON}/bin/virtualenvwrapper.sh" >> /etc/profile # 配置 virtualenvwrapper ,使其自启动 | |
| source /etc/profile # 刷新配置文件 | |
| mkvirtualenv pyEnv # 创建一个虚拟环境,如果没有报错,则大工告成 |
最后,注意一下,这些操作,最好在root用户下运行
四、 脚本文件
| #!/usr/bin/bash | |
| su root # 切换到root权限下运行 | |
| yum info | grep wget1 || yum install wge # 相当于迅雷,通过链接来下载资源 | |
| wget https://www.python.org/ftp/python/3.9.10/Python-3.9.10.tgz # 获取网络包 | |
| mkdir /usr/bin/python3.9 # 创建存放python的文件夹 | |
| tar -zxf Python-3.9.10.tgz # 进行解压工作 | |
| cd Python-3.9.10 # 进入到源码中 | |
| ./configure prefix=/usr/bin/python3.9 # 配置信息,把Python存放在/usr/bin/python3.9目录下 | |
| make && make install # 编译安装python | |
| rm -rf Python-3.9.10.tgz Python-3.9.10 # 移除附带的文件 | |
| which python3 && rm -rf /usr/bin/python3 # 如果存在python3软链接,移除 | |
| ln -s /usr/bin/python3.9 /usr/bin/python3 # 创建python3软链接 | |
| which pip > /dev/null 2>&1 && rm -rf /usr/bin/pip # 把python2.7的pip移除,如果没有,则什么都不干 | |
| ln -s /usr/bin/python3.9/bin/pip3 /usr/bin/pip # 创建pip软链接 | |
| echo "export $PYTHON_HOME=/usr/bin/python3.9\nexport $PATH=${PYTHON_HOME}/bin:$PATH" >> /etc/profile # 配置python环境变量 | |
| source /etc/profile # 刷新配置文件 | |
| pip config set global.index-url https://pypi.tuna.tsinghua.edu.cn/simple # 换源,也可以使用https://pypi.douban.com/simple 等国内源 | |
| sudo pip install virtualenvwrapper -y # 安装虚拟环境管理器 | |
| mkdir $HOME/.virtualenvs # 创建存放虚拟环境的文件夹 | |
| echo -e "export WORKON_HOME=$HOME/.virtualenvs\nexport VIRTUALENVWRAPPER_PYTHON=/usr/bin/python3\nsource ${VIRTUALENVWRAPPER_PYTHON}/bin/virtualenvwrapper.sh" >> /etc/profile # 配置 virtualenvwrapper ,使其自启动 | |
| source /etc/profile # 刷新配置文件 | |
| mkvirtualenv pyEnv # 创建一个虚拟环境,如果没有报错,则大工告成 |
五、 安装conda
还有一种安装python的方式,就是使用conda快捷安装
-
获取bash脚本
在清华源镜像里面下载,【https://mirrors.tuna.tsinghua.edu.cn/anaconda/archive/】
# 这里我使用的是:https://mirrors.tuna.tsinghua.edu.cn/anaconda/archive/Anaconda3-2022.05-Linux-x86_64.sh yum info | grep wget1 || yum install wget # 如果没有wget则安装 # 下载bash脚本 wget https://mirrors.tuna.tsinghua.edu.cn/anaconda/archive/Anaconda3-2022.05-Linux-x86_64.sh -
运行脚本文件
bash Anaconda3-2022.05-Linux-x86_64.sh #(1)回车键,进入注册信息页面 #(2)按q跳过阅读,yes #(3)默认安装在用户目录下,直接回车即可安装;若想自定义安装目录,直接输入安装目录,回车即可。 #(4)Do you wish the installer to initialize Anaconda3 by running conda init ? 输入 no,回车 -
配置环境变量
# 添加到环境变量中 echo " export ANACONDA_HOME=/usr/local/anaconda3/ export PATH=${ANACONDA_HOME}/bin:$PATH " >> /etc/profile/ # 更新配置文件 source /etc/profile -
检测是否安装成功
# 初始化conda conda init bash conda --version # conda 4.12.0 which python # /usr/local/anaconda3/bin/python -
conda 换源
conda config --set show_channel_urls yes # 创建配置文件 echo " channels: - defaults show_channel_urls: true default_channels: - https://mirrors.tuna.tsinghua.edu.cn/anaconda/pkgs/main - https://mirrors.tuna.tsinghua.edu.cn/anaconda/pkgs/r - https://mirrors.tuna.tsinghua.edu.cn/anaconda/pkgs/msys2 custom_channels: conda-forge: https://mirrors.tuna.tsinghua.edu.cn/anaconda/cloud msys2: https://mirrors.tuna.tsinghua.edu.cn/anaconda/cloud bioconda: https://mirrors.tuna.tsinghua.edu.cn/anaconda/cloud menpo: https://mirrors.tuna.tsinghua.edu.cn/anaconda/cloud pytorch: https://mirrors.tuna.tsinghua.edu.cn/anaconda/cloud pytorch-lts: https://mirrors.tuna.tsinghua.edu.cn/anaconda/cloud simpleitk: https://mirrors.tuna.tsinghua.edu.cn/anaconda/cloud " >> .condarc