@
目录说明:采用打开虚拟机文件的方式使用Ubuntu(2022服务器版不带桌面),打开后配置一下网卡文件即可使用
1,使用百度网盘拷贝Ubuntu虚拟机文件到本地上
链接:https://pan.baidu.com/s/17uqM3I-8OgDb_j1pmv8nMA
提取码:i57u
2,使用虚拟机直接打开
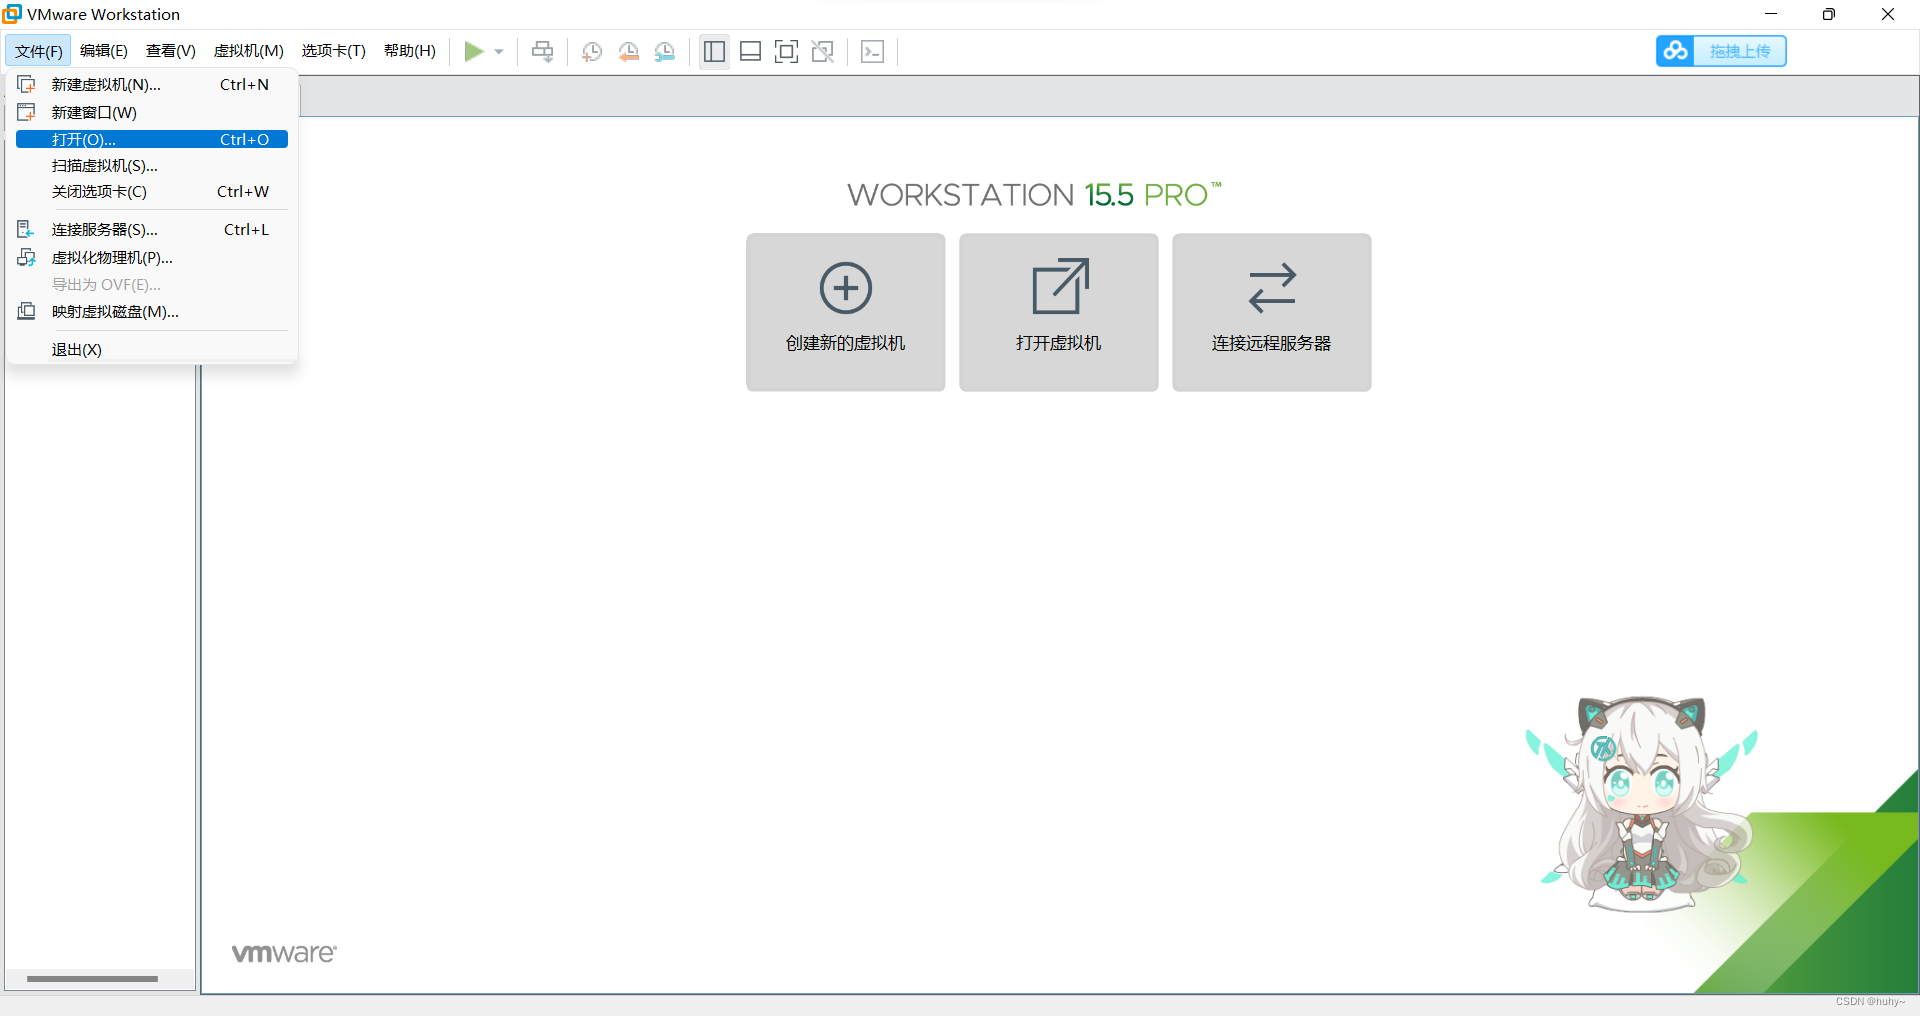
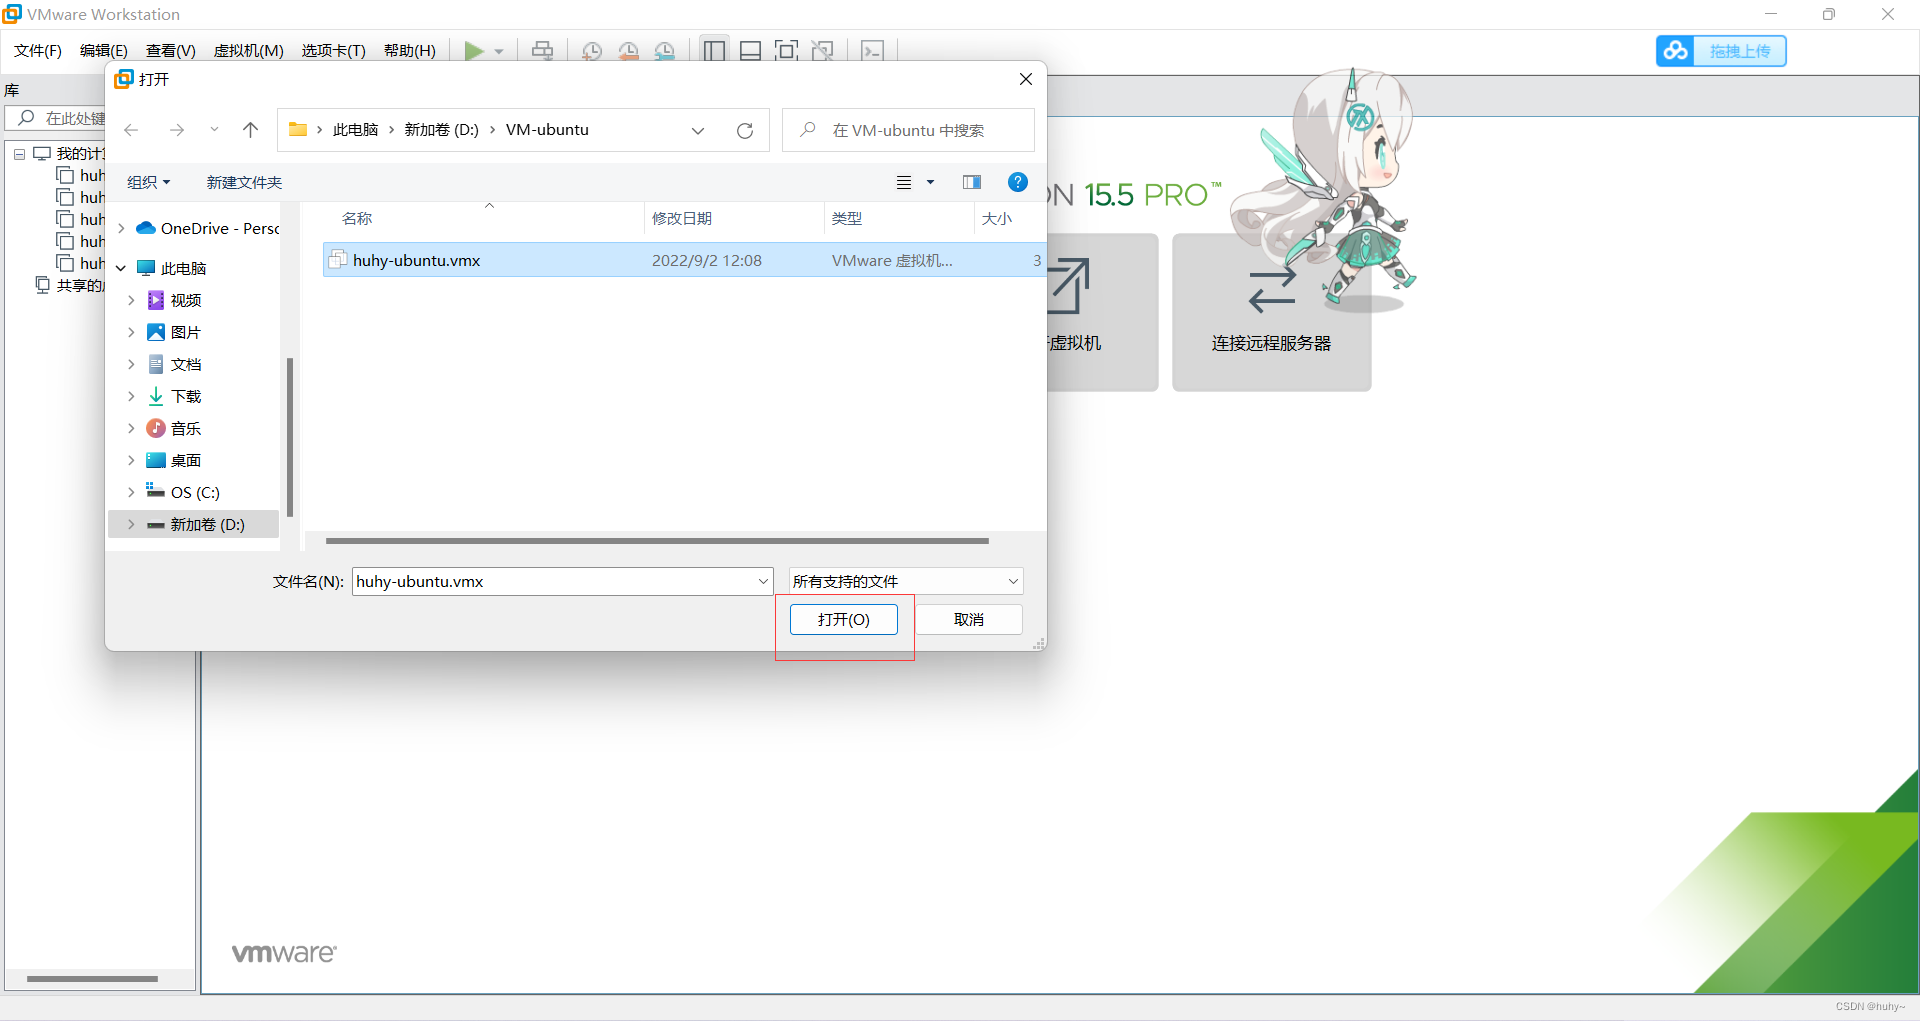
3,打开下载到本地的虚拟机文件
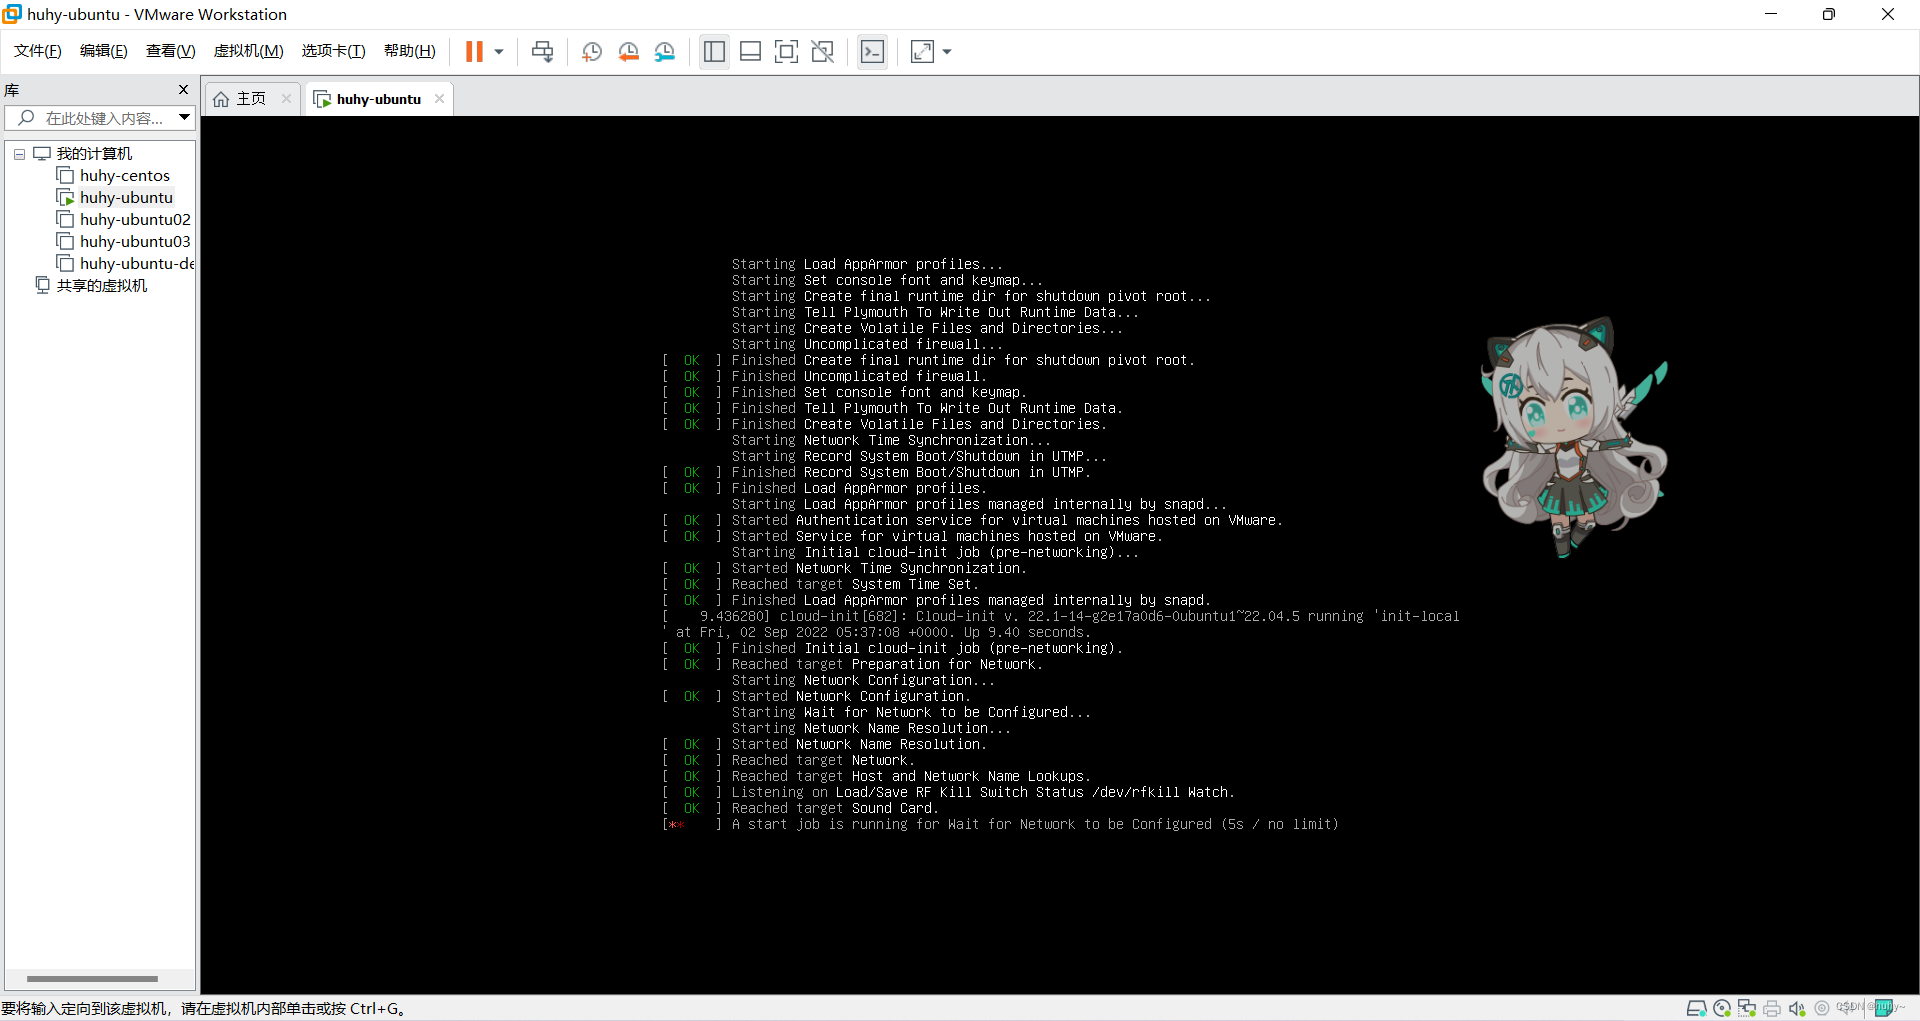
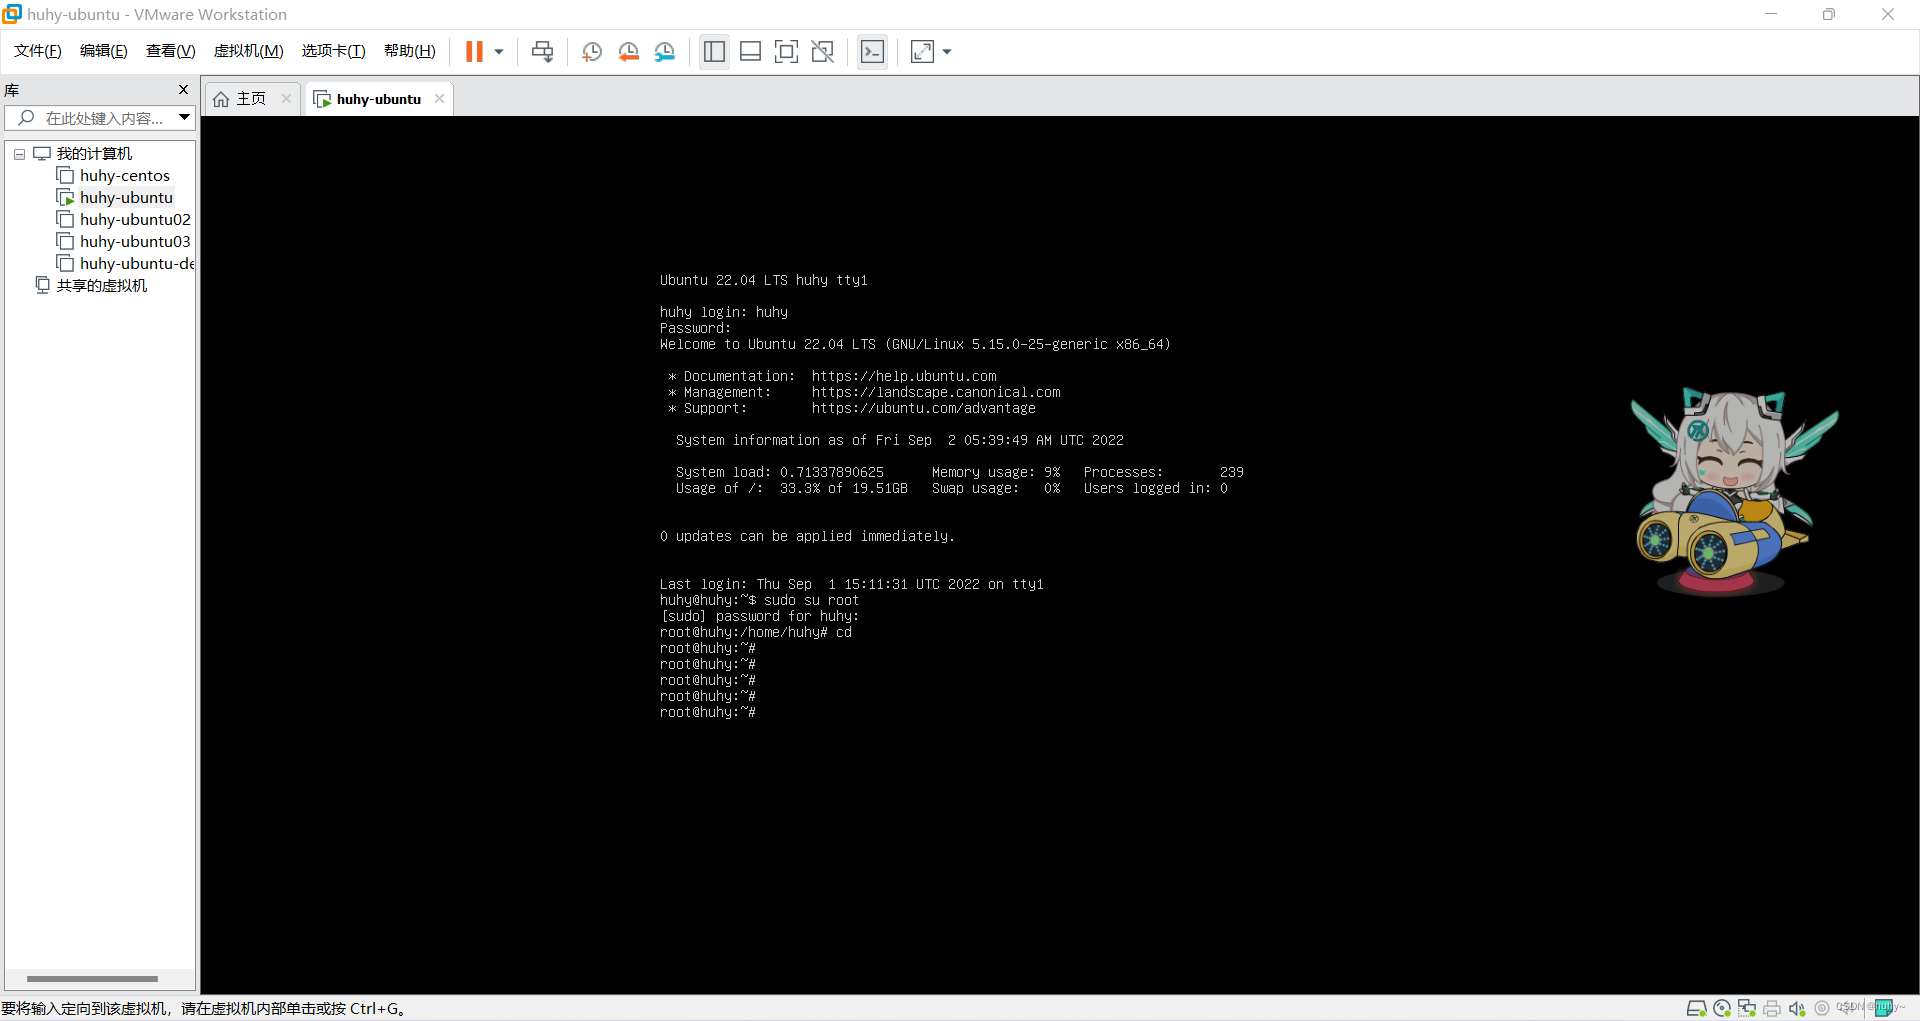
4,直接开启虚拟机后等待一分钟左右即可
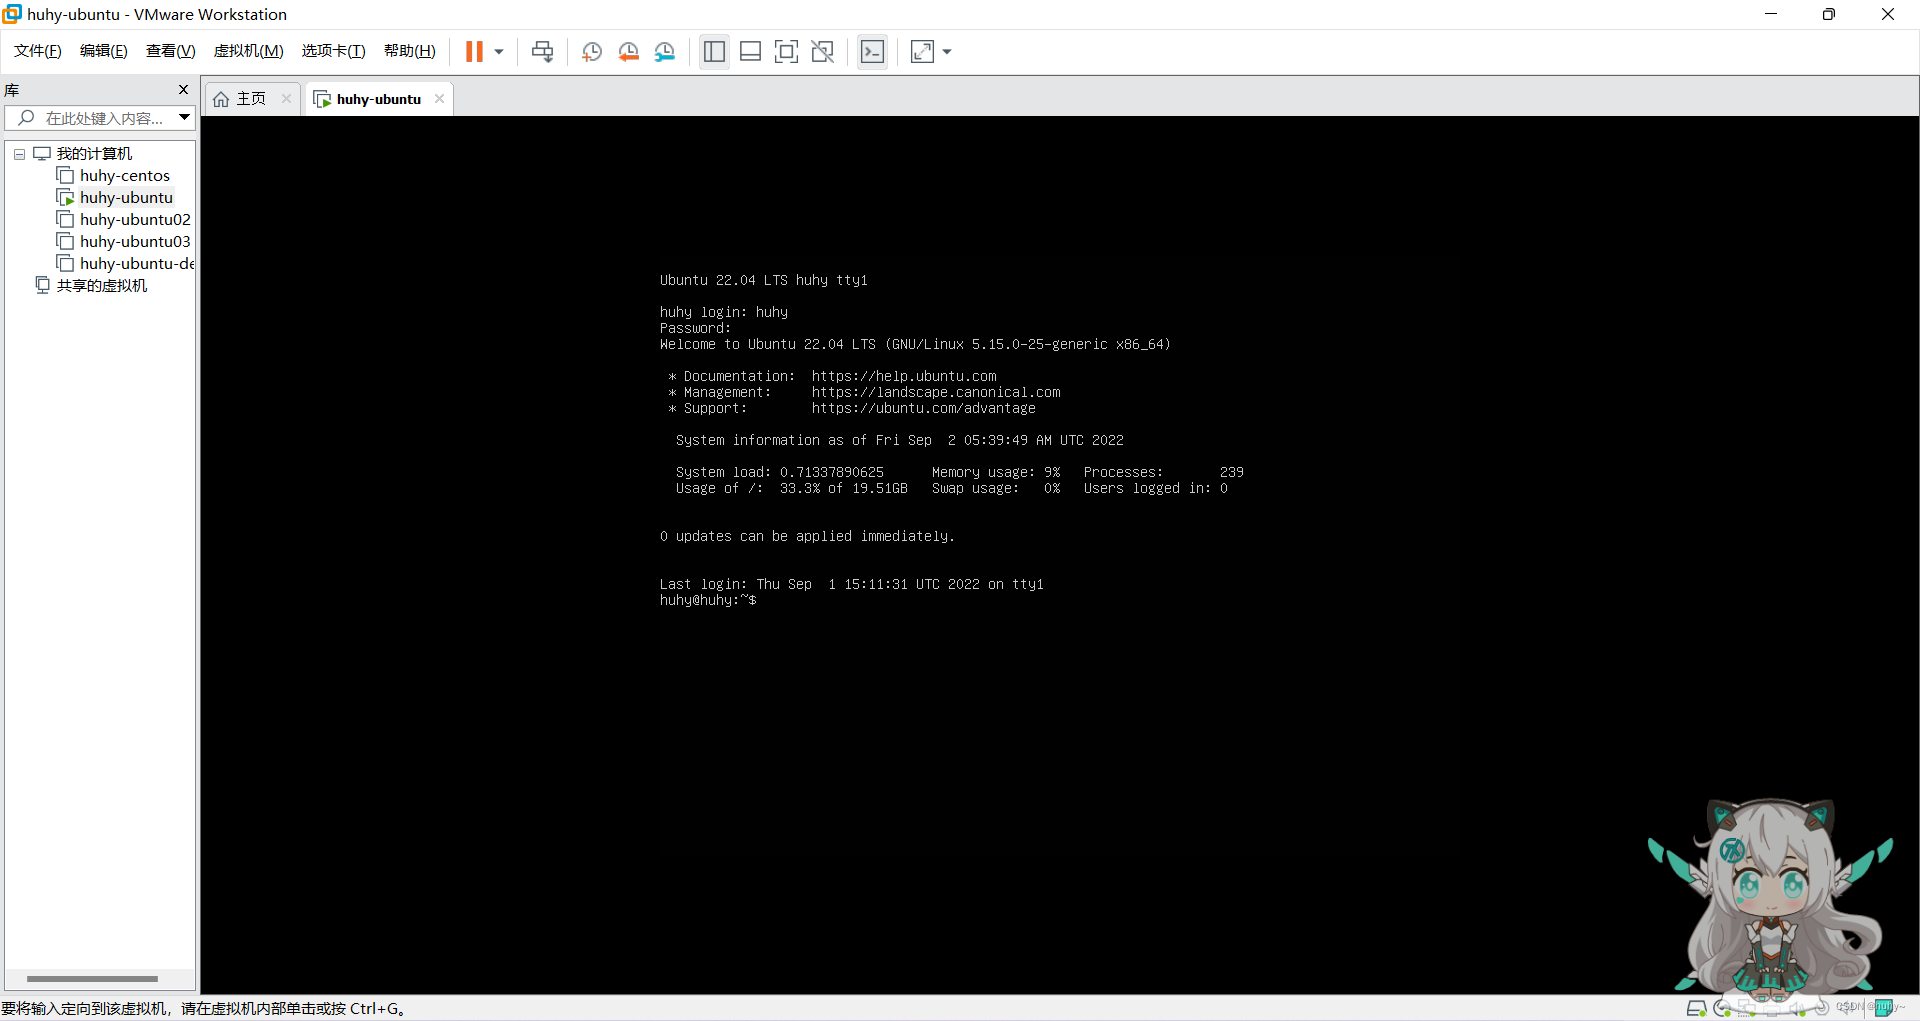
5,然后直接登录即可,默认用户密码(huhy:Root@123)
6,切换到root用户,默认用户密码(root@123),注:root密码未设置
7,网卡模式设置为静态IP,需要自己手动设置

8,编辑网卡配置文件
root@huhy:`# vim /etc/netplan/00-installer-config.yaml
root@huhy:~# cat /etc/netplan/00-installer-config.yaml
# This is the network config written by 'subiquity'
network:
  ethernets:
    ens33:
      dhcp4: no
      addresses: [192.168.200.10/24]
      gateway4: 192.168.200.2
      nameservers:
        addresses: [114.114.114.114,8.8.8.8]
  version: 2
root@huhy:~#

#网卡重启命令
root@huhy:~# netplan apply

** (generate:2238): WARNING **: 05:53:18.816: `gateway4` has been deprecated, use default routes instead.
See the 'Default routes' section of the documentation for more details.

** (process:2236): WARNING **: 05:53:19.274: `gateway4` has been deprecated, use default routes instead.
See the 'Default routes' section of the documentation for more details.
root@huhy:~# ip a
1: lo: <LOOPBACK,UP,LOWER_UP> mtu 65536 qdisc noqueue state UNKNOWN group default qlen 1000
    link/loopback 00:00:00:00:00:00 brd 00:00:00:00:00:00
    inet 127.0.0.1/8 scope host lo
       valid_lft forever preferred_lft forever
    inet6 ::1/128 scope host
       valid_lft forever preferred_lft forever
2: ens33: <BROADCAST,MULTICAST,UP,LOWER_UP> mtu 1500 qdisc fq_codel state UP group default qlen 1000
    link/ether 00:0c:29:1a:93:c9 brd ff:ff:ff:ff:ff:ff
    altname enp2s1
    inet 192.168.200.10/24 brd 192.168.200.255 scope global ens33     #ip已经更改
       valid_lft forever preferred_lft forever
    inet6 fe80::20c:29ff:fe1a:93c9/64 scope link
       valid_lft forever preferred_lft forever
root@huhy:~#

#ubuntu用vim进行编辑文件,或者gedit记事本的形式,用vi会有乱码错误
9,使用终端尝试远程登录
C:\Users\huhy>ssh huhy@192.168.200.10
huhy@192.168.200.10's password:


Microsoft Windows [版本 10.0.22000.918]
(c) Microsoft Corporation。保留所有权利。

C:\Users\huhy>ssh huhy@192.168.200.10
huhy@192.168.200.10's password:
Welcome to Ubuntu 22.04 LTS (GNU/Linux 5.15.0-25-generic x86_64)

 * Documentation:  https://help.ubuntu.com
 * Management:     https://landscape.canonical.com
 * Support:        https://ubuntu.com/advantage

  System information as of Fri Sep  2 05:55:19 AM UTC 2022

  System load:  0.0205078125       Processes:              217
  Usage of /:   34.4% of 19.51GB   Users logged in:        1
  Memory usage: 11%                IPv4 address for ens33: 192.168.200.10
  Swap usage:   0%


0 updates can be applied immediately.


Last login: Fri Sep  2 05:50:19 2022 from 192.168.200.1
huhy@huhy:~$ sudo su root
[sudo] password for huhy:
root@huhy:/home/huhy# cd
root@huhy:~#
10,测试是否可以上网
root@huhy:~# ping baidu.com
PING baidu.com (39.156.66.10) 56(84) bytes of data.
64 bytes from 39.156.66.10 (39.156.66.10): icmp_seq=1 ttl=128 time=45.1 ms
64 bytes from 39.156.66.10 (39.156.66.10): icmp_seq=2 ttl=128 time=45.7 ms
64 bytes from 39.156.66.10 (39.156.66.10): icmp_seq=3 ttl=128 time=44.9 ms
64 bytes from 39.156.66.10 (39.156.66.10): icmp_seq=4 ttl=128 time=54.5 ms
64 bytes from 39.156.66.10 (39.156.66.10): icmp_seq=5 ttl=128 time=46.4 ms
64 bytes from 39.156.66.10 (39.156.66.10): icmp_seq=6 ttl=128 time=45.9 ms
64 bytes from 39.156.66.10 (39.156.66.10): icmp_seq=7 ttl=128 time=48.9 ms
^C64 bytes from 39.156.66.10: icmp_seq=8 ttl=128 time=45.2 ms

--- baidu.com ping statistics ---
8 packets transmitted, 8 received, 0% packet loss, time 7018ms
rtt min/avg/max/mdev = 44.920/47.080/54.541/3.055 ms
root@huhy:~#


# 到此节点基础配置完毕~节点使用的是清华源作为下载