也算是入教arch了,本来想物理机的,但是又舍不得笔记本上的环境,刚好想着玩玩wsl2。到处缝缝补补也算是弄了个感觉能看的
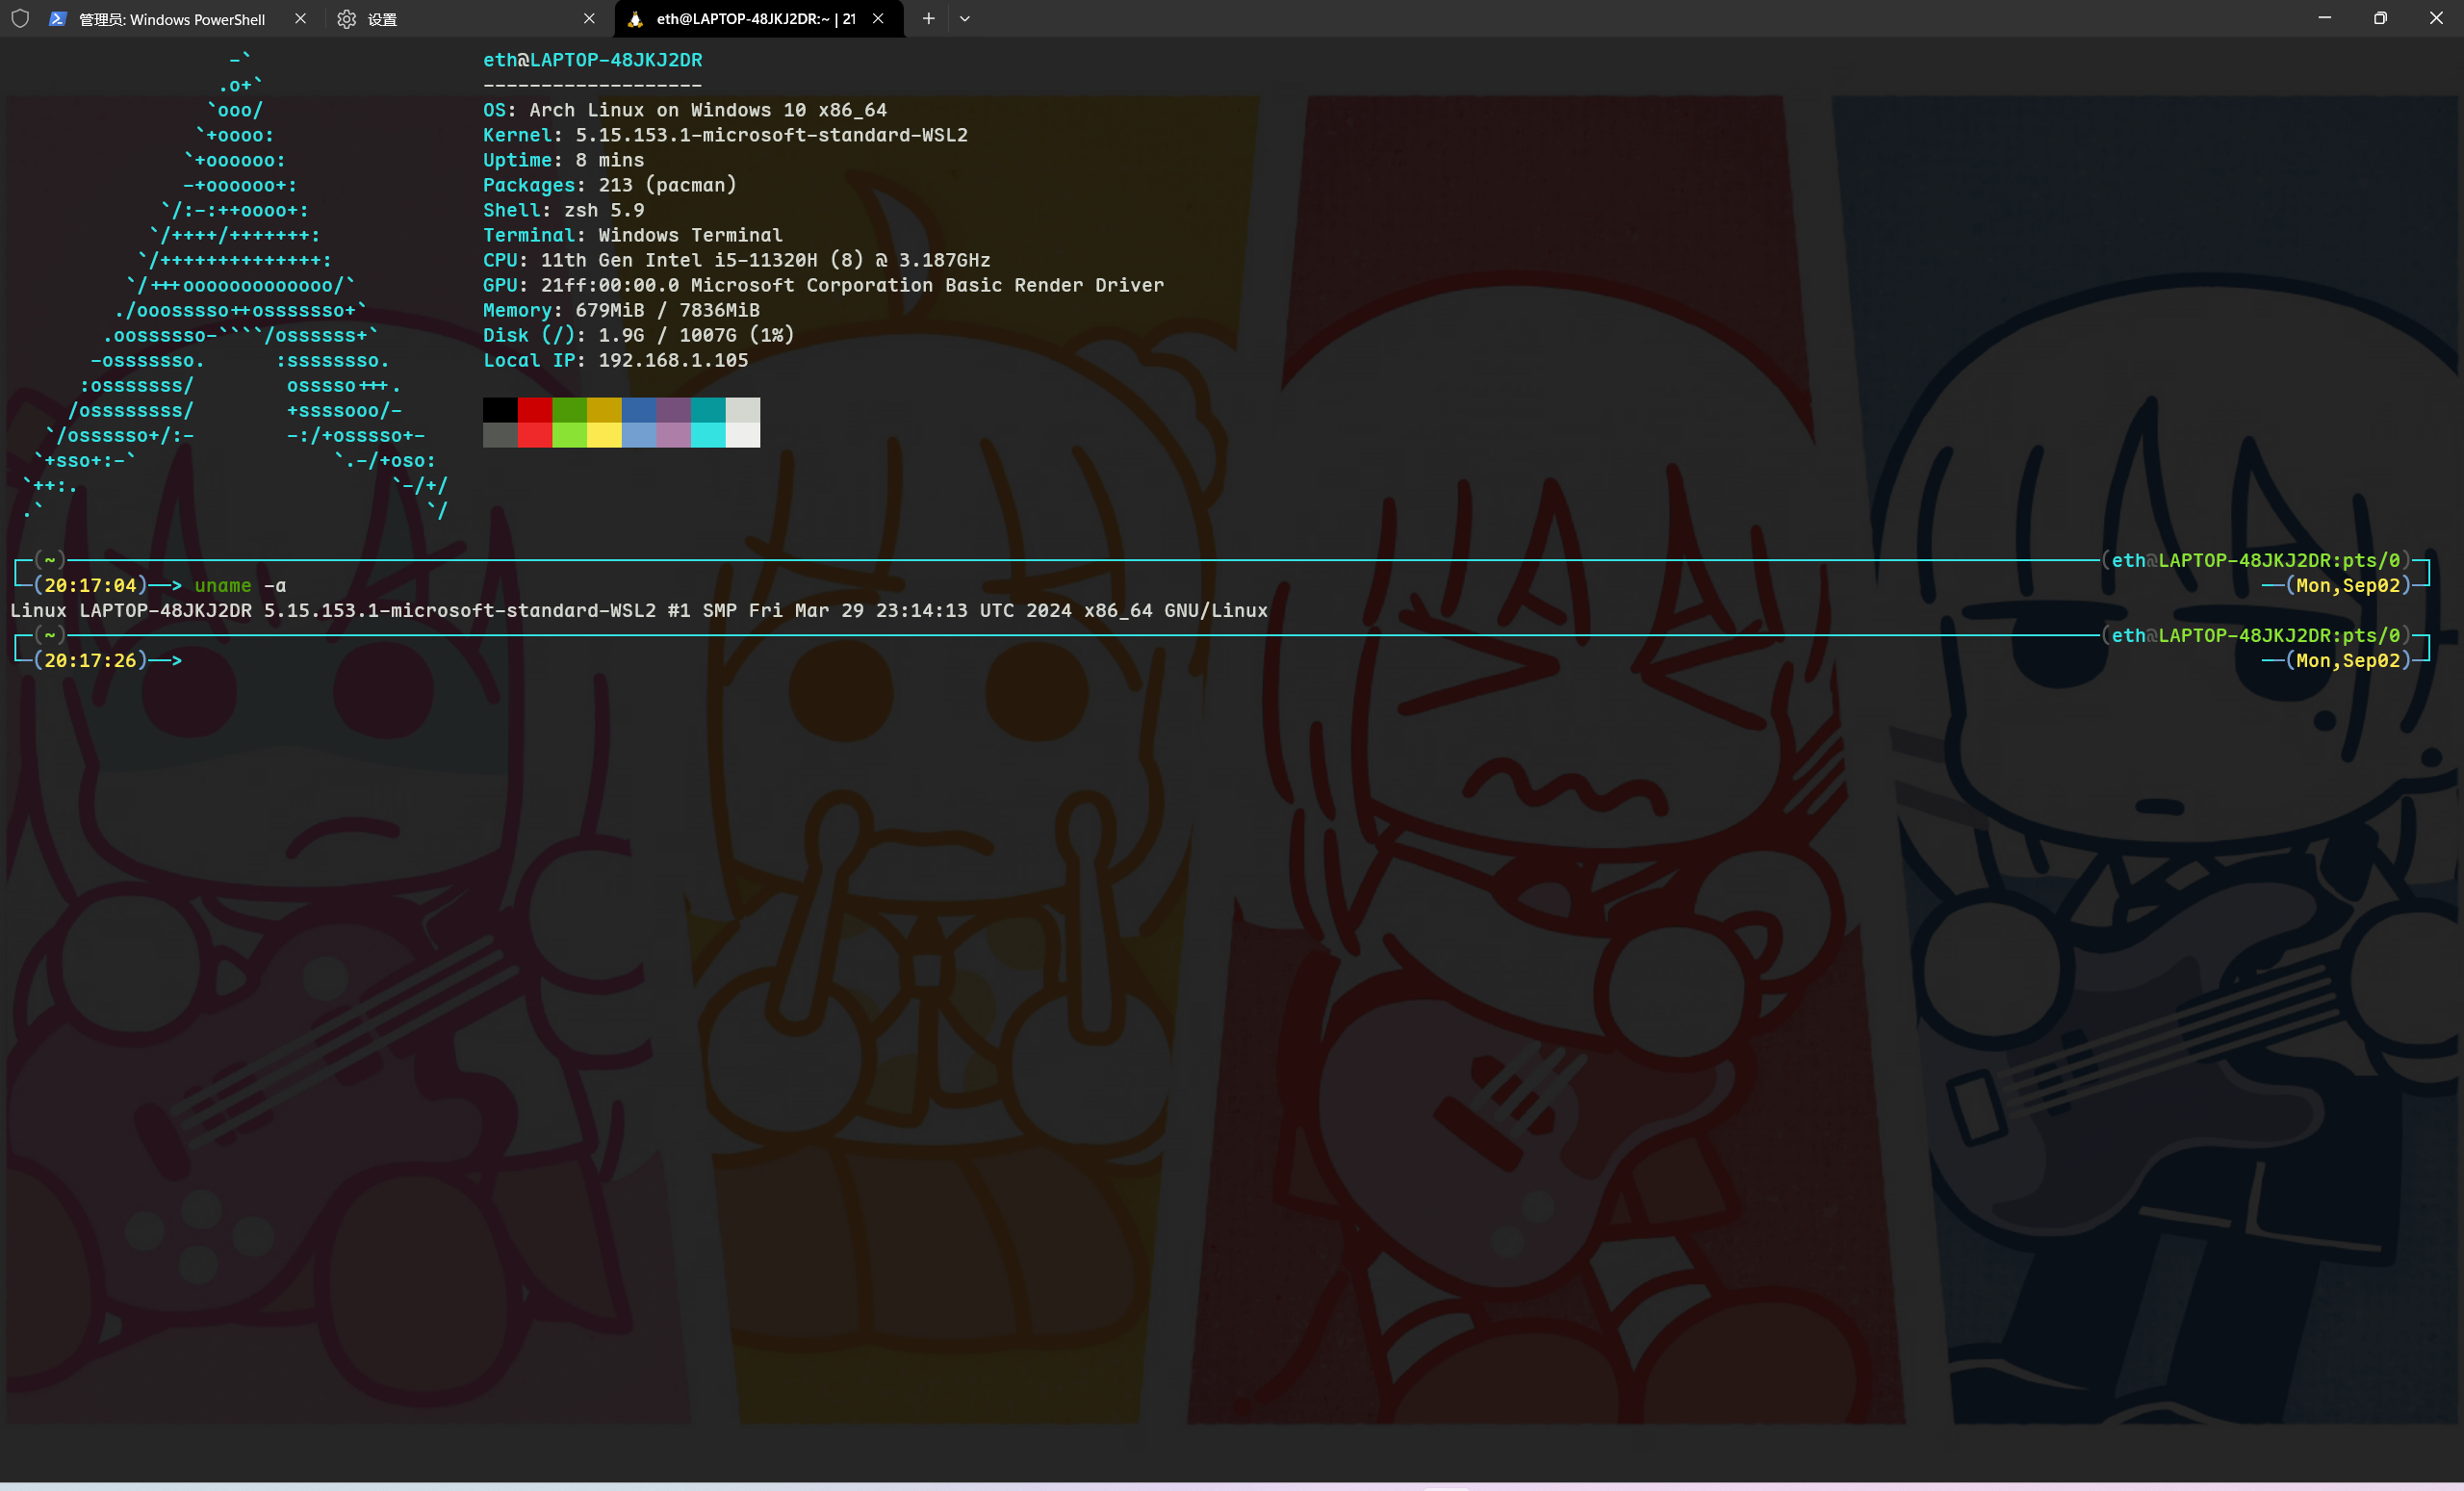
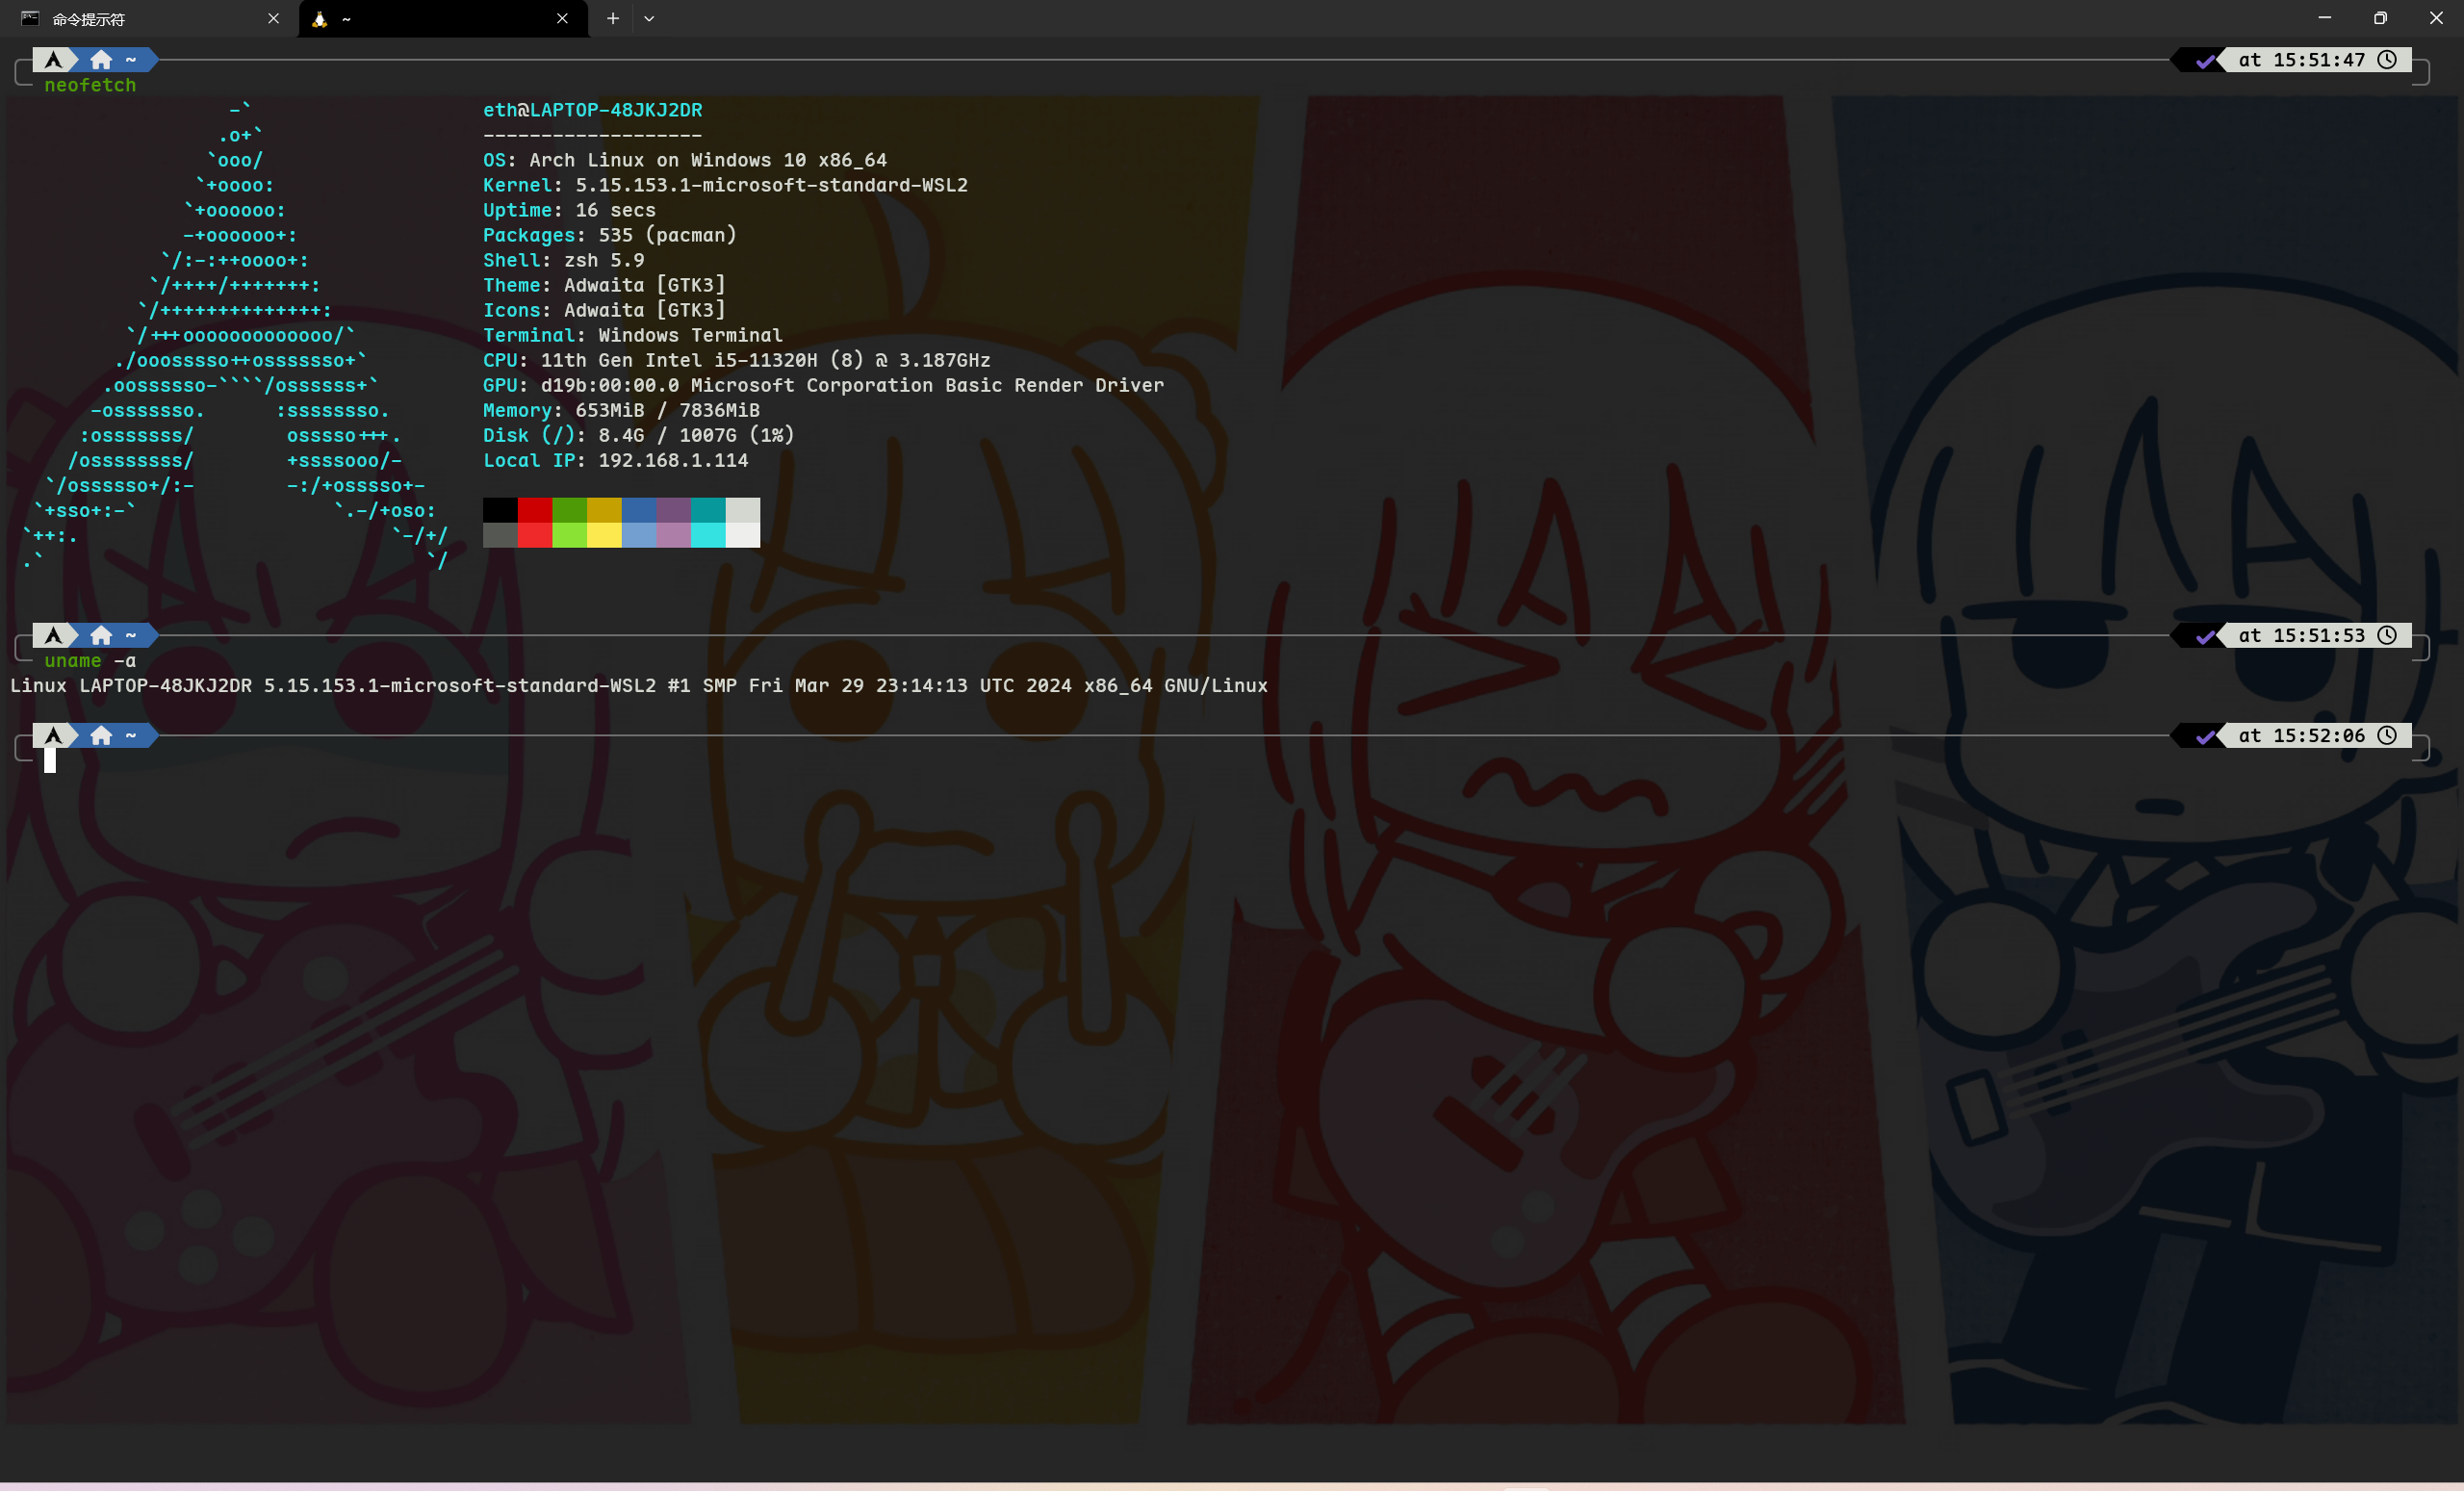
最终效果图
图一内置主题

图二p10k

使用材料
终端直接用的是win的terminal,不是因为他善,只是我懒。喜欢捣鼓可以拿wezterm来
shell用的是on my zsh + p10k主题
wsl2安装archwsl,这里用的是这个up的,我就照本宣科简略写出来
Terminal
->设置
->启动
->默认配置文件->可选powershell(无太多用,就是新建个什么窗口)
->默认终端,选win terminal,这样子win10用户不用再看到哪个方方正正的cmd
->默认值(对全局)
->其他设置->外观 这里就可以更改一下主题颜色,背景图片等。同时最好要安装些字体,因为后续可能因为缺少字体让arch显示东西有问题。
这里字体可以用maple 或者 nerd,看个人喜好别的也行
安装wsl2
安装wsl时不安装linux发行版,安装成功后要重启电脑
wsl --install --no-distribution
安装arch
下载与安装
下载archwsl,项目地址GitHub - yuk7/ArchWSL: ArchLinux based WSL Distribution. Supports multiple install.下载Arch.zip这个包
然后放到你想放的盘,解压。双击程序Arch.exe安装,完成后再次运行程序一次。等待到命令行终端出现即配置安装完成。
用户管理
接着需要添加用户,因为此时主机仅有root用户
添加root密码
passwd
添加个人用户
echo "%wheel ALL=(ALL) ALL" > /etc/sudoers.d/wheel

useradd -m -G wheel -s /bin/bash {username}//自设名字

passwd {username} //输入你个人账号密码

后续exit退出即可
设置默认登录用户
在arch.exe的路径中打开powershell
Arch.exe config --default-user {username}
这时候在win terminal下拉菜单中可以看到arch了
pacman配置
pacman初始化
sudo pacman-key --init
sudo pacman-key --populate
sudo pacman -Syy archlinux-keyring
pacman换源
可以换清华的源:
archlinux | 镜像站使用帮助 | 清华大学开源软件镜像站 | Tsinghua Open Source Mirror
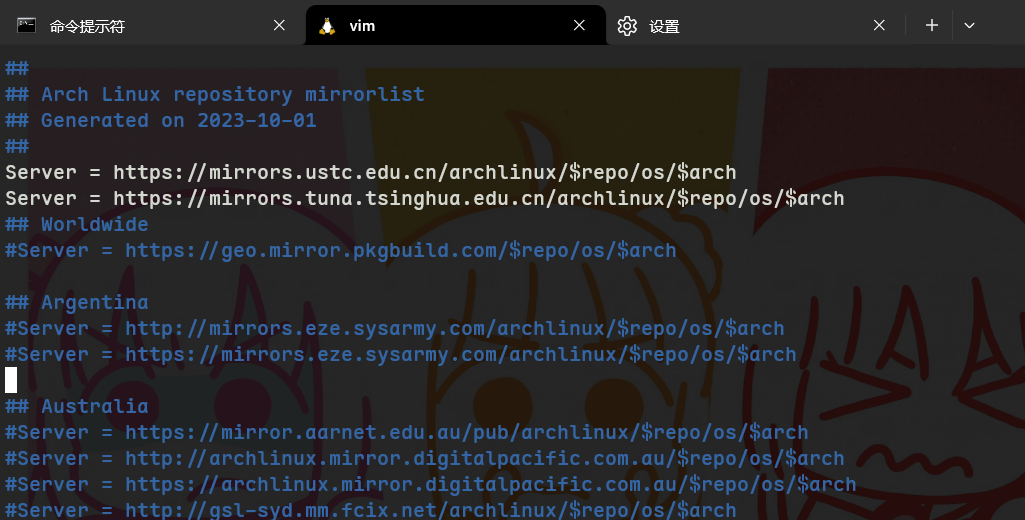
修改目录下的/etc/pacman.d/mirrorlist
sudo vim /etc/pacman.d/mirrorlist
在前面添加
Server = https://mirrors.tuna.tsinghua.edu.cn/archlinux/$repo/os/$arch

更新pacman
sudo pacman -Syyu
后续
yay
安装yay在 Arch Linux 上安装和使用 Yay | Linux 中国 - 知乎 (zhihu.com)
sudo pacman -S --needed base-devel git
git clone https://aur.archlinux.org/yay.git
cd yay
makepkg -si
pacman的库东西挺少,有些东西得在社区里找
zsh
zsh安装
Arch Linux 终端升级zsh(oh my zsh) - 简书 (jianshu.com)
安装zsh,更改默认终端为zsh
yay -S zsh
chsh -s /bin/zsh
安装oh-my-zsh
yay -S oh-my-zsh-git
复制默认配置(这几步我记得好像遇到什么问题,忘了是不是用了别的方法)
cp /usr/share/oh-my-zsh/zshrc ~/.zshrc
zsh官方主题
编辑~/.zshrc文件,找到ZSH_THEME="",可以选你自己喜欢的主题
Themes · ohmyzsh/ohmyzsh Wiki · GitHub
之前的图一就是用了其中的jonathan主题
zsh插件
插件列表默认是添加了git和autojump,现在要添加两个非常常用的:
zsh-syntax-highlighting(语法高亮)和zsh-autosuggestions(补全)
安装:
安装autojump时候会需要一些py依赖照着网上走就行
yay -S autojump
yay -S zsh-syntax-highlighting zsh-autosuggestions
链接文件
sudo ln -s /usr/share/zsh/plugins/zsh-syntax-highlighting /usr/share/oh-my-zsh/custom/plugins/
sudo ln -s /usr/share/zsh/plugins/zsh-autosuggestions /usr/share/oh-my-zsh/custom/plugins/
最后的插件设置:
同样是打开.zshrc文件,找到plugins=(git),如下添加
plugins=(
git
autojump
zsh-syntax-highlighting
zsh-autosuggestions
)
执行source ~/.zshrc后配置生效
source ~/.zshrc
p10k主题
https://github.com/romkatv/powerlevel10k
非常好看的可选主题
安装
git clone --depth=1 https://github.com/romkatv/powerlevel10k.git ${ZSH_CUSTOM:-$HOME/.oh-my-zsh/custom}/themes/powerlevel10k
编辑.zshrc中的ZSH_THEME字段
ZSH_THEME="powerlevel10k/powerlevel10k"
运行配置
source ~/.zshrc
然后跟着提示一步步选择喜欢的样式即可
终端复用
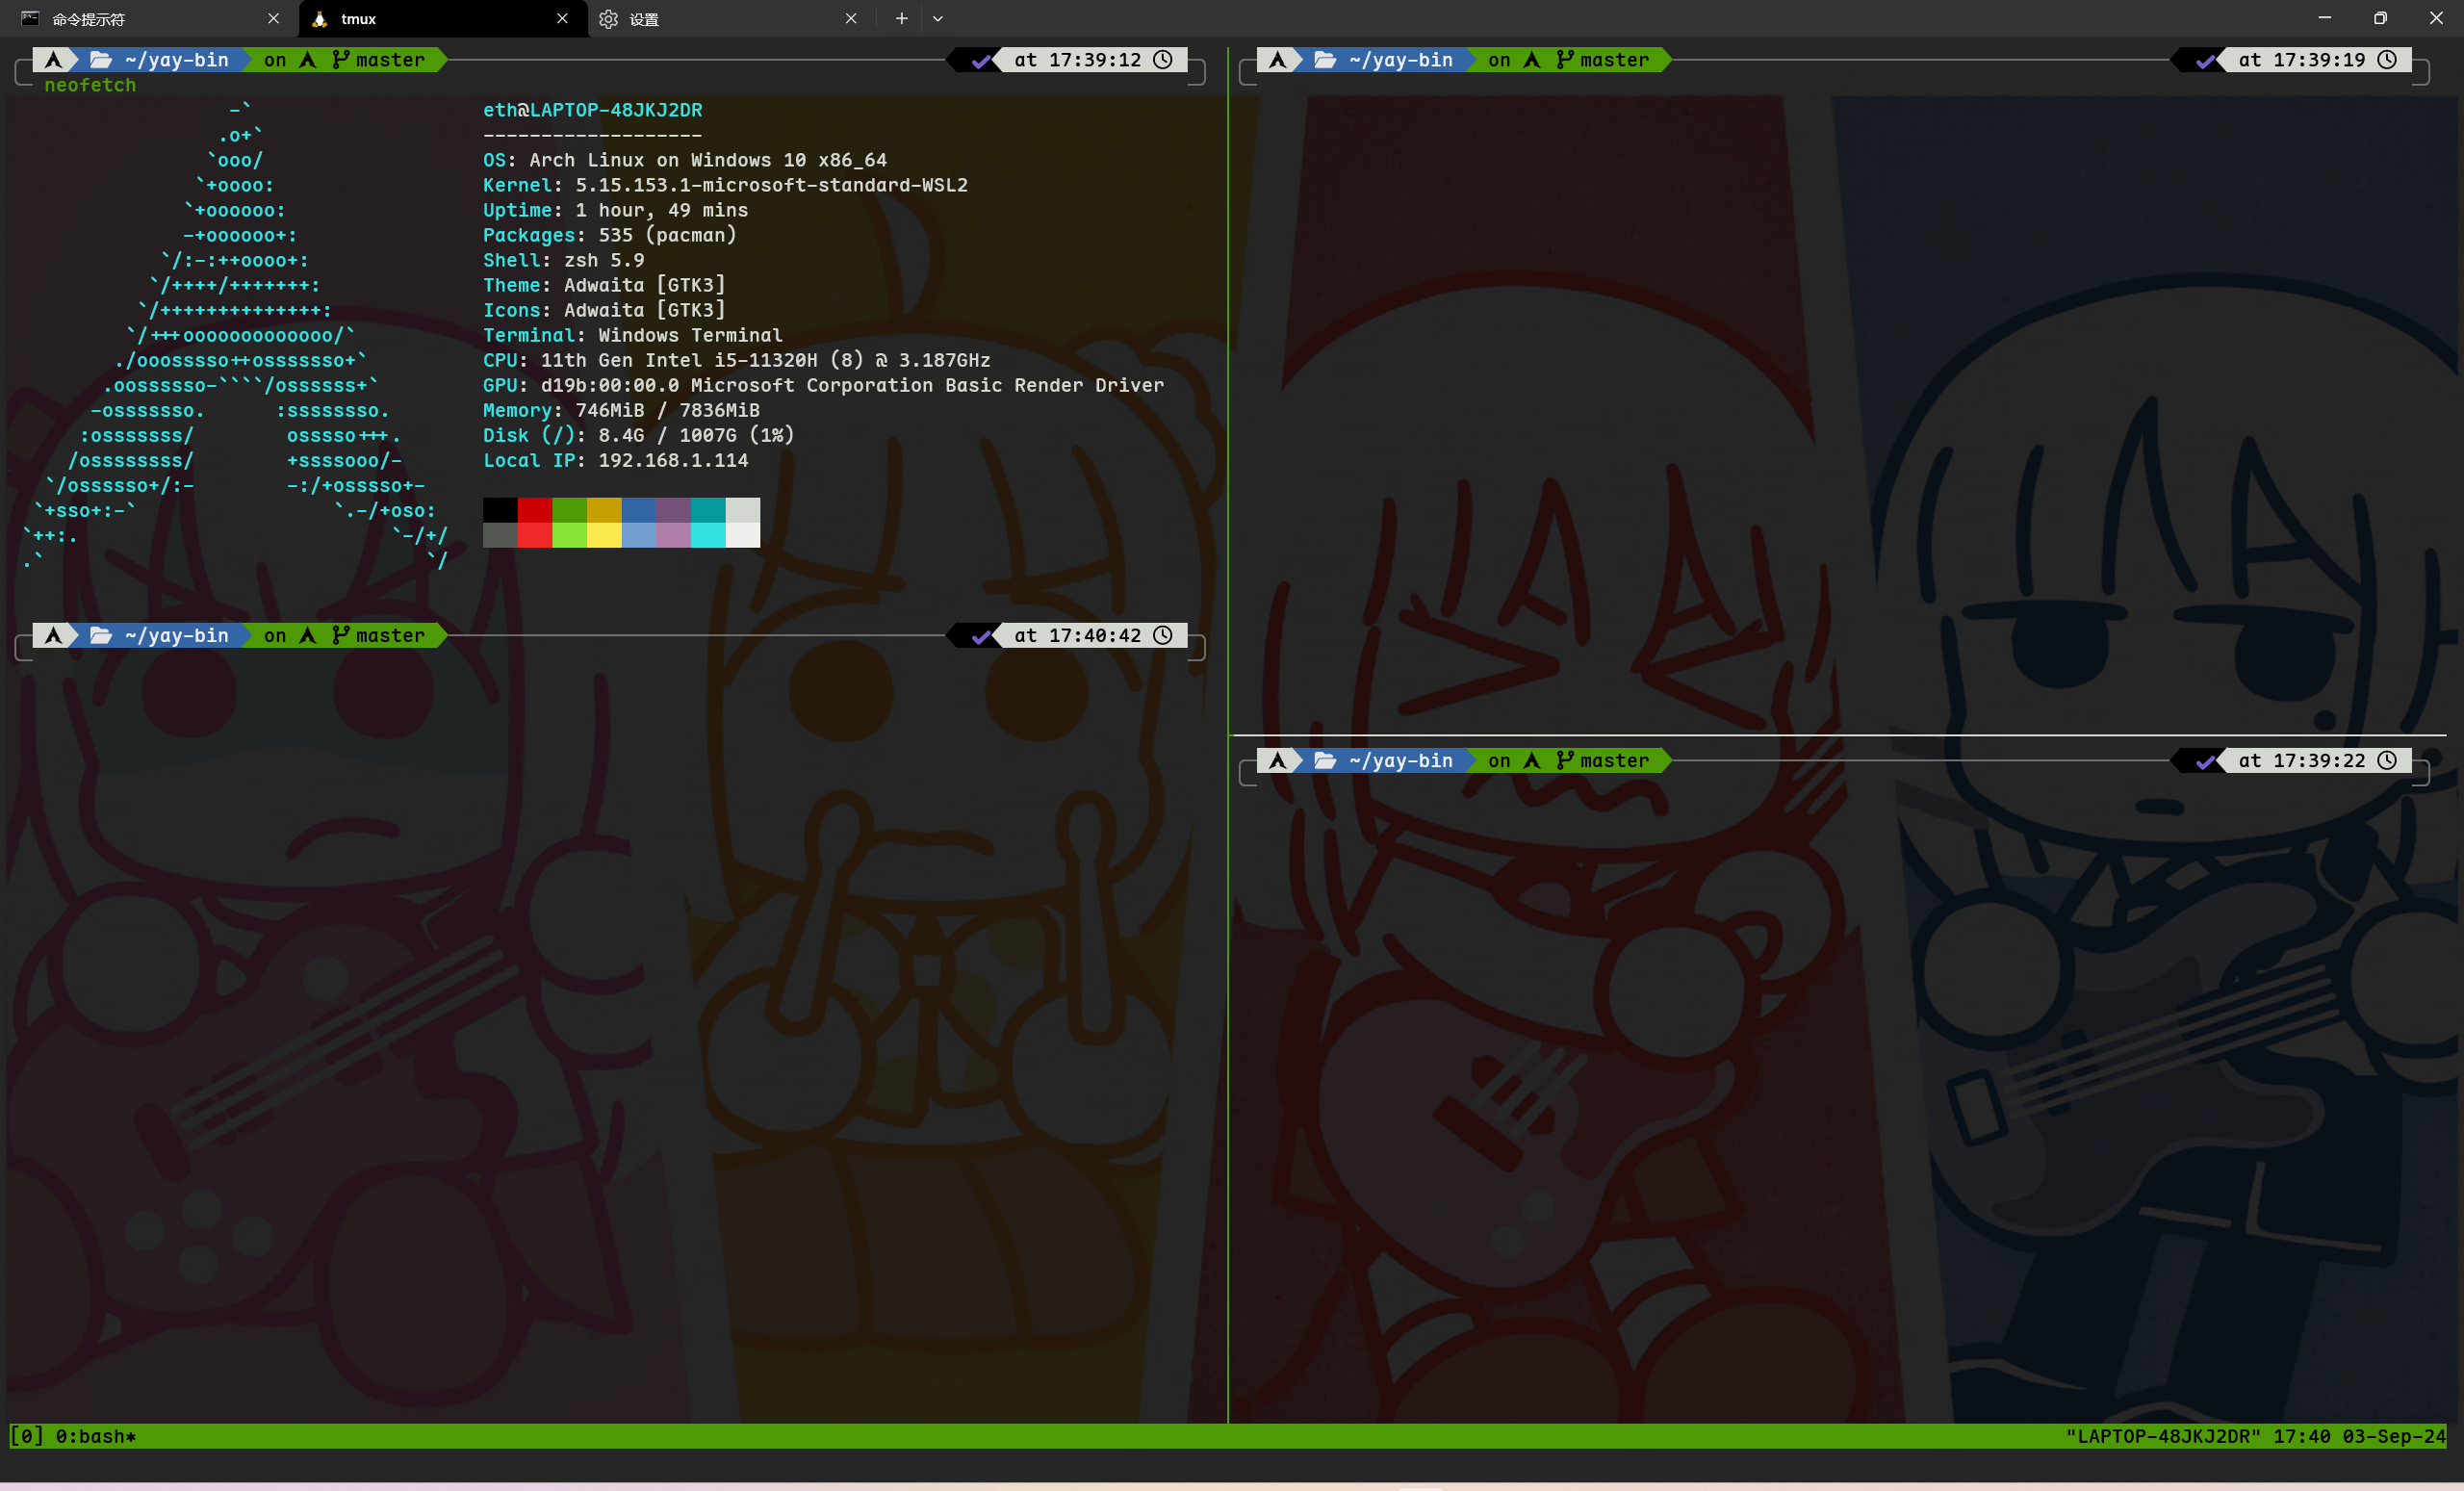
可以使用tmux来终端复用
sudo pacman -S tmux
使用方式是直接运行tmux进入tmux页面
常用快捷键
ctrl + b + % 垂直分割
ctrl + b + " 水平分割
ctrl + b + z最大化窗口
ctrl + b + x删除窗口
ctrl + b + 方向切换窗口
ctrl + b + d暂时离开窗口
ctrl + b + a返回工作窗口
详细学习可以看看这个https://www.bilibili.com/video/BV1ML411h7tF/
