前言
本文基于官方文档 https://central.sonatype.org/publish/publish-guide/ 编写。
发布步骤:
- 创建账号
- 创建用户 Token
- 创建命名空间
- 配置 GPG
- 配置项目
- 发布
注意事项:
- 发布成功的项目无法修改或者删除
准备阶段
创建账号
已有 Google 或者 Github 账号可以跳过此步骤,可以直接使用它们关联登录。
创建账号步骤如下:
-
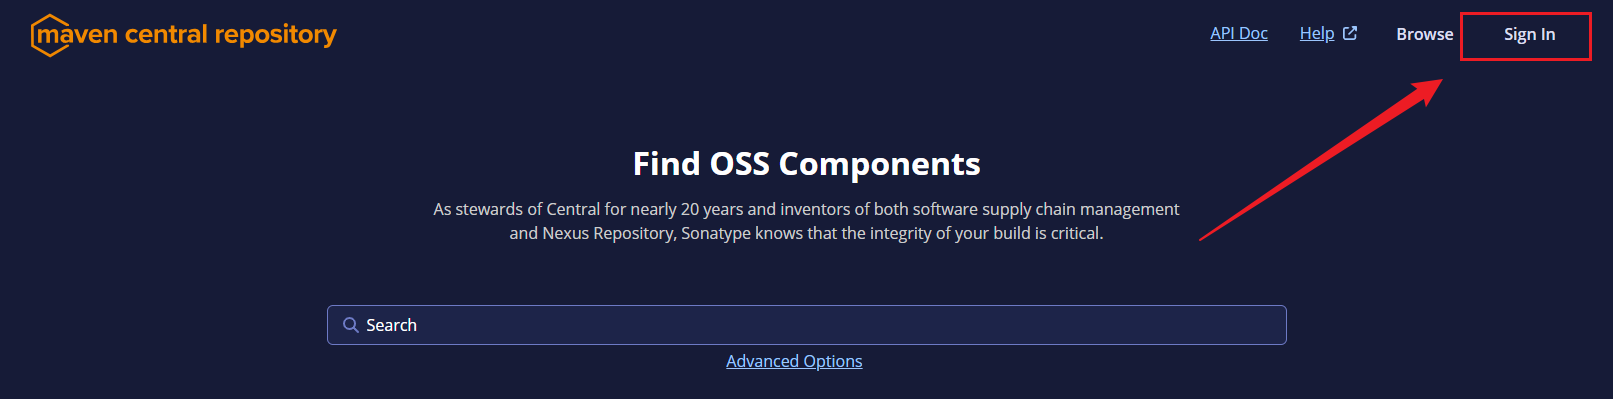
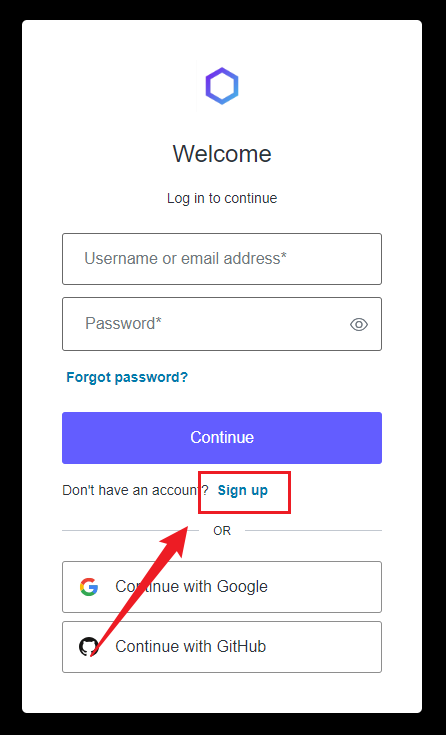
打开官网 https://central.sonatype.com/ 点击右上角的
Sign In,然后在打开的登录页中点击Sign up。
注意:邮箱要填写真实的邮箱,有验证的。
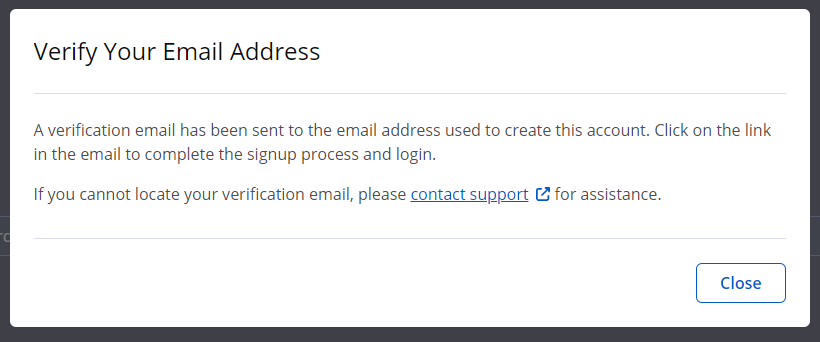
-
注册成功之后会提示验证邮箱。
-
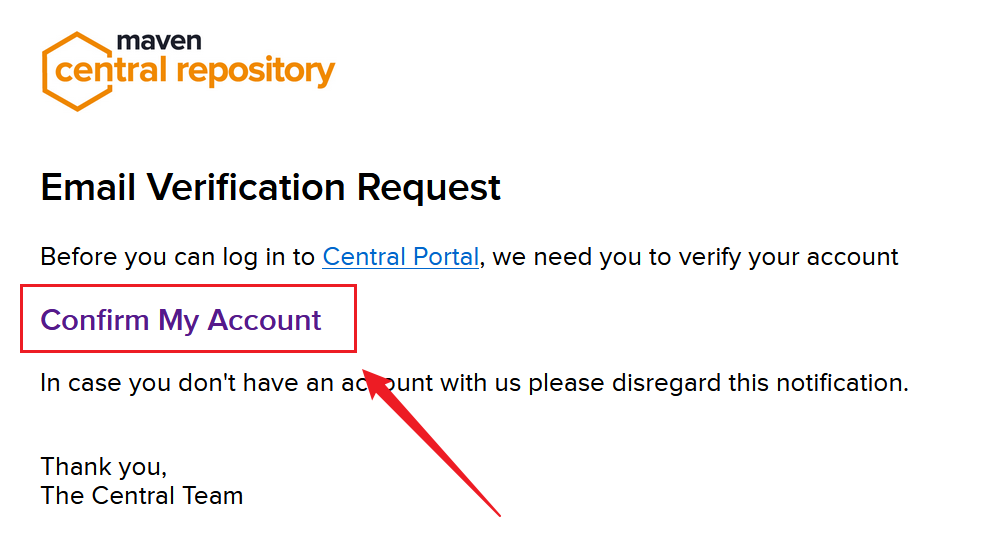
打开邮箱,收取邮件,点击
Confirm My Account验证邮箱。
-
在打开的页面中提示邮箱已验证,表示注册成功。
创建用户 Token
-
打开官网 https://central.sonatype.com/ 点击右上角的
Sign In,然后在打开的登录页直接输入用户名和密码登录,也可以直接选择 Google 或者 Github 关联登录。 -
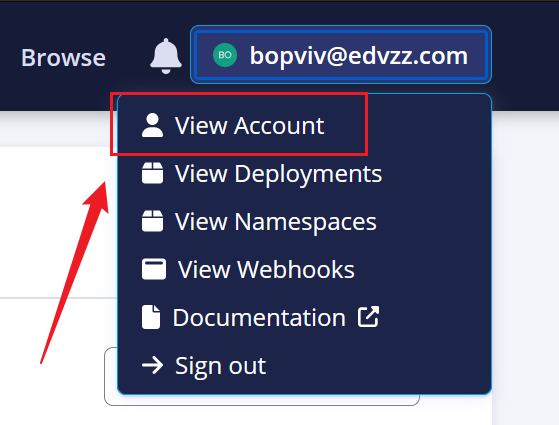
点击右上角的账号,在下拉菜单中选择
View Account。
-
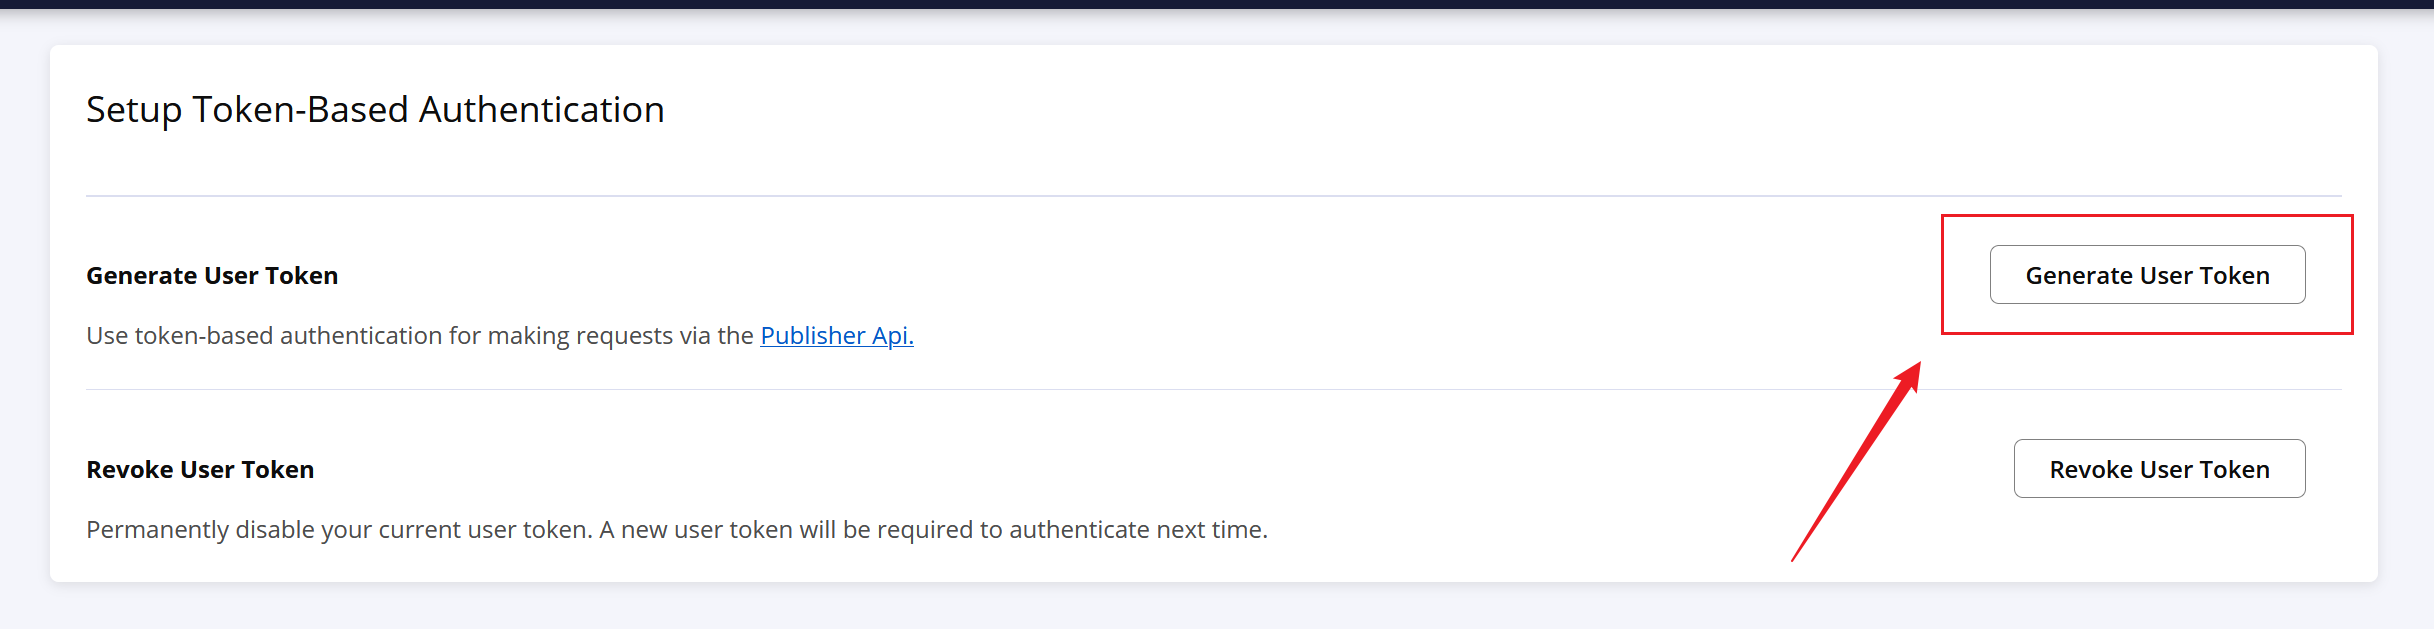
点击
Generate User Token。
-
然后在弹出来的对话框中点击
Ok,就会生成如下形式的 Token。<server> <id>${server}</id> <username>0j6XV+5V</username> <password>lSbp/2aMFiSiyzwNstB9zmzo6+5YyLqNHr9JDD8yKC5T</password> </server>注意这里的
id信息,需要改成你自定义的,后面会用到。然后将上述内容复制到要发布项目使用的settings.xml文件中,这里将id值改为central。<servers> <server> <id>central</id> <username>0j6XV+5V</username> <password>lSbp/2aMFiSiyzwNstB9zmzo6+5YyLqNHr9JDD8yKC5T</password> </server> </servers>
创建命名空间
官网对命名空间的解释:
Before you can publish your components, you must choose a namespace. In the Maven ecosystem, this is also known as a groupId, which is one of the three required coordinates to describe any component published to Maven Central, i.e. groupId, artifactId, version.
在发布组件之前,你必须选择一个命名空间。在Maven生态系统中,这也被称为groupId,它是描述发布到Maven Central的任何组件所需的三个坐标之一,即groupId、artifactId、version。
有两种方式选择你的命名空间:
-
你拥有域名,可以使用反向域名的方式来作为命名空间,如下所示:
- www.springframework.org -> org.springframework
- subdomain.example.com -> com.example
- my-domain.com -> com.my-domain
这种方式需要为对应的域名添加指定的域名解析以验证你对域名的所有权,验证成功之后可删除。
-
你拥有以下列表中的代码托管服务账号,可以使用个人域名的反向域名的方式来作为命名空间
Service Example namespace GitHub io.github.myusername GitLab io.gitlab.myusername Gitee io.gitee.myusername Bitbucket io.bitbucket.myusername 这种方式需要在对应的账号下创建指定名称的公共仓库以验证账号所有权,验证成功之后可删除。
创建命名空间步骤如下:
-
打开官网 https://central.sonatype.com/ 点击右上角的
Sign In,然后在打开的登录页直接输入用户名和密码登录,也可以直接选择 Google 或者 Github 关联登录。 -
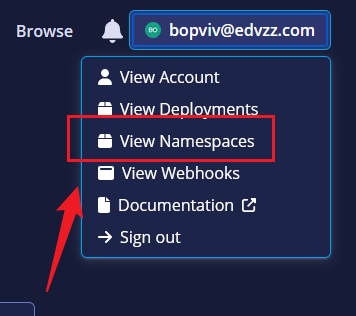
点击右上角的账号,在下拉菜单中选择
View Namespaces。
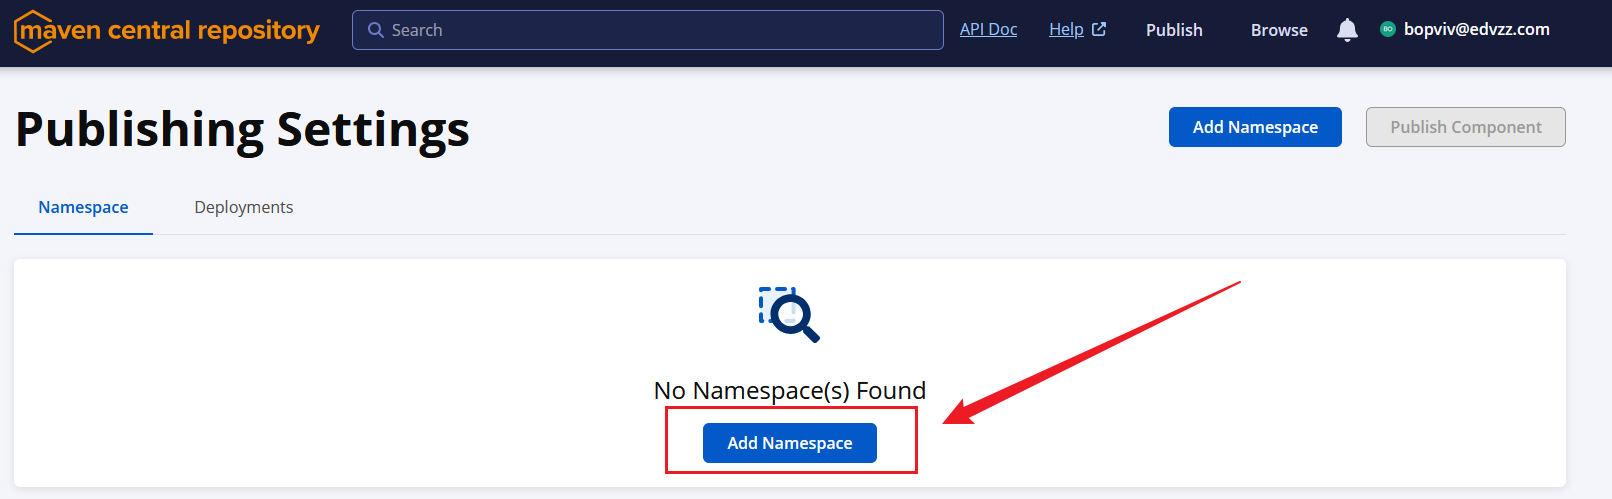
-
在打开的页面中点击
Add Namespace。
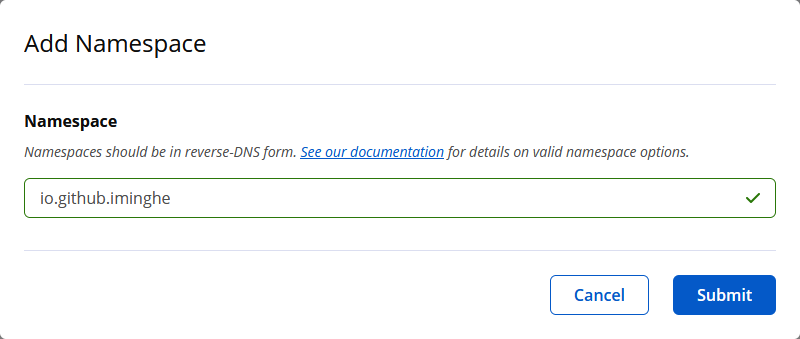
-
在弹出来的对话框中输入自定义的 Namespace。
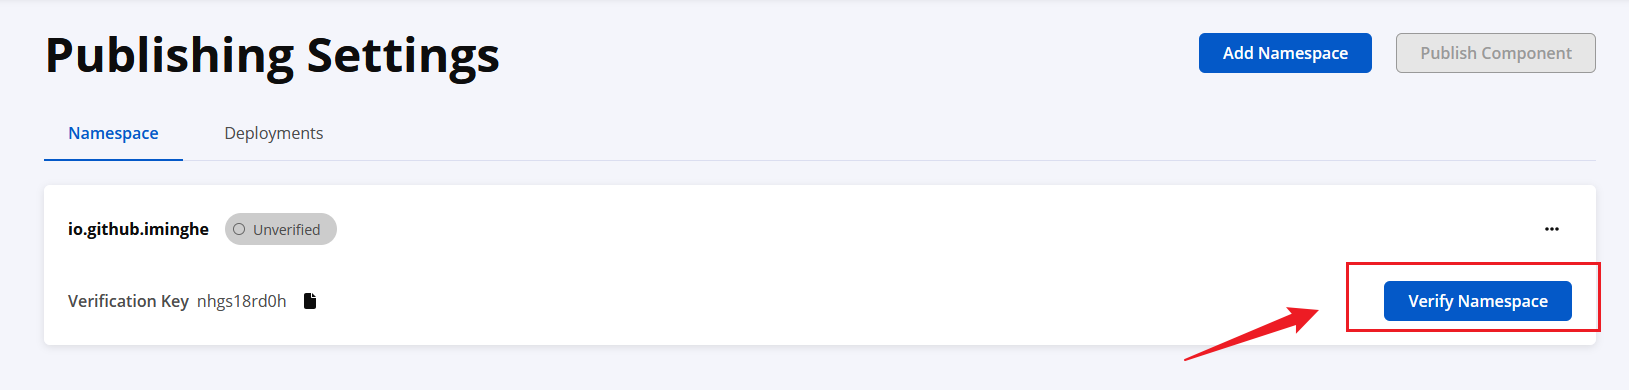
-
创建成功之后显示 Namespace 是待验证状态,点击
Verify Namespace进行验证。
-
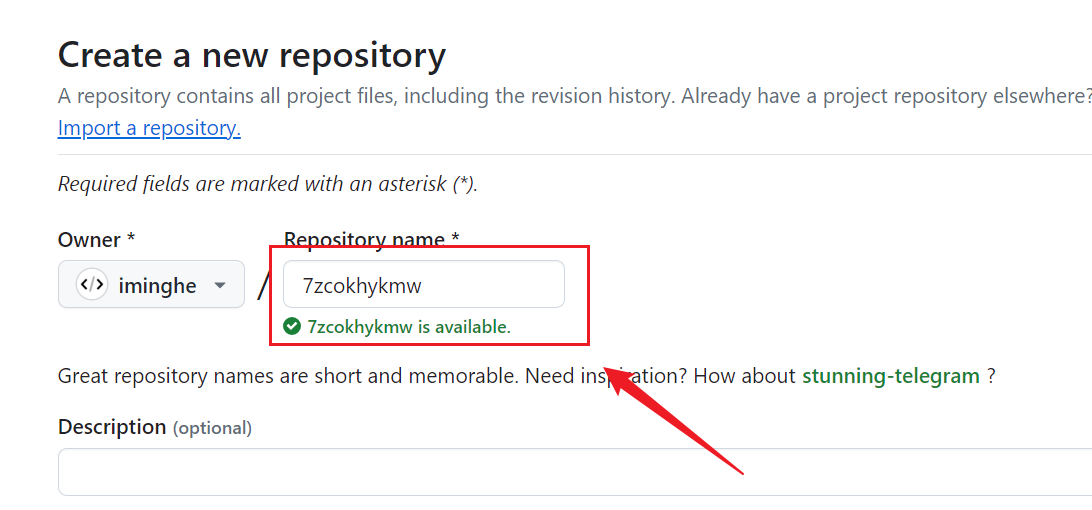
在弹出来的对话框中会根据你填写的 Namespace 类型不同,给出不同的提示,如果你填写的是代码托管服务的个人域名,会提示你到对应的平台中创建一个指定名称的公共仓库;如果是个人域名,会提示你创建一个指定内容的
TXT类型的域名解析。总之你会得到一个Verification Key,你需要使用这个值去做对应的操作。点击对话框的Confirm按钮,Namespace 变成待验证状态:

以下两种验证方式,选择一种即可:- 创建公共仓库:
- 增加域名解析:

- 创建公共仓库:
-
等待 Namespace 验证成功,然后可以把刚刚创建的公共仓库或添加的域名解析记录删除。
配置 GPG
-
打开官网https://gnupg.org/download/index.html#sec-1-2下载系统对应的版本并安装。使用
gpg --version验证是否安装成功。C:\Users\Administrator>gpg --version gpg (GnuPG) 2.3.8 libgcrypt 1.10.1 Copyright (C) 2021 g10 Code GmbH License GNU GPL-3.0-or-later <https://gnu.org/licenses/gpl.html> This is free software: you are free to change and redistribute it. There is NO WARRANTY, to the extent permitted by law. Home: C:\Users\Administrator\AppData\Roaming\gnupg Supported algorithms: Pubkey: RSA, ELG, DSA, ECDH, ECDSA, EDDSA Cipher: IDEA, 3DES, CAST5, BLOWFISH, AES, AES192, AES256, TWOFISH, CAMELLIA128, CAMELLIA192, CAMELLIA256 AEAD: EAX, OCB Hash: SHA1, RIPEMD160, SHA256, SHA384, SHA512, SHA224 Compression: Uncompressed, ZIP, ZLIB, BZIP2 -
使用
gpg --gen-key命令生成密钥对,过程中会提示输入Real name和Email address(建议输入真实的邮箱,以便以后用于秘钥恢复),输入之后,会弹窗要求你输入密码(注意:每次发布项目都会用到这个密码),然后就会生成密钥对。
下面内容中的5BBA74D9F7E76AAA234ACB337B583099E6B290D8就是生成的公钥,接下来需要把它发送到秘钥服务器,因为其他人需要这个公钥来验证你发布的文件。C:\Users\Administrator>gpg --gen-key gpg (GnuPG) 2.3.8; Copyright (C) 2021 g10 Code GmbH This is free software: you are free to change and redistribute it. There is NO WARRANTY, to the extent permitted by law. Note: Use "gpg --full-generate-key" for a full featured key generation dialog. GnuPG needs to construct a user ID to identify your key. Real name: t1 Email address: [email protected] You selected this USER-ID: "t1 <[email protected]>" Change (N)ame, (E)mail, or (O)kay/(Q)uit? O We need to generate a lot of random bytes. It is a good idea to perform some other action (type on the keyboard, move the mouse, utilize the disks) during the prime generation; this gives the random number generator a better chance to gain enough entropy. We need to generate a lot of random bytes. It is a good idea to perform some other action (type on the keyboard, move the mouse, utilize the disks) during the prime generation; this gives the random number generator a better chance to gain enough entropy. gpg: revocation certificate stored as 'C:\\Users\\Administrator\\AppData\\Roaming\\gnupg\\openpgp-revocs.d\\5BBA74D9F7E76AAA234ACB337B583099E6B290D8.rev' public and secret key created and signed. pub ed25519 2024-08-26 [SC] [expires: 2026-08-26] 5BBA74D9F7E76AAA234ACB337B583099E6B290D8 uid t1 <[email protected]> sub cv25519 2024-08-26 [E] [expires: 2026-08-26] -
使用
gpg --keyserver keyserver.ubuntu.com --send-keys <公钥>命令将公钥发送至服务器,如果出现发送失败的情况,可以选择其他服务器多次重试,总会成功的。中央服务器支持的GPG密钥服务器有:
- keyserver.ubuntu.com
- keys.openpgp.org
- pgp.mit.edu
# 发送公钥
C:\Users\Administrator>gpg --keyserver keyserver.ubuntu.com --send-keys 5BBA74D9F7E76AAA234ACB337B583099E6B290D8
gpg: sending key 7B583099E6B290D8 to hkp://keyserver.ubuntu.com

# 验证公钥失败
C:\Users\Administrator>gpg --keyserver keyserver.ubuntu.com --recv-keys 5BBA74D9F7E76AAA234ACB337B583099E6B290D8
gpg: keyserver receive failed: No data

# 验证公钥成功
C:\Users\Administrator>gpg --keyserver keyserver.ubuntu.com --recv-keys 5BBA74D9F7E76AAA234ACB337B583099E6B290D8
gpg: key 7B583099E6B290D8: "t1 <[email protected]>" not changed
gpg: Total number processed: 1
gpg:              unchanged: 1
配置项目
以下为一个项目完整的pom.xml配置示例,你需要根据项目的实际信息做出修改:
<?xml version="1.0" encoding="UTF-8"?>
<project xmlns="http://maven.apache.org/POM/4.0.0"
    xmlns:xsi="http://www.w3.org/2001/XMLSchema-instance"
    xsi:schemaLocation="http://maven.apache.org/POM/4.0.0 http://maven.apache.org/xsd/maven-4.0.0.xsd">
    <modelVersion>4.0.0</modelVersion>

    <groupId>cc.minghe</groupId>
    <artifactId>no-bug-spring-boot-starter</artifactId>
    <version>1.0.0</version>
    <packaging>jar</packaging>

    <name>No Bug</name>
    <description>Bug退散,Buff拉满</description>
    <url>https://github.com/iminghe/no-bug</url>

    <licenses>
        <license>
            <name>Apache License, Version 2.0</name>
            <url>https://www.apache.org/licenses/LICENSE-2.0.txt</url>
        </license>
    </licenses>

    <scm>
        <url>https://github.com/iminghe/no-bug</url>
        <connection>scm:git:https://github.com/iminghe/no-bug.git</connection>
        <developerConnection>scm:git:https://github.com/iminghe/no-bug.git</developerConnection>
    </scm>

    <developers>
        <developer>
            <name>minghe</name>
            <email>[email protected]</email>
        </developer>
    </developers>

    <properties>
        <maven.compiler.source>8</maven.compiler.source>
        <maven.compiler.target>8</maven.compiler.target>
        <project.build.sourceEncoding>UTF-8</project.build.sourceEncoding>
    </properties>

    <dependencyManagement>
        <dependencies>
            <dependency>
                <groupId>org.springframework.boot</groupId>
                <artifactId>spring-boot-dependencies</artifactId>
                <version>2.7.18</version>
                <scope>import</scope>
                <type>pom</type>
            </dependency>
        </dependencies>
    </dependencyManagement>

    <dependencies>
        <dependency>
            <groupId>org.springframework.boot</groupId>
            <artifactId>spring-boot-starter</artifactId>
        </dependency>
    </dependencies>

    <build>
        <plugins>
            <!-- Compiler -->
            <plugin>
                <groupId>org.apache.maven.plugins</groupId>
                <artifactId>maven-compiler-plugin</artifactId>
                <version>3.13.0</version>
                <configuration>
                    <source>${maven.compiler.source}</source>
                    <target>${maven.compiler.target}</target>
                    <encoding>${project.build.sourceEncoding}</encoding>
                </configuration>
            </plugin>
            <!-- Source -->
            <plugin>
                <groupId>org.apache.maven.plugins</groupId>
                <artifactId>maven-source-plugin</artifactId>
                <version>3.3.1</version>
                <executions>
                    <execution>
                        <id>attach-sources</id>
                        <goals>
                            <goal>jar-no-fork</goal>
                        </goals>
                    </execution>
                </executions>
            </plugin>
            <!-- Javadoc -->
            <plugin>
               <groupId>org.apache.maven.plugins</groupId>
               <artifactId>maven-javadoc-plugin</artifactId>
               <version>3.10.0</version>
               <executions>
                     <execution>
                        <id>attach-javadocs</id>
                        <goals>
                           <goal>jar</goal>
                        </goals>
                     </execution>
               </executions>
            </plugin>
        </plugins>
    </build>

    <profiles>
        <profile>
            <id>release</id>
            <build>
                <plugins>
                    <!-- GPG -->
                    <plugin>
                        <groupId>org.apache.maven.plugins</groupId>
                        <artifactId>maven-gpg-plugin</artifactId>
                        <version>3.2.5</version>
                        <executions>
                            <execution>
                                <id>sign-artifacts</id>
                                <phase>verify</phase>
                                <goals>
                                    <goal>sign</goal>
                                </goals>
                            </execution>
                        </executions>
                    </plugin>
                    <plugin>
                        <groupId>org.sonatype.central</groupId>
                        <artifactId>central-publishing-maven-plugin</artifactId>
                        <version>0.5.0</version>
                        <extensions>true</extensions>
                        <configuration>
                            <publishingServerId>central</publishingServerId>
                        </configuration>
                    </plugin>
                </plugins>
            </build>
        </profile>
    </profiles>
</project>
说明:
groupId:前面步骤认证的 Namespace。licenses:项目的许可证信息。scm:source control system,源代码管理系统。这部分元素是必需的,如果URL本身不需要是公开的。你可以指定一个公众无法访问的URL,甚至是一个占位符,指出你的SCM URL是私有的,不适合公众访问。developers:开发人员信息。build:打包的公共插件。profiles:定义不同环境的配置,使用id作为标识,可用于执行mvn命令时,选择指定环境。这里定义了release环境用于项目发布,其中central-publishing-maven-plugin是用来发布项目的,其中publishingServerId对应用户Token设置的id。
发布阶段
在Profiles选中release,然后依次执行clean、deploy命令。
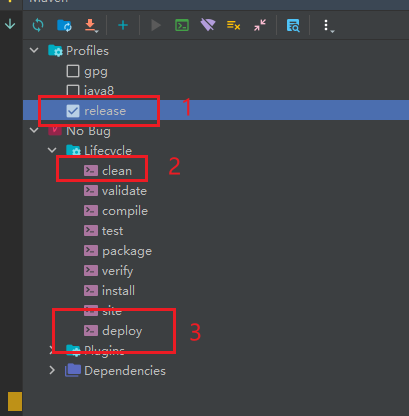
或者也可以在终端的本项目目录下直接执行mvn clean deploy -P release
等待命令执行完成,然后登录官网,点击右上角的账号,选择View Deployments,会看到已验证待发布的项目。
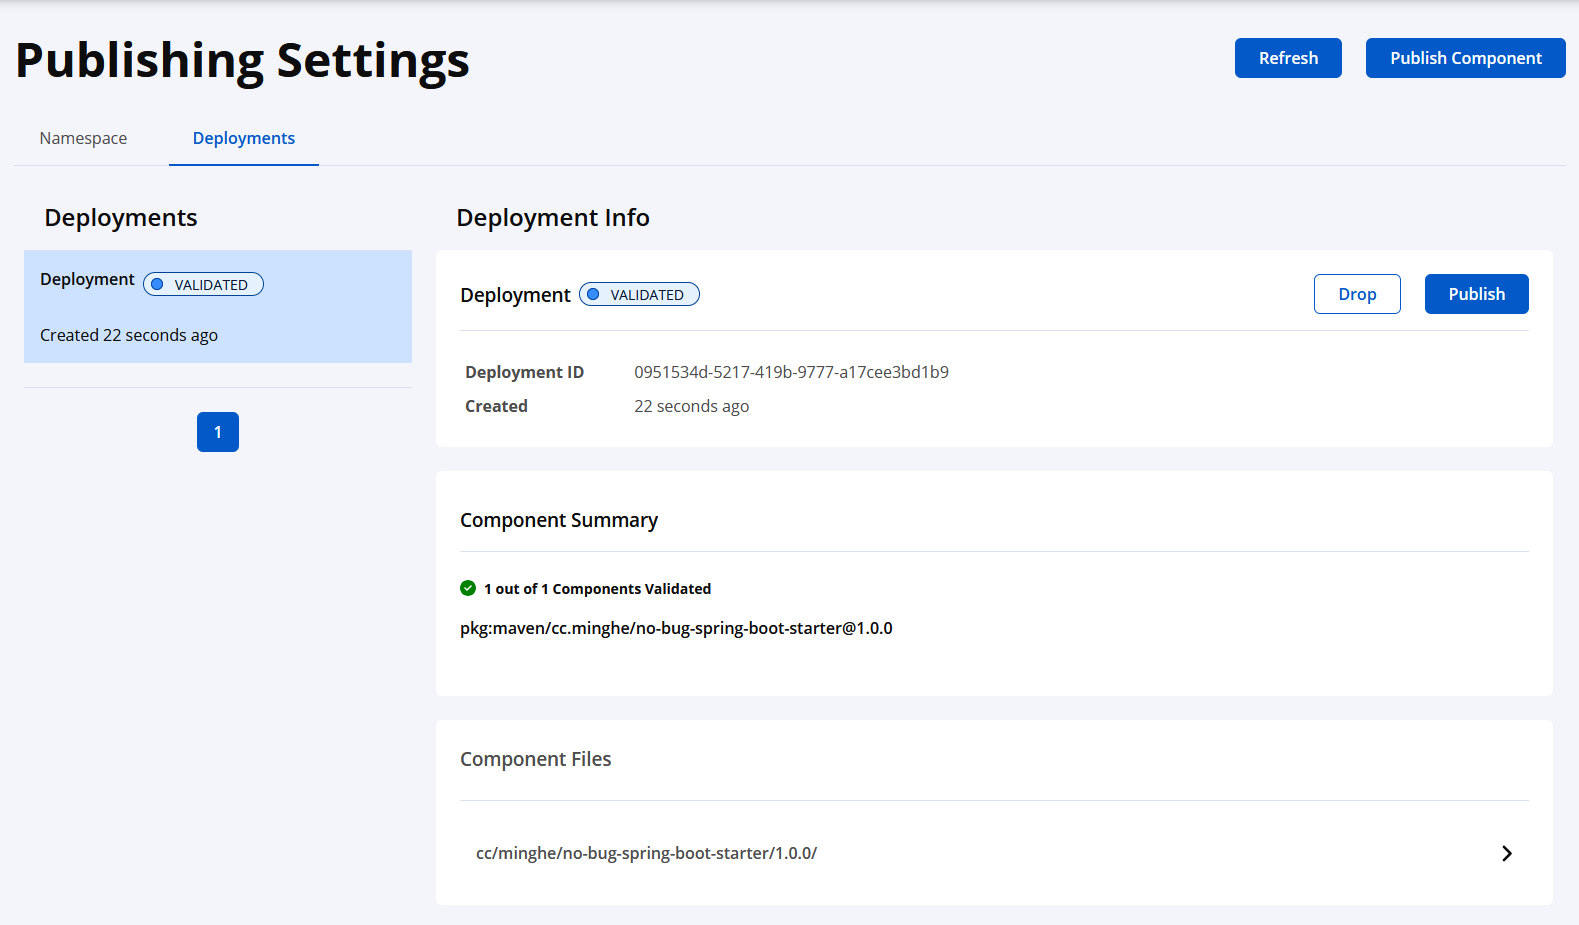
确认无误后,点击Publish,状态会变为PUBLISHING,然后等待一会儿,状态变为PUBLISHED,就代表发布成功了,恭喜你!