pyecharts配置项说明
一、全局配置项
在pyecharts中,一切皆配置!
pyecharts全局配置项:全局配置项 - pyecharts - A Python Echarts Plotting Library built with love.
全局配置项可通过 set_global_opts 方法设置
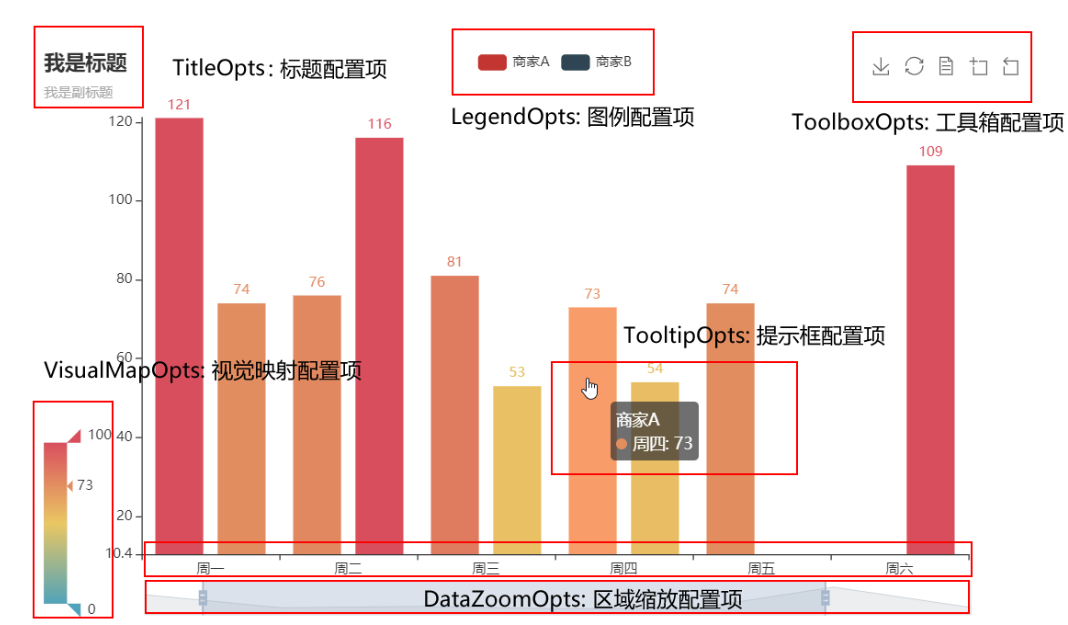
InitOpts:初始化配置
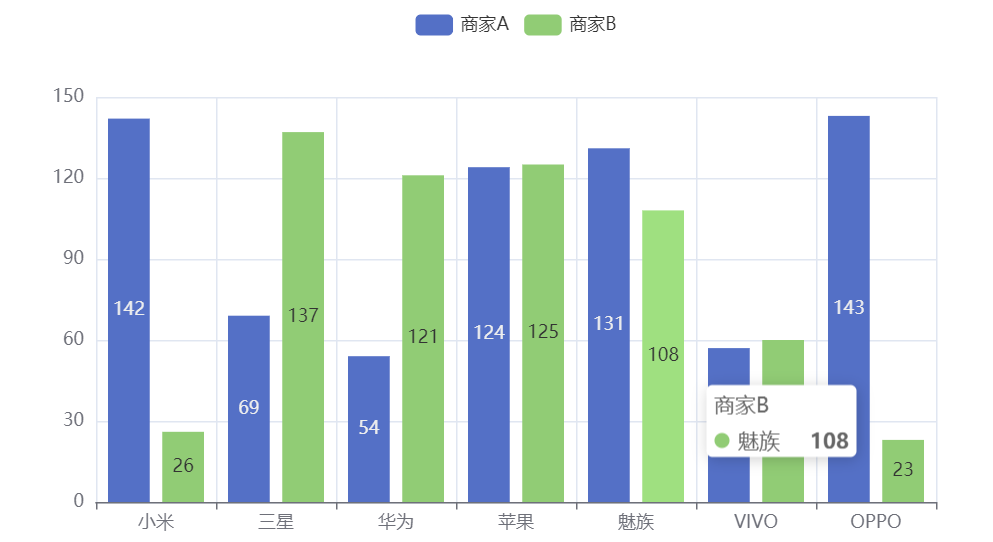
初始化配置是在实例化图形类初始化的: c = Bar(init_opts= opts.InitOpts())
from pyecharts.charts import Bar
from pyecharts.faker import Faker
from pyecharts import options as opts  # 导入配置项
from pyecharts.globals import ThemeType, RenderType # 主题与渲染风格

c = (
    Bar(  # 初始化配置项:
        init_opts=opts.InitOpts(
            width='700px',
            height='400px',  # 图表画布的大小,css长度单位
            page_title='网页标题',  # html网页
            theme=ThemeType.WHITE,  # 主题颜色
            bg_color='white'  # 背景颜色
        ))

        .add_xaxis(Faker.choose())
        .add_yaxis("商家A", Faker.values())
        .add_yaxis("商家B", Faker.values())
        .render("InitOpts初始化配置项.html")
)
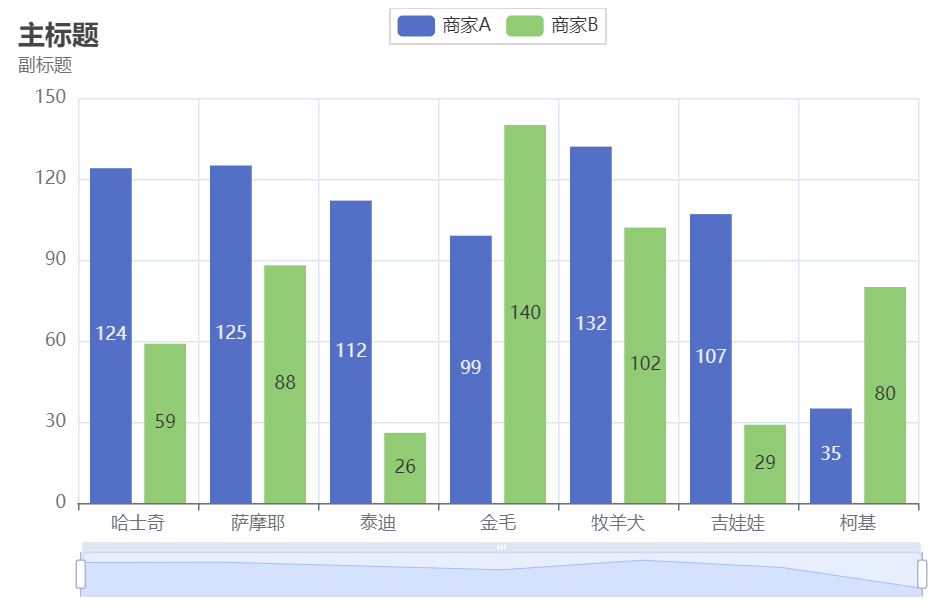
标题与缩放配置
.set_global_opts( )
from pyecharts.charts import Bar
from pyecharts.faker import Faker
from pyecharts import options as opts  # 导入配置项
from pyecharts.globals import ThemeType, RenderType

c = (
    Bar(  # 初始化配置项:
        init_opts=opts.InitOpts(
            width='700px',
            height='400px',  # 图表画布的大小,css长度单位
            page_title='网页标题',  # html网页
            theme=ThemeType.WHITE,  # 主题颜色
            bg_color='white'  # 背景颜色
        ))
        .add_xaxis(Faker.choose())
        .add_yaxis("商家A", Faker.values())
        .add_yaxis("商家B", Faker.values())

        .set_global_opts(
        # TitleOpts标题配置项

        title_opts=opts.TitleOpts(
            title='主标题',  # 主标题
            title_link='http://www.baidu.com',  # 主标题点击跳转
            title_target='blank',  # 默认为blank新窗口打开,self当前窗口打开

            subtitle='副标题',  # 副标题
            subtitle_link='http://www.baidu.com',  # 副标题点击跳转
            subtitle_target='blank',

            # 标题位置配置
            pos_left='20px',  # 默认值为5px 这里的值可以为 20%、left center、right
            # pos_right
            # pos_bottom
            # pos_top
            padding=10,  # 内边距
            item_gap=5,  # 主标题与副标题的距离
        ),
        # DataZoomOpts:区域缩放配置项
        datazoom_opts=opts.DataZoomOpts(
            is_show=True,  # 默认Ture,是否显示组件
            type_='slider',  # 默认为拖动 slider、inside(滚动)
            is_realtime=True,  # 拖动时是否实时更新图表
            range_start=20,  # 数据窗口的起始百分比
            range_end=80,  # 数据窗口的结束百分比
            orient='horizontal',  # horizontal水平或vertical垂直
            is_zoom_lock=False,  # 是否锁定选择区域

        )

    )

        .render("标题与缩放配置项.html")
)
- 注意点:逗号别忘了
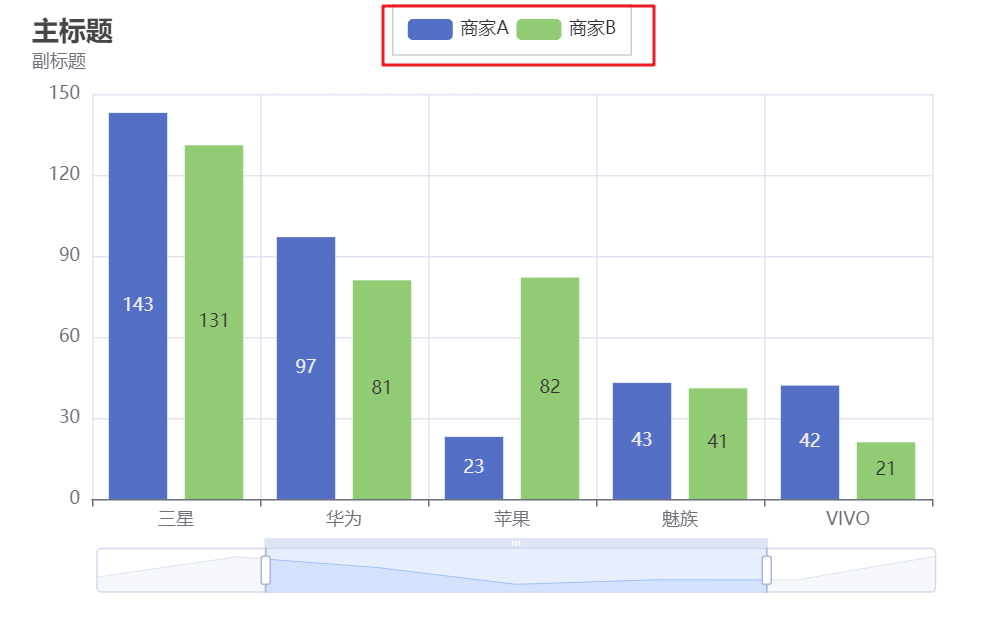
LegendOpts:图例配置项
        # LegendOpts:图例配置项
        legend_opts=opts.LegendOpts(
            # 图例类型:plain 普通图例(默认),scroll:可以滚动翻页的滚动图例,用于图例比较多的情况
            type_='plain',
            is_show=True,  # 是否显示图例
            #  图例位置 与上述一致: pos_left pos_top...
            pos_left='center',
            # 图例布局:horizontal 或 vertical
            orient='horizontal',
            # 选择模式
            # True : 开启图例点击(默认)切换展示数据
            # False: 关闭图例点击
            # single:单选,只显示单项图例数据
            # multiple : 多选(默认)
            selected_mode='multiple',

            # 图标与文字的位置 auto(默认)right、left
            align='left',
            padding=10,  # 内边距
            item_gap=5,  # 图例中每项之间的间距
            item_width=30,  # 每项图例的宽度
            item_height=14,  # 每项图例的高度
            inactive_color='#ccc',  # 图例关闭时的颜色

            # pyEcharts中常见的图标:circle、rect、roundRect、triangle、diamond、arrow
            legend_icon='roundRect',  # 默认为圆角长方形

        ),
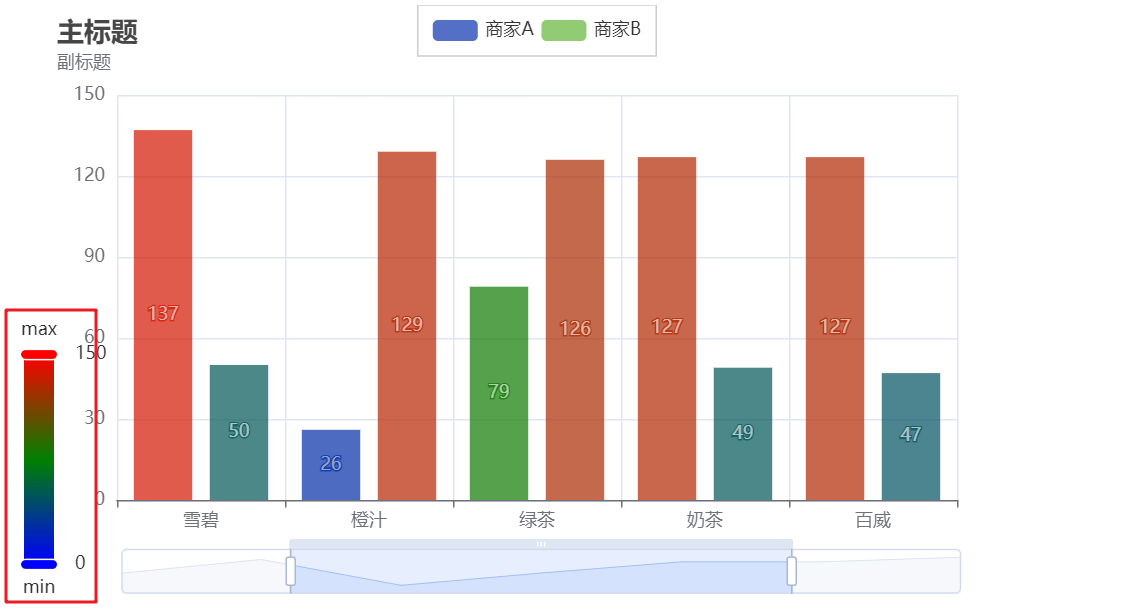
VisualMapOpts:视觉映射配置
        # VisualMapOpts:视觉映射
        visualmap_opts=opts.VisualMapOpts(
            is_show=True,
            # 默认为color,size
            type_='color',
            min_=0,  # 默认最小值为0
            max_=150,  # 默认最大值为100
            range_opacity=0.7,  # 图元(比如柱形图)与文字的透明度
            range_text=['max', 'min'],  # 两端的文本
            range_color=['blue', 'green', 'red'],  # 自定义过渡颜色

            # 对齐方式 : vertical(默认)、horizontal
            orient='vertical',
            # 图例位置:pos_left、pos_right、pos_bottom、pos_top
            is_piecewise=False,  # 默认,是否分段
            is_inverse=False,  # 默认,是否翻转(比如递增-递减)

        ),
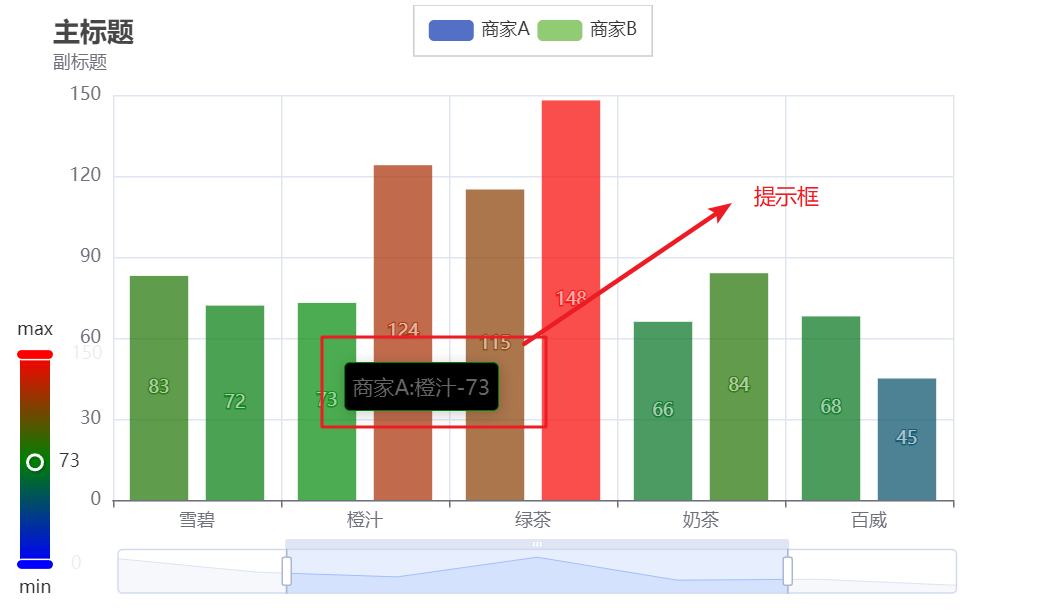
TooltipOpts: 提示框配置
        # TooltipOpts:提示框配置项
        tooltip_opts=opts.TooltipOpts(
            is_show=True,  # 默认为True

            # 触发类型
            # item:数据项,一般用于散点图、柱形图、饼图
            # axis: 坐标轴,提示线,主要用于条形图、折线图
            trigger='item',
            # 触发条件:mousemove,click,mousemove|click
            trigger_on='mousemove|click',  # 默认移动或点击

            is_show_content=True,  # 是否提示款浮层(内容)
            # 标签内容的格式
            # 字符串中模板变量:
            # {a}:系列名series_name
            # {b}:数据名
            # {c}:值
            formatter='{a}:{b}-{c}',
            background_color='black',  # 提示款的背景颜色
            border_width=0.8,  # 边框的宽度
        ),
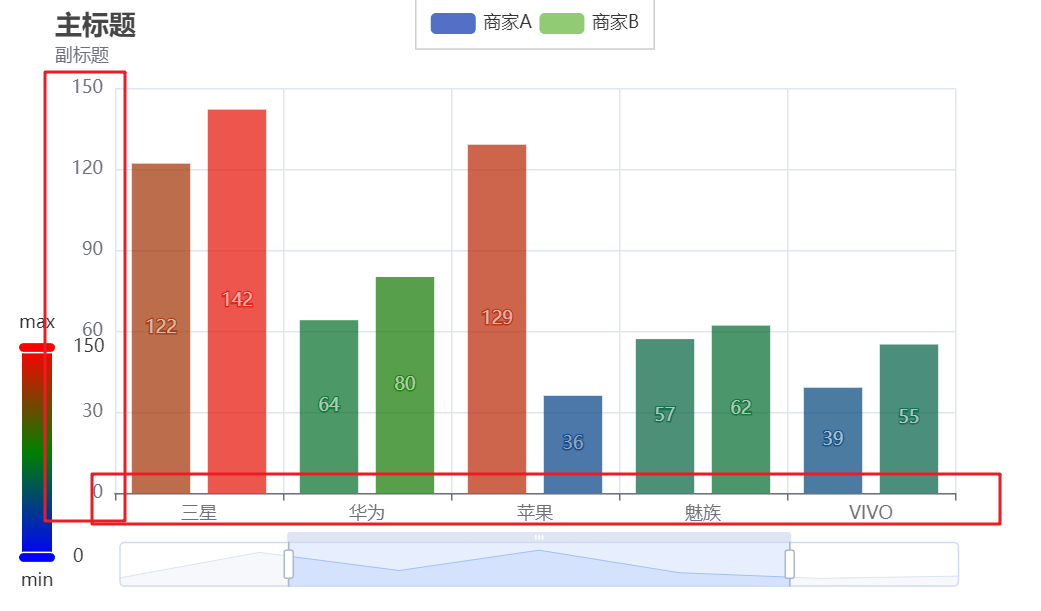
AxisOpts: 坐标轴配置项
        # 坐标轴配置项
        # X轴配置
        xaxis_opts=opts.AxisOpts(
            is_show=True,

            # 坐标轴类型:
            # value:数值轴,用于连续数据
            # category :类目轴,用于离散数据,比如周一、周二
            # time:时间轴,适合连续的时序数据
            type_='category'
        ),
        yaxis_opts=opts.AxisOpts(
            # is_show=False,
            # 不显示y轴的线:
            axisline_opts=opts.AxisLineOpts(is_show=False),
            # 不显示y轴的刻度
            axistick_opts=opts.AxisTickOpts(is_show=False),

        ),
二、系列配置项
系列配置项通过 set_series_opts 方法来设置
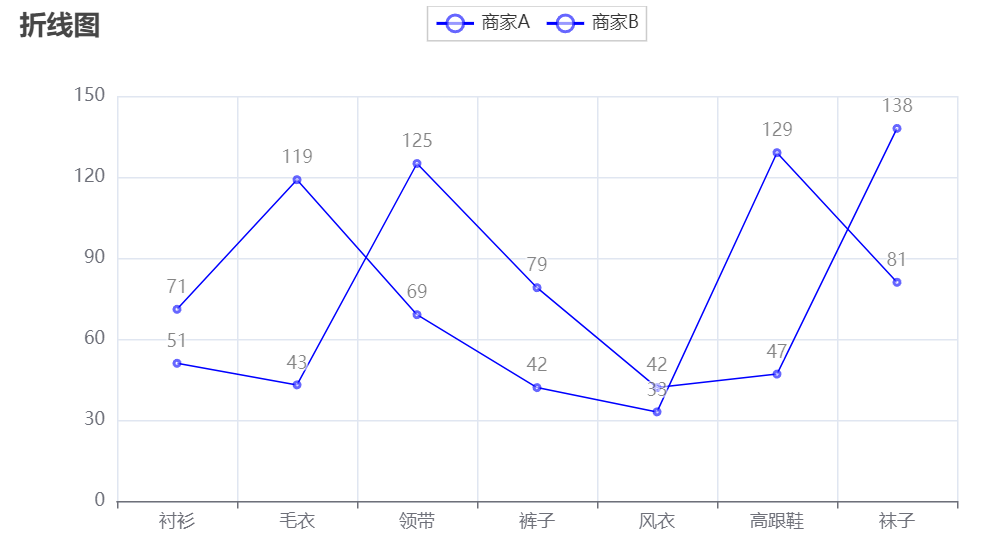
ItemstyleOpts:图元样式配置项
from pyecharts.charts import Line
from pyecharts.faker import Faker
from pyecharts import options as opts  # 导入配置项

c = (
    Line(  # 初始化配置项:
        init_opts=opts.InitOpts(
            width='700px',
            height='400px',  # 图表画布的大小,css长度单位
        ))
        .add_xaxis(Faker.choose())
        .add_yaxis("商家A", Faker.values())
        .add_yaxis("商家B", Faker.values())

        .set_global_opts(
        title_opts=opts.TitleOpts(
            title='折线图'
        ),
        tooltip_opts=opts.TooltipOpts(
            trigger='axis'
        )
    )
        .set_series_opts(
        # 图元样式
        itemstyle_opts=opts.ItemStyleOpts(
            # 图的颜色
            # 使用纯色
            # 使用RGB,rgb(120,120,120) 0-125
            # 使用RGBA,rgba(120,120,120,0.5) 最后参数为透明度
            # 十六进制:#ccc
            color='blue',
            # 透明度
            opacity=0.6,
            border_width=2,  # 边框宽度
            border_color='green',  # 边框的颜色
        ),
    )
        .render('系列配置项说明.html')  # 这行代码不能写在前面
)
LineStyleOpts:线样式配置项
        # LineStyleOpts:线样式配置项
        linestyle_opts=opts.LineStyleOpts(
            is_show=True,
            width=2,  # 线宽
            color='green',  # 线的颜色
            type_='solid',  # solid(实线)、dashed(虚线)、dotted(点线)
        ),
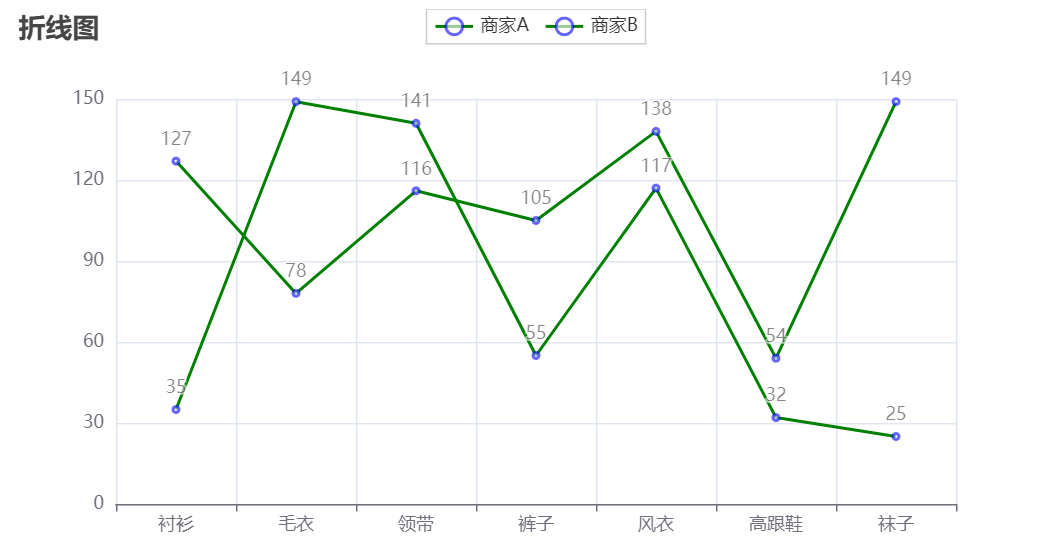
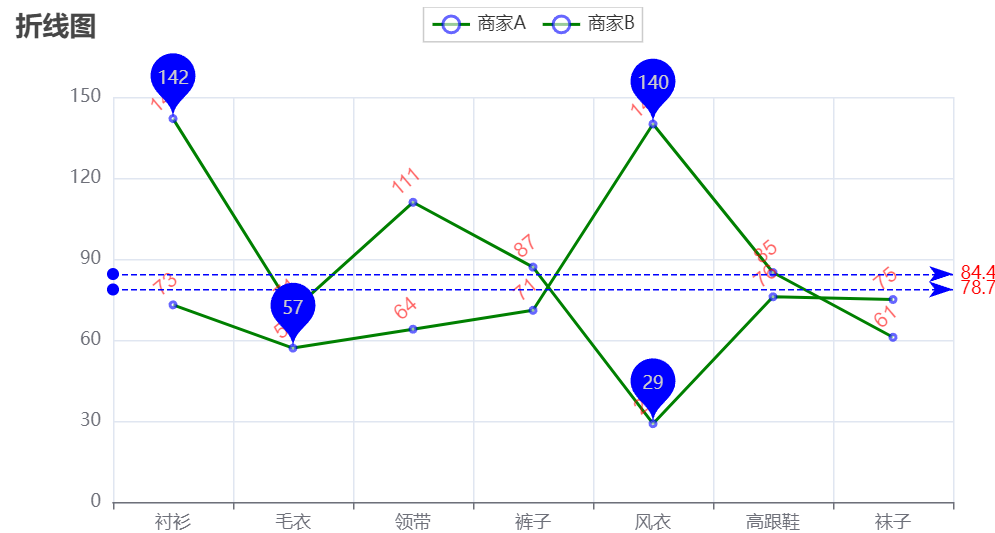
- 绿色的线,但是依旧是蓝色的数字标签
LabelOpts: 标签配置项
        # 标签配置项
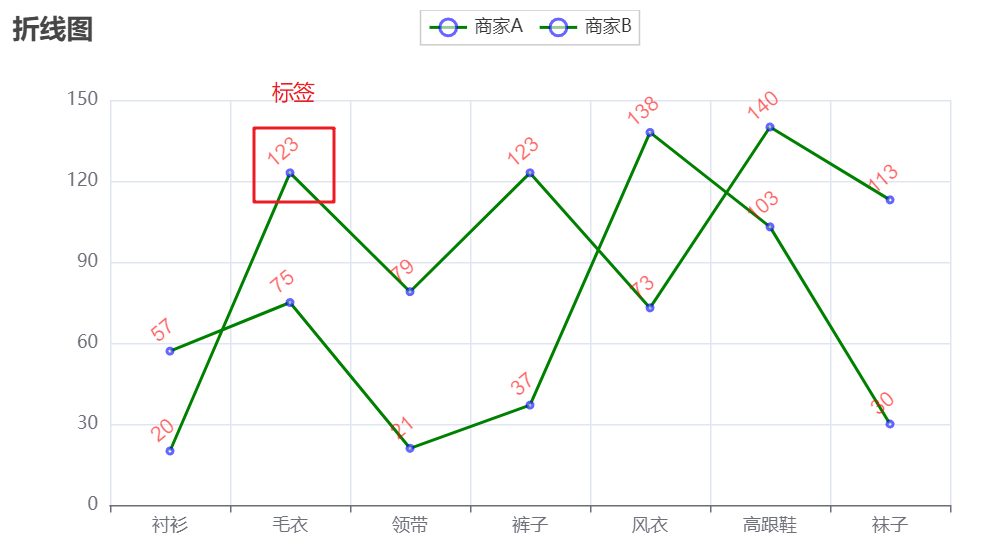
        label_opts=opts.LabelOpts(
            is_show=True,
            # 位置:top、left、right、bottom
            # inside(里面),insideLeft,insideRight...
            position='top',
            color='red',  # 颜色
            font_size=14,  # 字体大小
            font_family='Arial',  # 字体样式
            font_style='normal',  # 是否斜体 italic
            font_weight='normal', # 是否加粗 bold

            # 标签旋转 -90度到90度
            rotate= 40,

        ),
MarkAreaOpts:标记点配置项
        # 标记点配置项
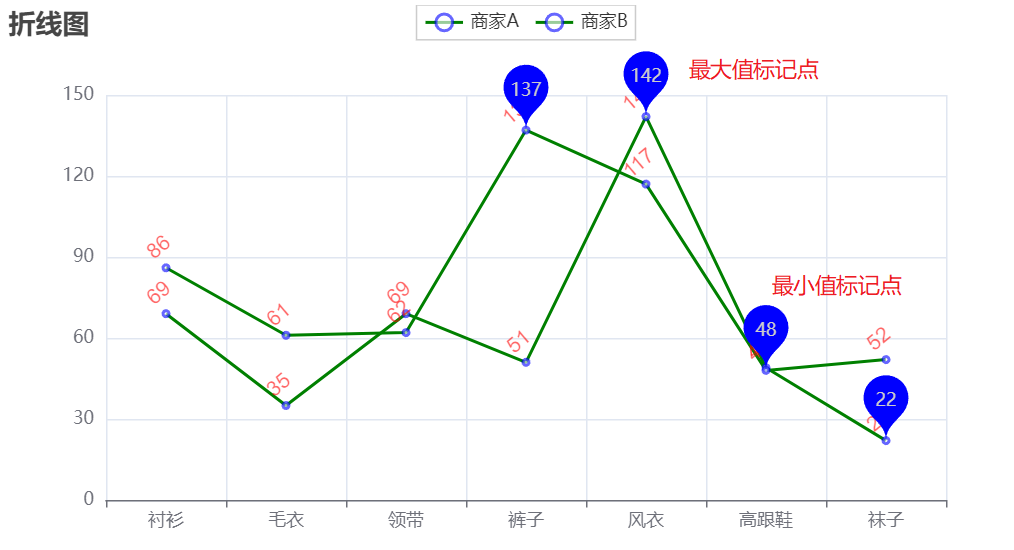
        markpoint_opts=opts.MarkAreaOpts(
            data=[
                # type_:特殊标记类型:min、max、average
                # symbol:标记的图形(默认最好)
                # symbol_size:标记点大小
                opts.MarkPointItem(type_='max', symbol='pin', symbol_size=50),
                # 可以有多个标记点
                opts.MarkPointItem(type_='min'),

            ]
        ),
MarkLineOpts: 标记线配置项:
        # 标记线配置项
        markline_opts=opts.MarkLineOpts(
            data=[
                # 参数和标记点的参数是一样的
                opts.MarkPointItem(type_='average')
            ],
            label_opts=opts.LabelOpts(
                color="red"
            ),
        )
