Springboot 实现QQ登录(界面跳转)
现在第三方登录已经变成主流app的登录方式了
今天记录一下如何给自己的网站实现第三方登录(这里以QQ登录为例)
准备工作
首先确保你准备好你自己网站的域名: 如https://xxx.com
以及有正常账号密码登录的方式
有很多实现的方式,比如去微信开放平台和 QQ 开放平台
QQ开发平台:https://connect.qq.com/
微信开放平台: https://open.weixin.qq.com/
上面有教程绑定自己的域名
本文尝试最快实现方法
这里我们使用水滴聚合登录免签API
官网:https://uniqueker.top/
官网创建
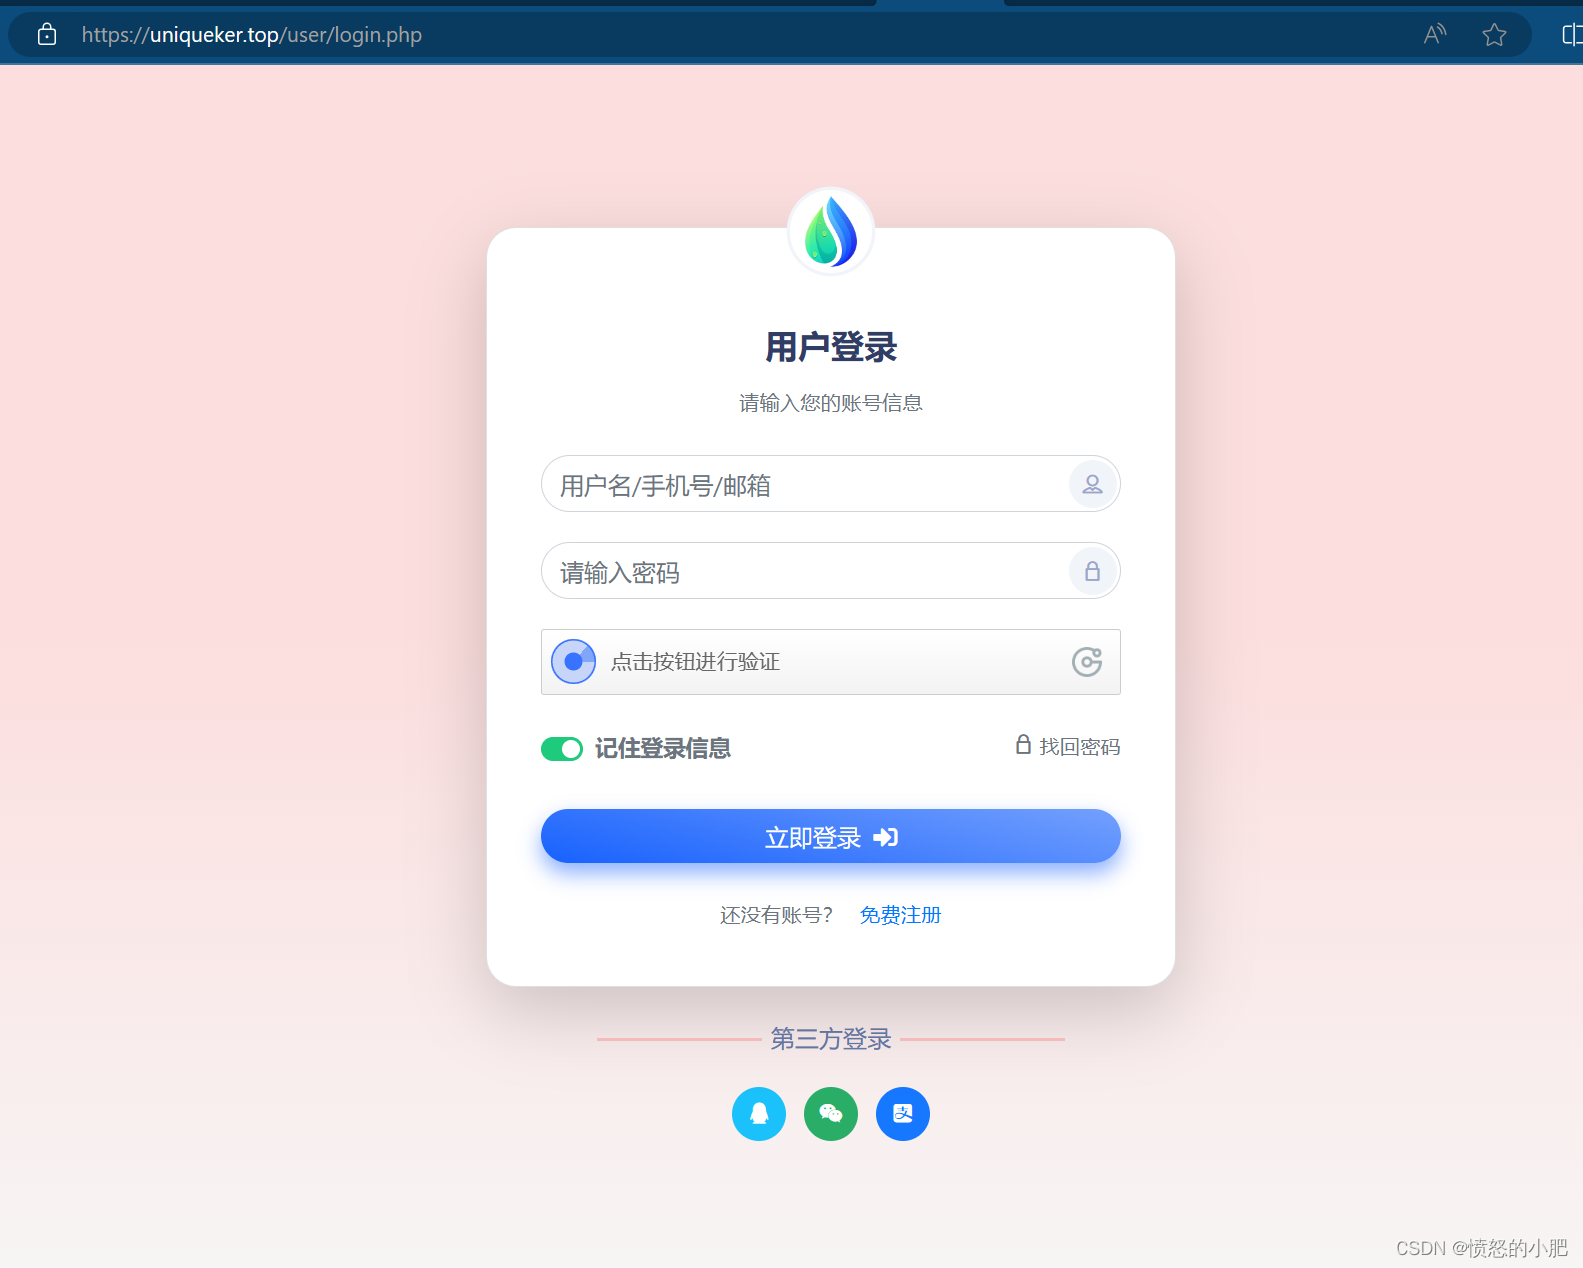
注册好账号之后

点击右上角用户 用户中心
进来之后点击 用户列表
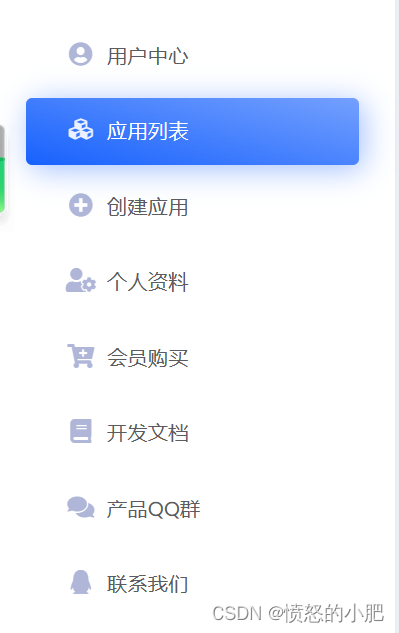
点击创建应用
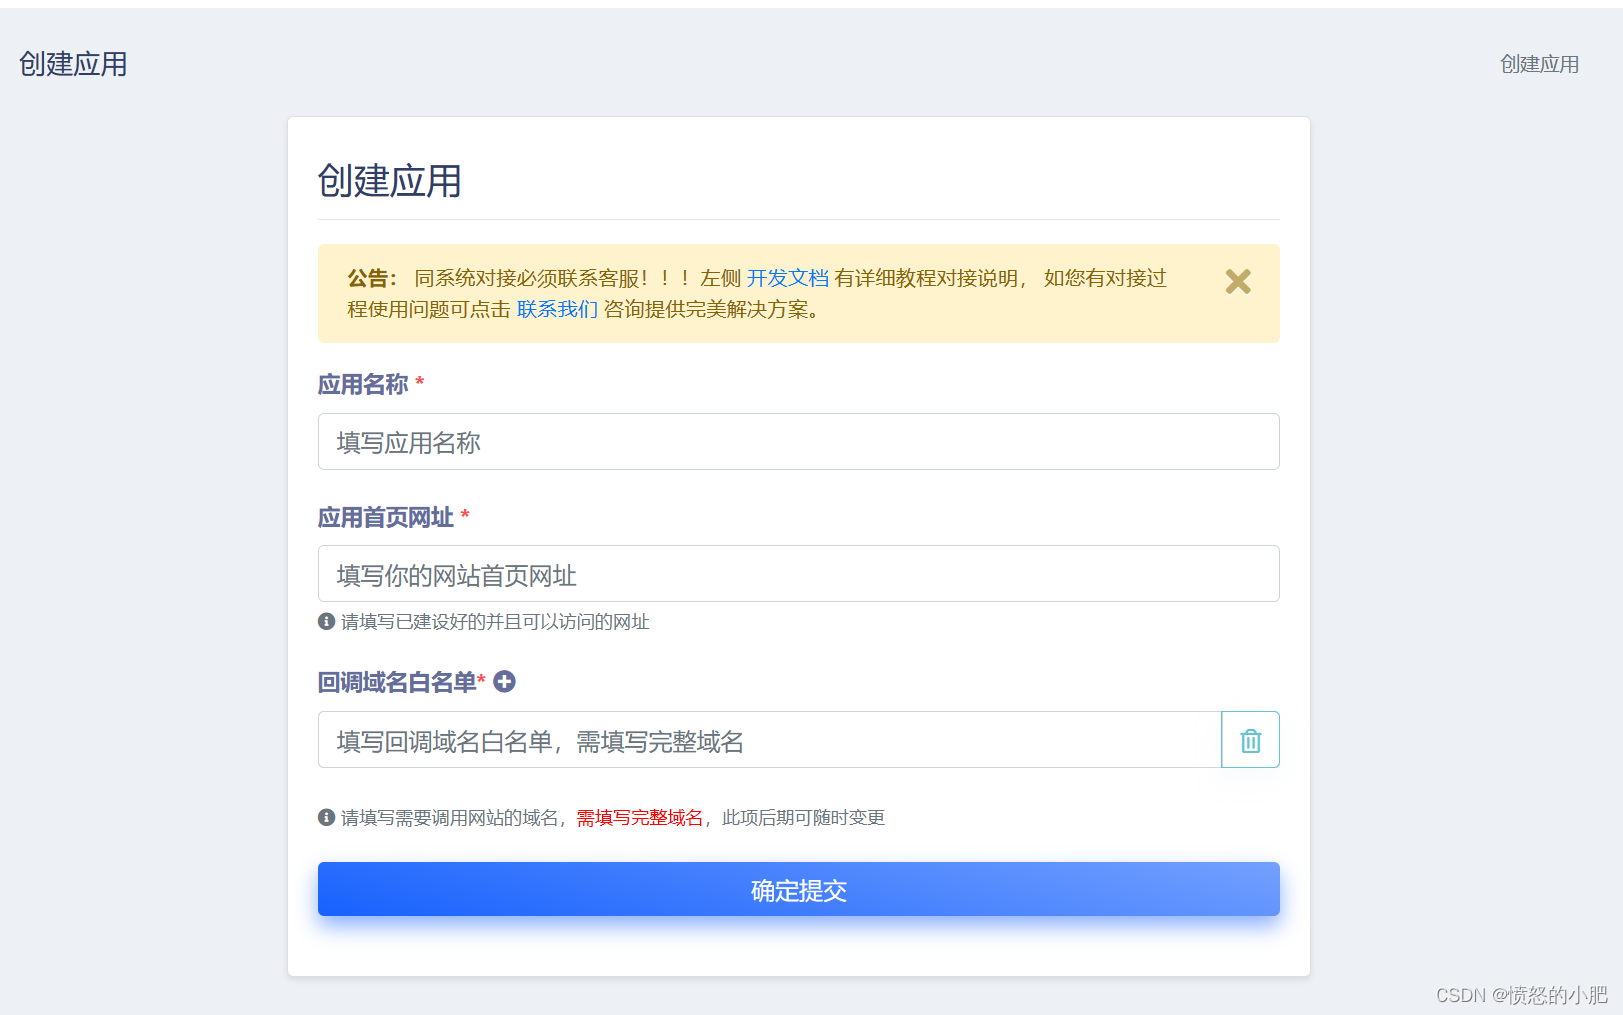
填好一下信息:
- 应用名称(随意)
- 应用首页网站(准备好的域名网址)
- 回调域名白名单 (完成登录之后返回的网址url)
确认提交
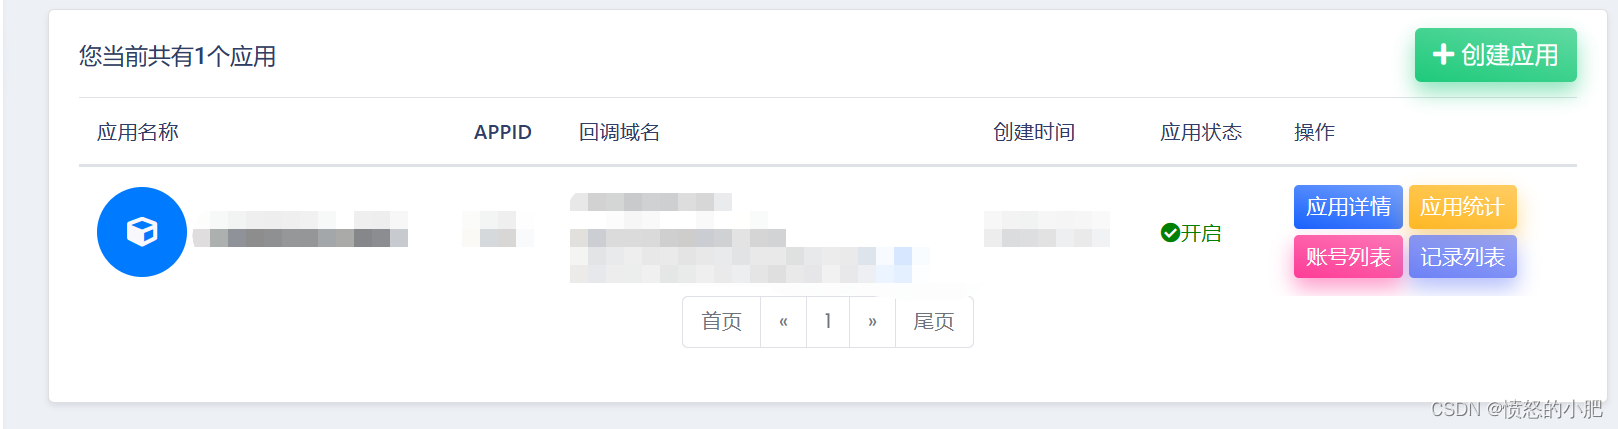
创建成功啦!
然后点击应用详情
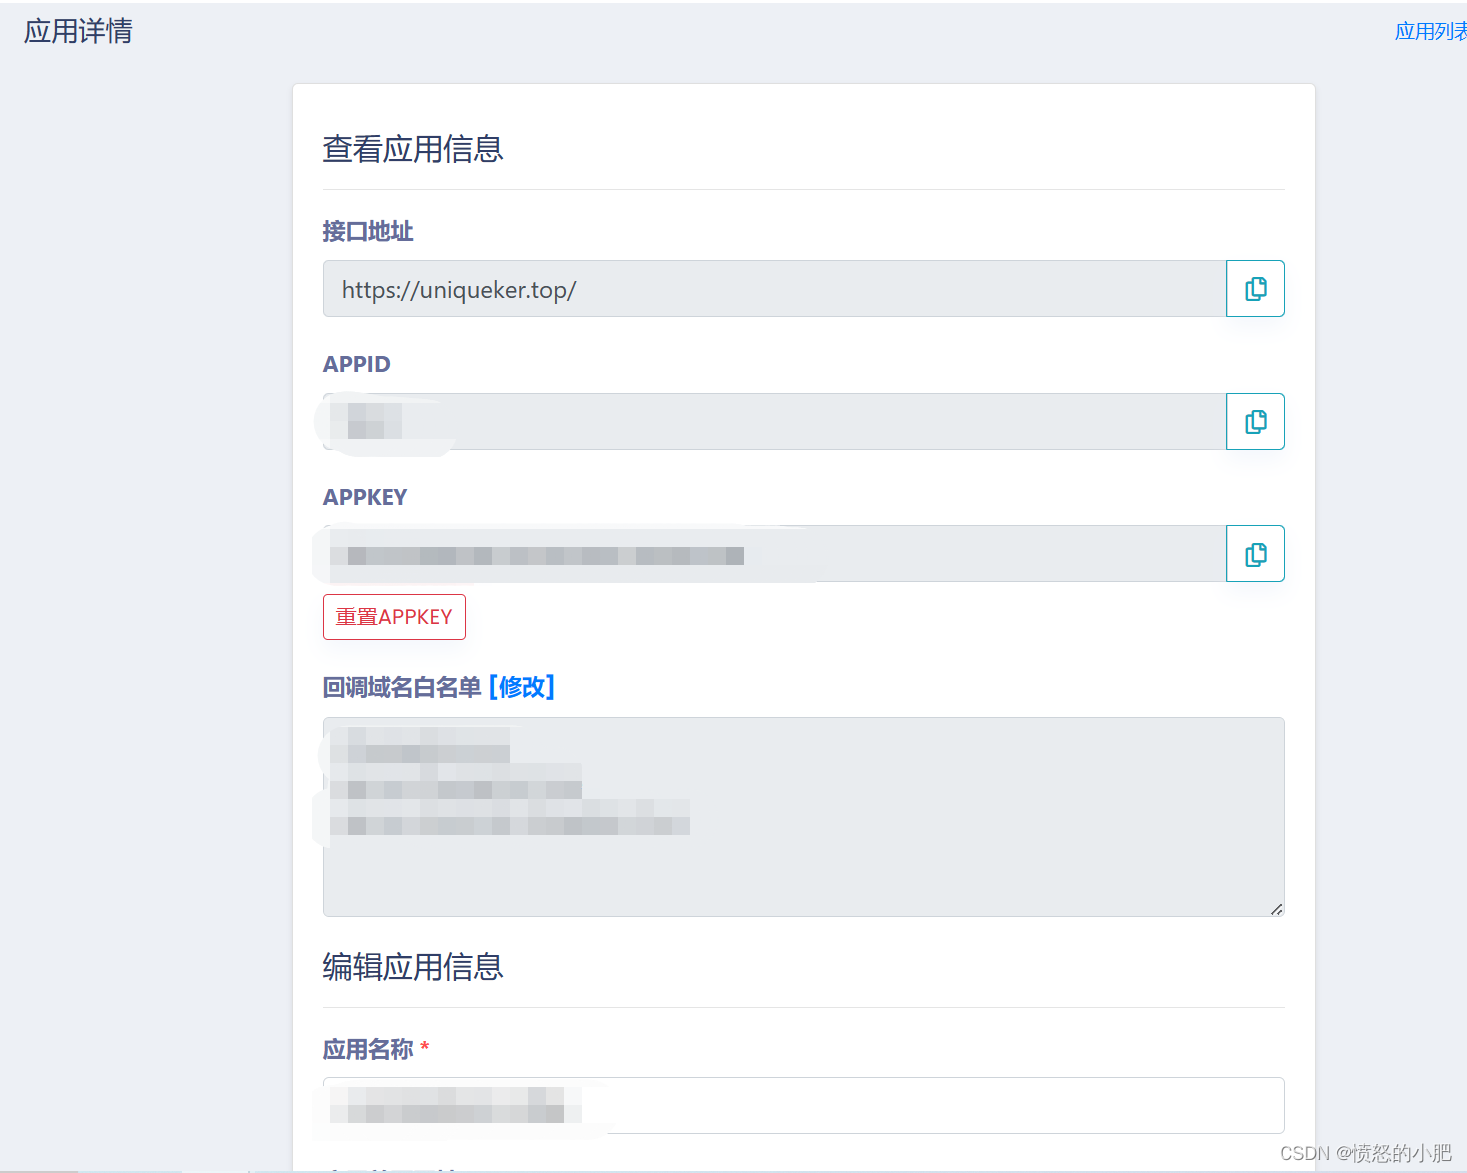
它会给你几个值,分别是
- APPID
- APPKEY
用于接口参数的配置
springboot 配置
打开后端springboot项目的application.yml完成一下配置
# 第三方登录配置 申请地址 https://uniqueker.top/
third:
  config:
    appId: xxxx
    appKey: xxxx
    redirectUrl: xxxx
这里的appId 和 appKey 就是它提供给你的两个参数
redirectUrl 指完成登录之后的返回页面url
这里创建一个配置类,把这些配置属性注入到容器中
@Configuration
@ConfigurationProperties(prefix = "third.config")
@Data
@NoArgsConstructor
@AllArgsConstructor
public class ThirdPartyLoginConfig {
    private Integer appId;
    private String appKey;
    private String redirectUrl;

    @Bean
    public ThirdPartyLoginConfig getConfig() {
        return new ThirdPartyLoginConfig(appId, appKey, redirectUrl);
    }
}
配置完成
查看水滴给我们提供的qq登录接口
调用登录接口
1.跳转登录地址接口
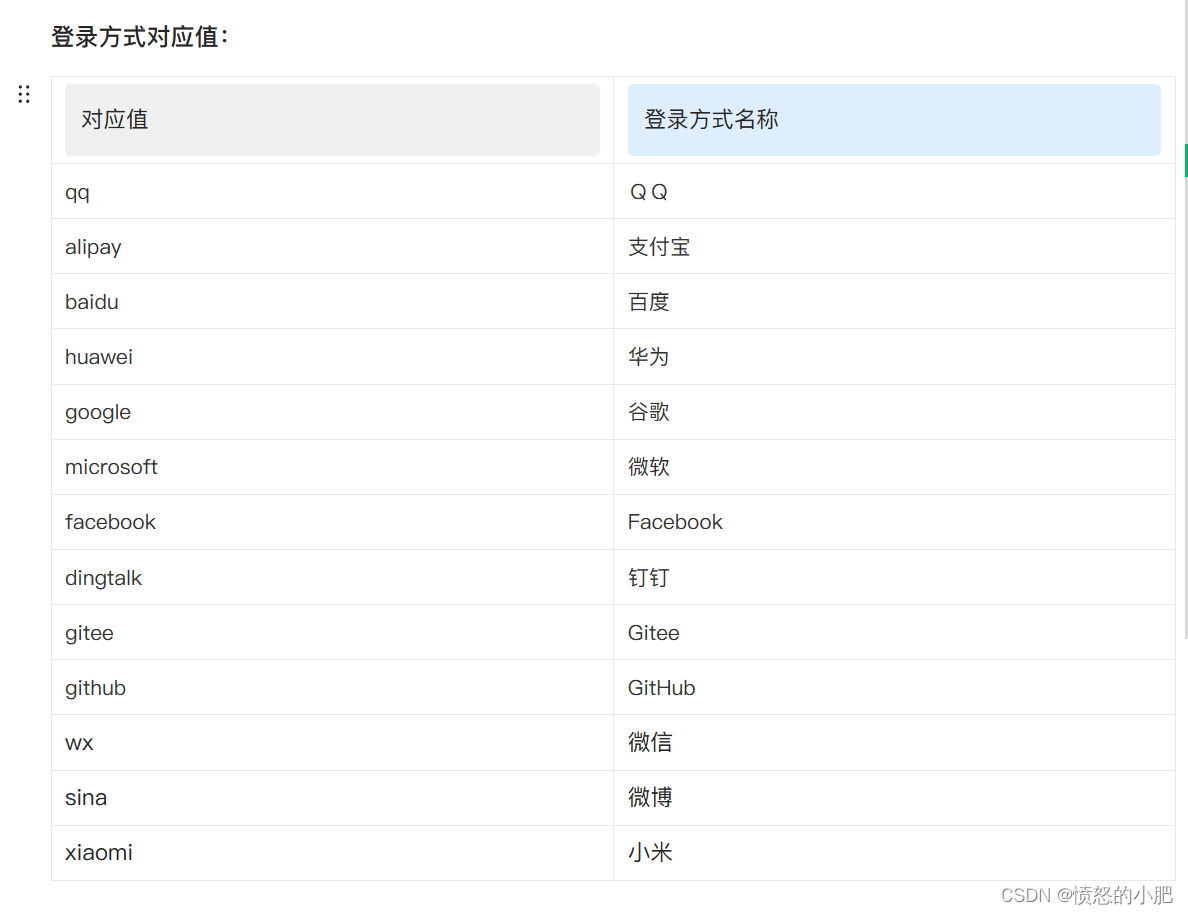
请求URL:https://uniqueker.top/connect.php?act=login&appid={你的appid}&appkey={你的appkey}&type={登录方式}&redirect_uri={返回地址}
其中登录方式type值对应
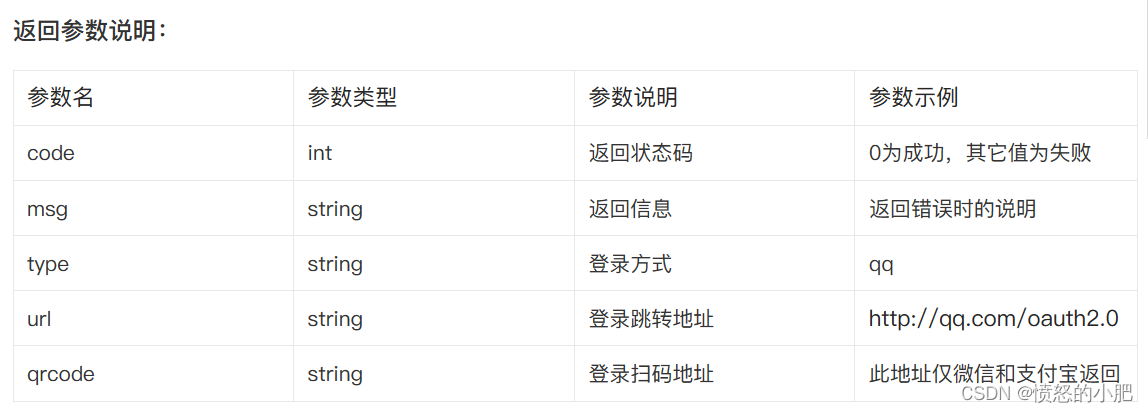
返回格式:
{
	“code”: 0,
	“msg”: “succ”,
	“type”: “qq”,
	“url”: “https:// graph.qq.com/oauth2.0/XXXXXXXXXX”
}
2.编写测试Controller
写一个简单的测试类
(以下代码无法直接调用,用到了好多工具类!!!)
@Resource
private ThirdPartyLoginConfig thirdPartyLoginConfig;

@GetMapping("/qqLogin")
public String qqLogin() throws IOException {
    String requestUrl = String.format("https://uniqueker.top/connect.php?act=login&appid=%s&appkey=%s&type=qq&redirect_uri=%s",
            thirdPartyLoginConfig.getAppId(), thirdPartyLoginConfig.getAppKey(), thirdPartyLoginConfig.getRedirectUrl());
    CloseableHttpClient client = null;
    CloseableHttpResponse response = null;
    try {
        client = HttpClients.createDefault();
        HttpGet request = new HttpGet(requestUrl);
        response = client.execute(request);
        String responseBody = EntityUtils.toString(response.getEntity());
        QQLoginVo qq = new Gson().fromJson(responseBody, QQLoginVo.class);
        return qq.getUrl();
    } catch (IOException e) {
        throw new RuntimeException(e);
    } finally {
        assert response != null;
        response.close();
    }
}
这里QQLoginVo需要自己封装一下信息
@Data
public class QQLoginVo {
    private Integer code;
    private String msg;
    private String type;
    private String url;
}
相当于我们主动访问这个url 同时加上自己的请求参数
登录地址为返回的url的值。
3.登录成功
会自动跳转到指定的redirect_uri,并跟上Authorization Code
例如回调地址是:www.qq.com/my.php,则会跳转到:
http:// www.qq.com/my.php?type=qq&code=520DD95263C1CFEA0870FBB66E
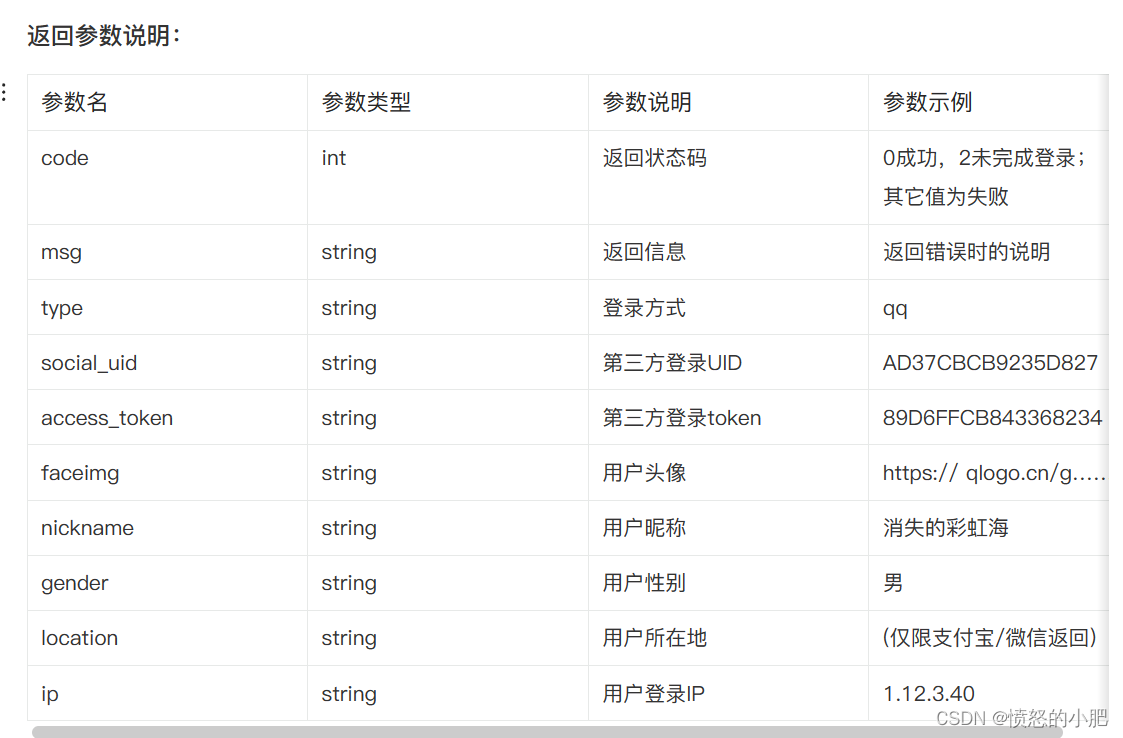
4.获取用户信息
通过Authorization Code获取用户信息
请求URL: https:// uniqueker.top/connect.php?act=callback&appid={appid}&appkey={appkey}&type={登录方式}&code={code}
返回格式:
{
	“code”: 0,
	“msg”: “succ”,
	“type”: “qq”,
	“access_token”: “89DC9691E274D6B596FFCB8D43368234”,
	“social_uid”: “AD3F5033279C8187CBCBB29235D5F827”,
	“faceimg”: “https:// thirdqq.qlogo.cn/g?b=oidb&k=3WrWp3peBxlW4MFxDgDJEQ&s=100&t=1596856919”,
	“nickname”: “大白”,
	“location”: “XXXXX市”,
	“gender”: “男”,
	“ip”: “1.12.3.40”
}
跳转成功界面如下:
