标签:ccInputView Vue 自定义 .. 36px margin 选择器
效果图如下:
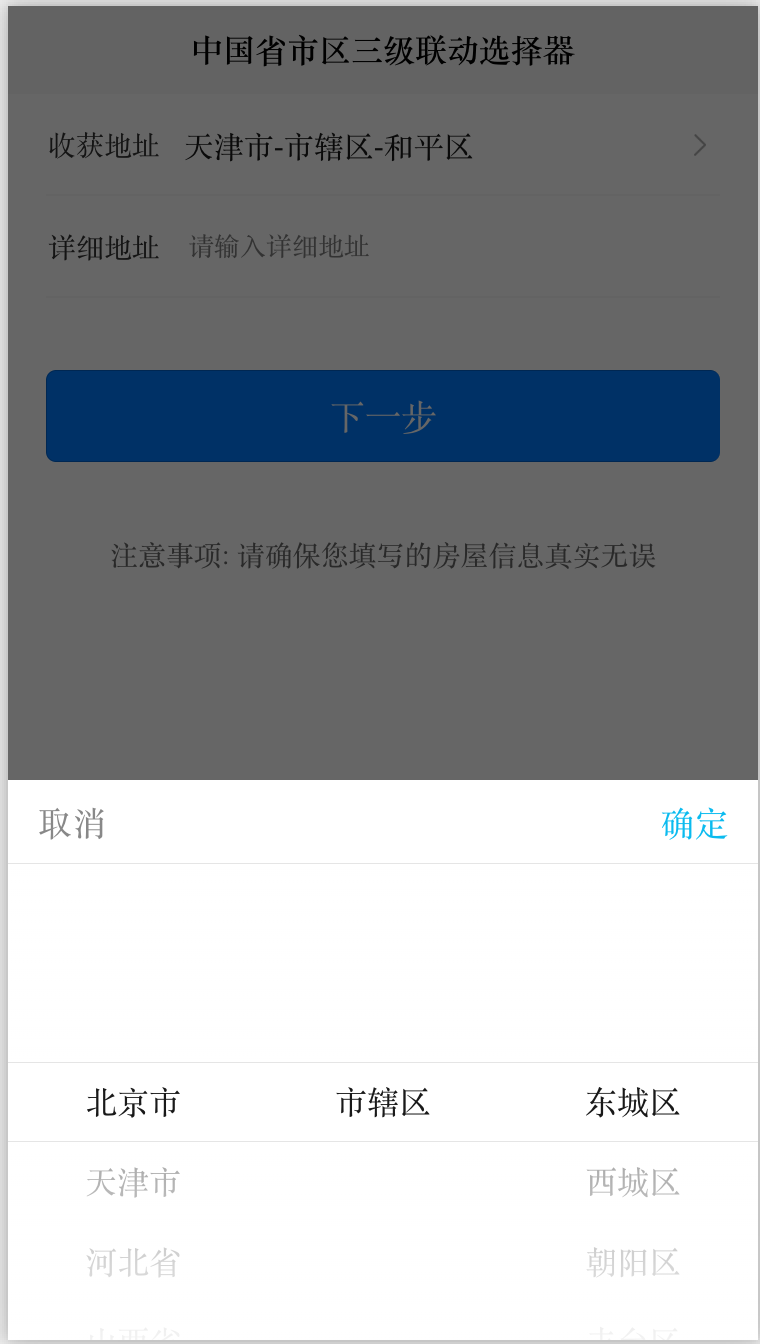
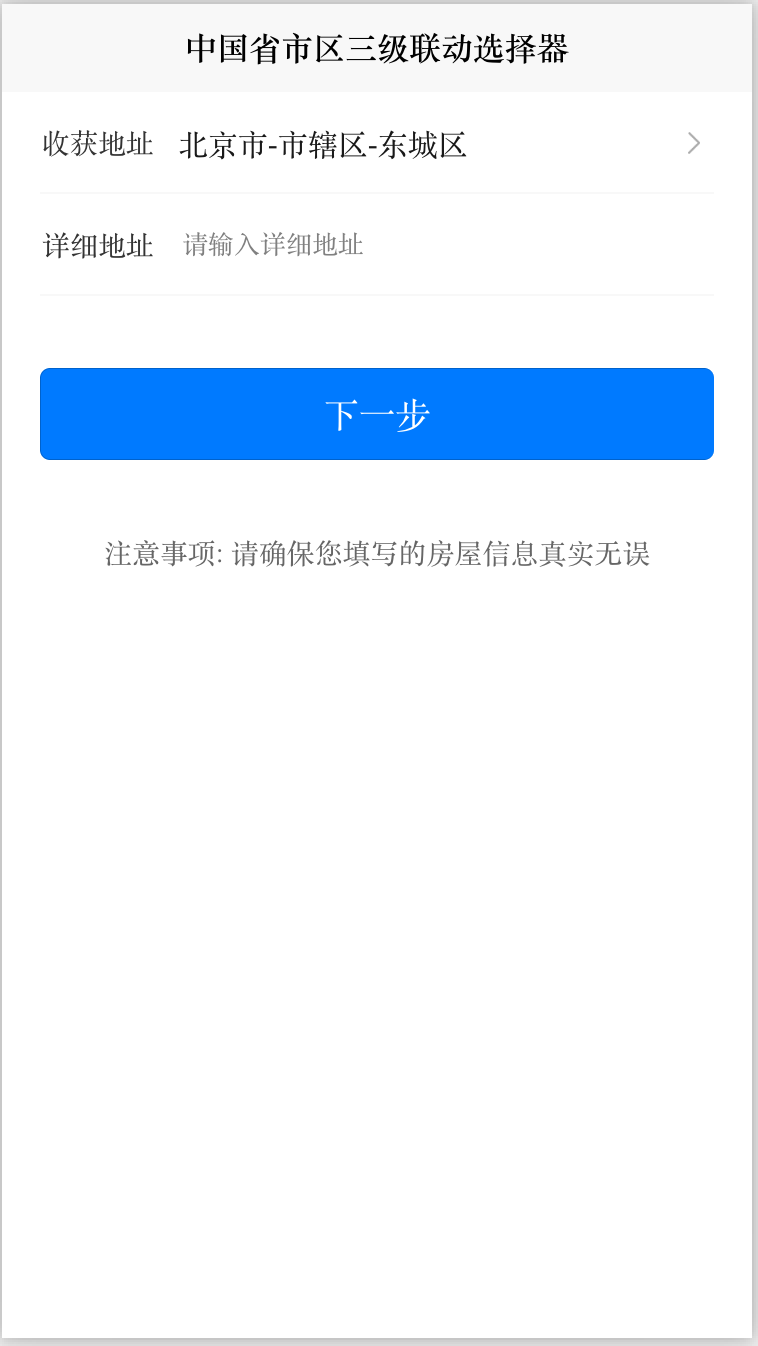
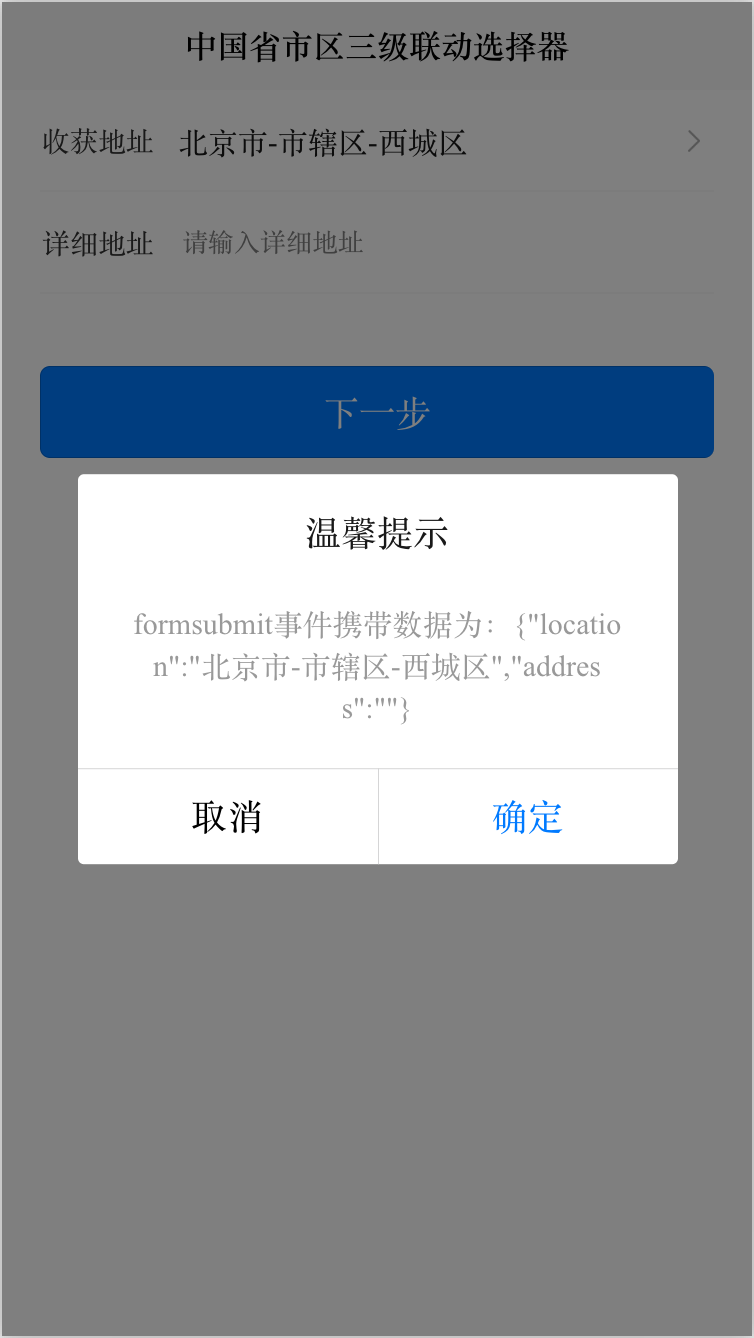
使用方法
<!-- themeColor:主题颜色 ref:设置唯一ref pickerValueDefault:默认选择 @onCancel:取消事件 @onConfirm:确认事件 -->

<cc-city-picker :themeColor="themeColor" ref="mpvueCityPicker" :pickerValueDefault="cityPickerValueDefault"

@onCancel="onCancel" @onConfirm="onConfirm"></cc-city-picker>
HTML代码实现部分
<template>

<view class="content">

<form @submit="formSubmit" @reset="formReset">

<!-- leftTitle:左边标题 name:输入框名字 value:输入框选择值  placeholder:占位符 @click:点击事件-->

<ccInputSelView leftTitle="收获地址" name="location" :value="pickerText" placeholder="请选择位置"

@click="showMulLinkageThreePicker"></ccInputSelView>

<ccInputView leftTitle="详细地址" name="address" :value="address" placeholder="请输入详细地址">

</ccInputView>

<!-- themeColor:主题颜色 ref:设置唯一ref pickerValueDefault:默认选择 @onCancel:取消事件 @onConfirm:确认事件 -->

<cc-city-picker :themeColor="themeColor" ref="mpvueCityPicker" :pickerValueDefault="cityPickerValueDefault"

@onCancel="onCancel" @onConfirm="onConfirm"></cc-city-picker>

<view class="uni-btn-v">

<button class="botBtn" type="primary" form-type="submit">下一步</button>

<view class="tipText"> 注意事项: 请确保您填写的房屋信息真实无误 </view>

</view>

</form>

</view>

</template>

<script>

import ccInputSelView from '../../components/cc-inputSelView/ccInputSelView.vue'

import ccInputView from '../../components/cc-inputSelView/ccInputView.vue'

export default {

components: {

ccInputSelView,

ccInputView

},

data() {

return {

cityPickerValueDefault: [0, 0, 1],

themeColor: '#0BBBEF',

pickerText: '',

address: ''

}

},

methods: {

// 三级联动选择

showMulLinkageThreePicker() {

this.$refs.mpvueCityPicker.show()

},

onConfirm(e) {

this.pickerText = e.label

},

onCancel(e) {

console.log(e)

},

formSubmit: function(e) {

console.log('form发生了submit事件,携带数据为:' + JSON.stringify(e));

var formdata = e.detail.value;

uni.showModal({

title: '温馨提示',

content: 'formsubmit事件携带数据为:' + JSON.stringify(e.detail.value)

})

},

}

}

</script>

<style>

.content {

display: flex;

flex-direction: column;

}

.uni-btn-v {

width: 100%;

height: auto;

}

.botBtn {

width: 90%;

margin-top: 36px;

}

.tipText {

width: 100%;

margin-left: 0px;

text-align: center;

color: #666666;

margin-top: 36px;

margin-bottom: 36px;

font-size: 28rpx;

}

</style>
标签:ccInputView,
Vue,
自定义,
..,
36px,
margin,
选择器
From: https://www.cnblogs.com/ccVue/p/17492741.html