uniapp离线打包总结
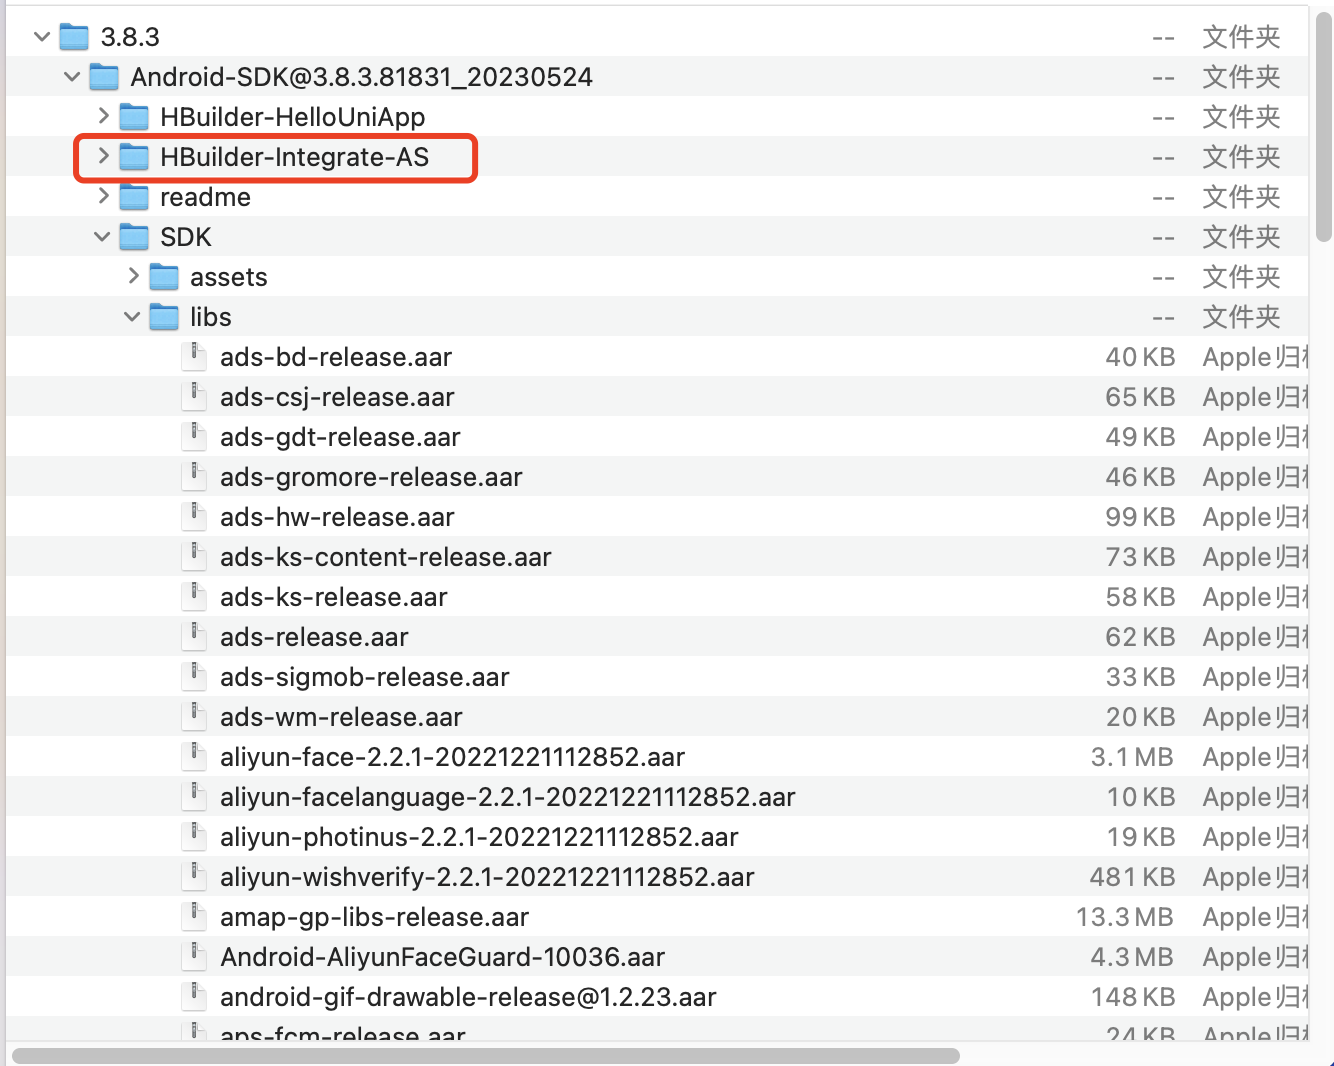
一、准备好Android Studio的项目外壳,这里采用的是https://nativesupport.dcloud.net.cn/AppDocs/download/android.html#
下载后选用HBbuilder-Integrate-AS作为外壳,如下图所示
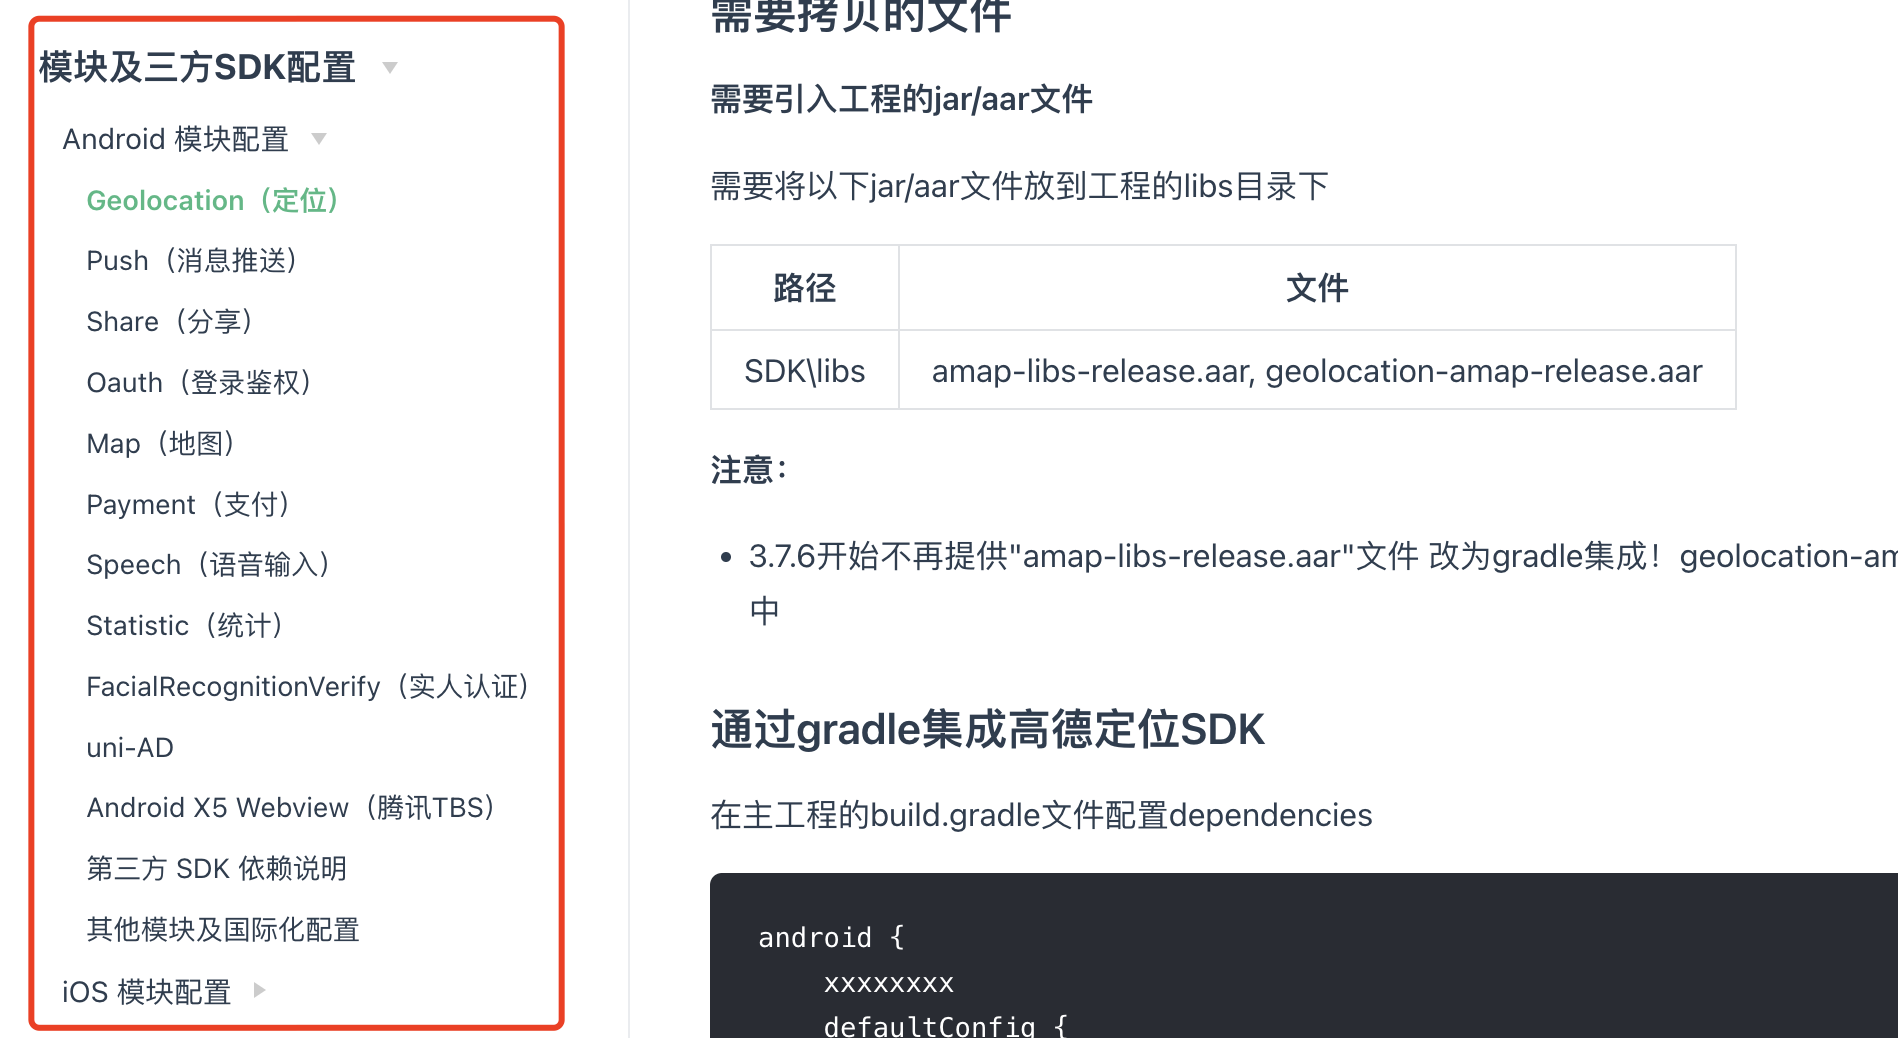
二、Android模块配置
按项目所用到的模块进行配置,详情参考官网https://nativesupport.dcloud.net.cn/AppDocs/usemodule/androidModuleConfig/geolocation.html
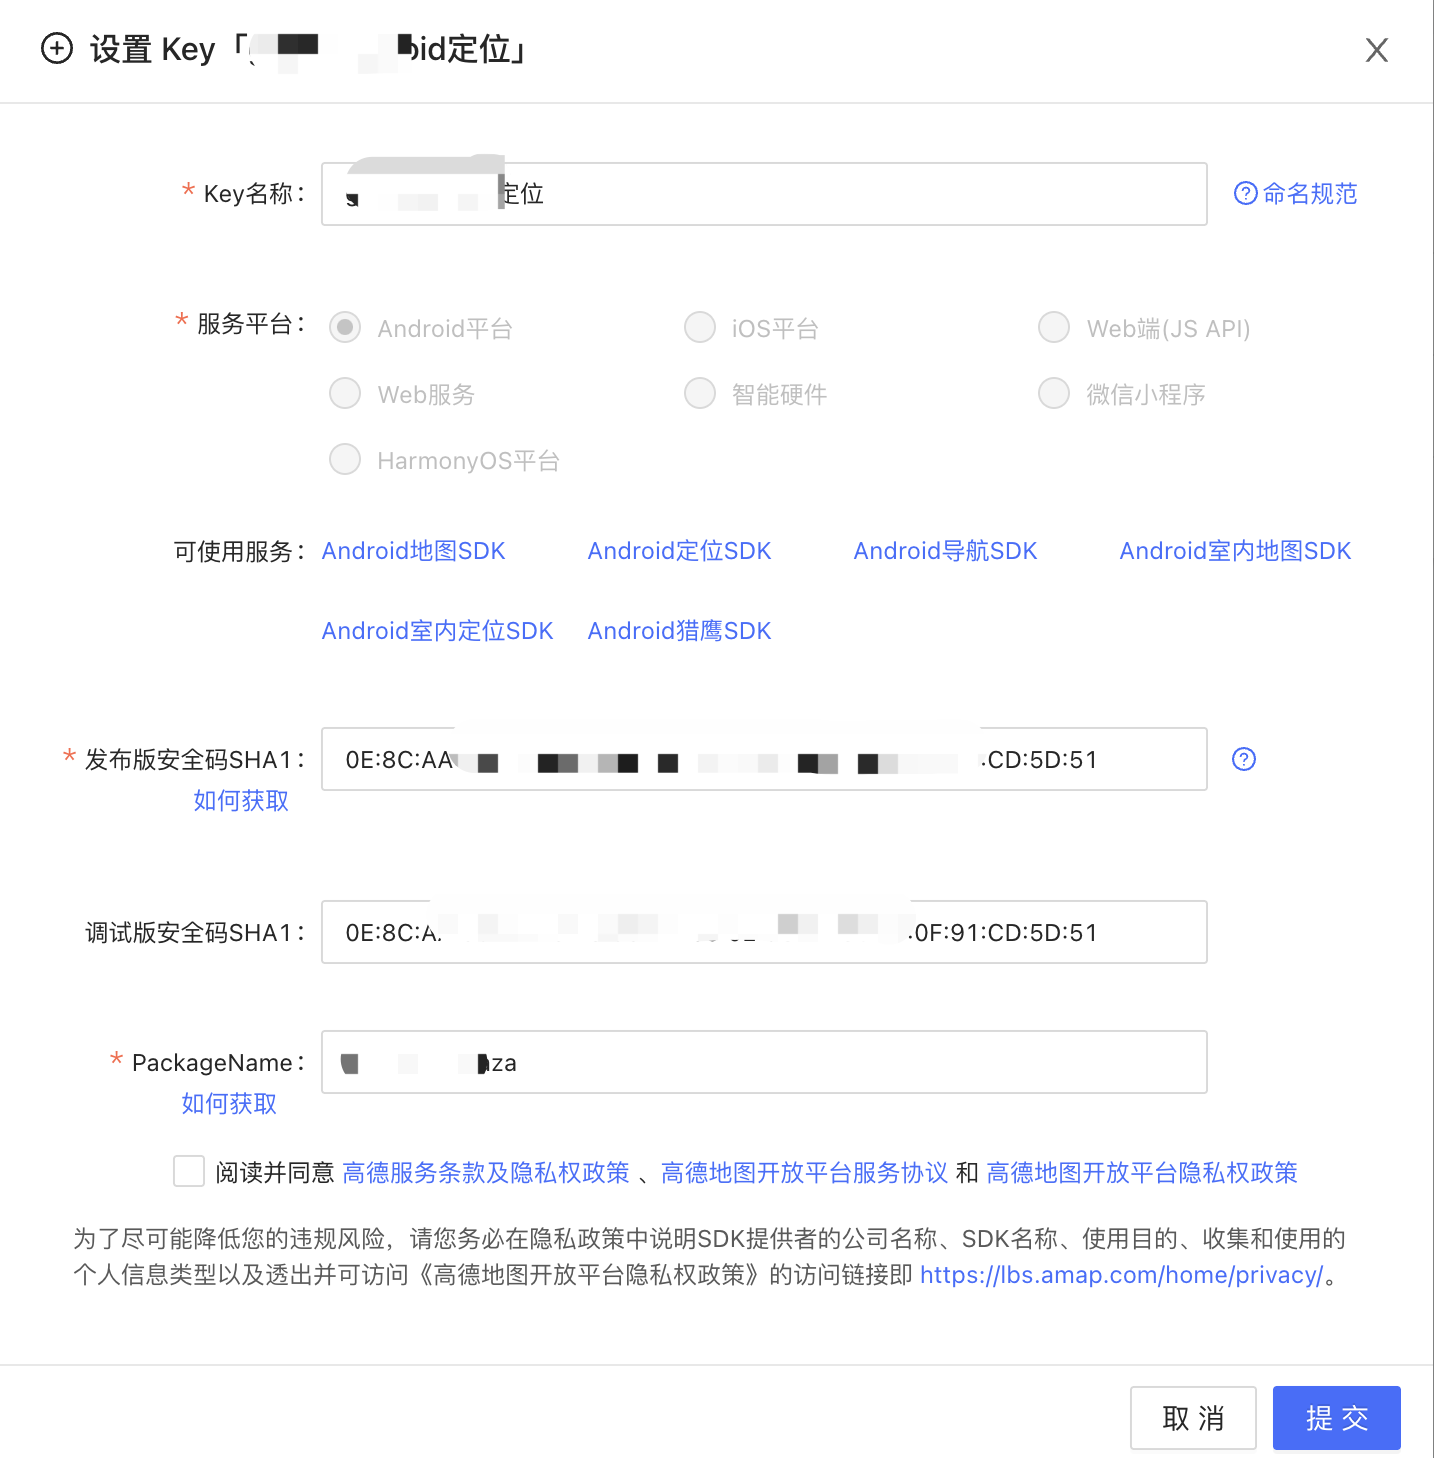
NOTES:配置定位模块时要注意的地方
一定要引入好对应的包,同时在安卓离线打包时,定位采用的是SDK方式的key,配置key时要注意别配置错了
示例:获取当前位置信息
// 通过自带的方法获取到当前的经纬度,调用方法获取到地址获取到地址的中文信息
			getCurrentLocation() {
				this.$tip.loading('正在定位')
				let that = this //在uniapp中药定义一下this才能使用
				let system = uni.getSystemInfoSync(); // 获取系统信息
				if (system.platform === 'android') { // 判断平台
					var context = plus.android.importClass("android.content.Context");
					var locationManager = plus.android.importClass("android.location.LocationManager");
					var main = plus.android.runtimeMainActivity();
					var mainSvr = main.getSystemService(context.LOCATION_SERVICE);
					if (!mainSvr.isProviderEnabled(locationManager.GPS_PROVIDER)) {
						uni.showModal({
							title: '提示',
							content: '请打开定位服务功能',
							showCancel: false, // 不显示取消按钮
							success() {
								if (!mainSvr.isProviderEnabled(locationManager.GPS_PROVIDER)) {
									var Intent = plus.android.importClass('android.content.Intent');
									var Settings = plus.android.importClass('android.provider.Settings');
									var intent = new Intent(Settings.ACTION_LOCATION_SOURCE_SETTINGS);
									main.startActivity(intent); // 打开系统设置GPS服务页面
								} else {
									console.log('GPS功能已开启');
								}
							}
						});
					} else {
						// Android SDK的高德key
						let that = this
						plus.geolocation.getCurrentPosition(function(res) {
							// console.log(res);
							that.$tip.success('定位成功')
							that.positionInfo.address = res.addresses; //当前定位
							that.positionInfo.longitude = res.coords.longitude;
							that.positionInfo.latitude = res.coords.latitude;
							that.allInfo = Object.assign(res.address, res.coords)
							that.formAssign()
							that.givingInfo()
						}, function(e) {
							that.$tip.loaded()
							plus.nativeUI.toast('Geolocation error: ' + e.message);
						}, {
							provider: 'amap',
							coordsType: 'gcj02'
						});
					}
				}

			},

// 定位返回的数据结构如下
{
	"type": "gcj02",
	"altitude": 0,
	"latitude": 23.152675,
	"longitude": 113.338533,
	"speed": 0,
	"accuracy": 31,
	"address": {
		"country": "中国",
		"province": "广东省",
		"city": "广州市",
		"district": "天河区",
		"street": "xxx路",
		"streetNum": "xxx号",
		"poiName": "xxx",
		"cityCode": "020"
	},
	"errMsg": "getLocation:ok"
}
(WebApi方式的key获取当前详细地址)
getCurrentLocation() {
				this.$tip.loading('正在定位')
				let that = this //在uniapp中药定义一下this才能使用
				let system = uni.getSystemInfoSync(); // 获取系统信息
				if (system.platform === 'android') { // 判断平台
					var context = plus.android.importClass("android.content.Context");
					var locationManager = plus.android.importClass("android.location.LocationManager");
					var main = plus.android.runtimeMainActivity();
					var mainSvr = main.getSystemService(context.LOCATION_SERVICE);
					if (!mainSvr.isProviderEnabled(locationManager.GPS_PROVIDER)) {
						uni.showModal({
							title: '提示',
							content: '请打开定位服务功能',
							showCancel: false, // 不显示取消按钮
							success() {
								if (!mainSvr.isProviderEnabled(locationManager.GPS_PROVIDER)) {
									var Intent = plus.android.importClass('android.content.Intent');
									var Settings = plus.android.importClass('android.provider.Settings');
									var intent = new Intent(Settings.ACTION_LOCATION_SOURCE_SETTINGS);
									main.startActivity(intent); // 打开系统设置GPS服务页面
								} else {
									console.log('GPS功能已开启');
								}
							}
						});
					} else {
						uni.getLocation({
							// type: 'wgs84',
							type: 'gcj02',
							geocode: true, //必须要将geocode配置为true
							isHighAccuracy: true,
							success: function(res) {
								plus.nativeUI.toast('定位服务111'+JSON.stringify(res))
								console.log('当前位置的经度:' + res.longitude);
								console.log('当前位置的纬度:' + res.latitude);
								console.log('当前位置:' + JSON.stringify(res));
								let ret = res.address
								that.positionInfo.longitude = res.longitude;
								that.positionInfo.latitude = res.latitude;
								// that.positionInfo.address = '当前位置是:'+ret.province+ret.city+ret.district+ret.street+ret.streetNum+ret.poiName
								that.loAcquire(that.positionInfo.longitude, that.positionInfo.latitude)
							},
							fail: function(res) {
								plus.nativeUI.toast('定位服务错误'+JSON.stringify(res))
								that.$tip.loaded()
							}
						});
					}
				}

			},
			// 获取当前地址(web API方式的高德key)
			loAcquire(longitude, latitude) {
				let that = this;
				let data = {
					key: '4xxxxxxxxxxxxxx335faa3e1d4174f507',
					location: longitude + ',' + latitude,
					output: 'JSON'
				}
				uni.request({
					url: `https://restapi.amap.com/v3/geocode/regeo`,
					data: data
				}).then(res => {
					console.log('jsonp===', JSON.stringify(res));
					this.$tip.success('定位成功')
					// this.$tip.loaded()
					if (res[1].data.status == 1) {
						that.positionInfo.address = res[1].data.regeocode.formatted_address; //当前定位
						that.allInfo = res[1].data.regeocode
					}
				})
			},
三、导入app本地资源
详情见https://nativesupport.dcloud.net.cn/AppDocs/importfeproject/export.html