SpringBoot环境搭建
相信大家都对 SpringBoot 有了个基本的认识了,前面一直在说,SpringBoot 多么多么优秀,但是你没有实际的搭建一个 SpringBoot 环境,你很难去体会 SpringBoot 的那么简洁快速开发,下面我就来为大家简单搭建一个 SpringBoot 的开发环境,让大家体会一下 SpringBoot 有多么的高效。
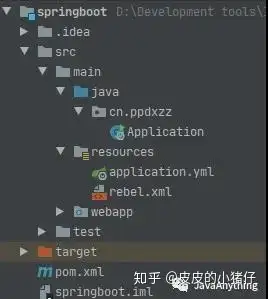
SpringBoot小案例目录结构

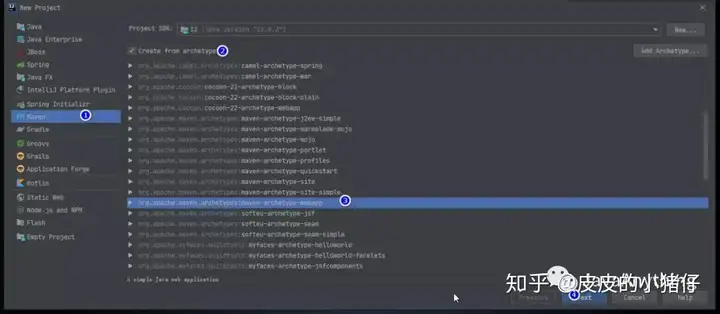
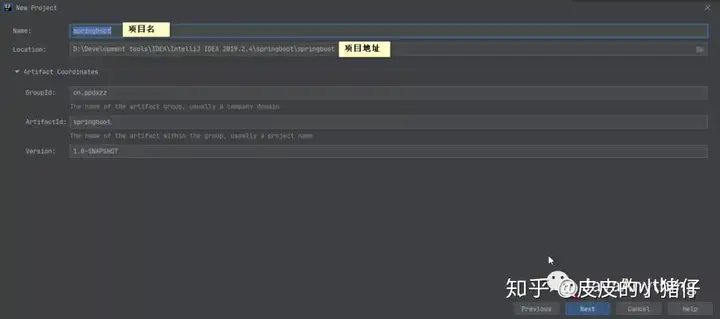
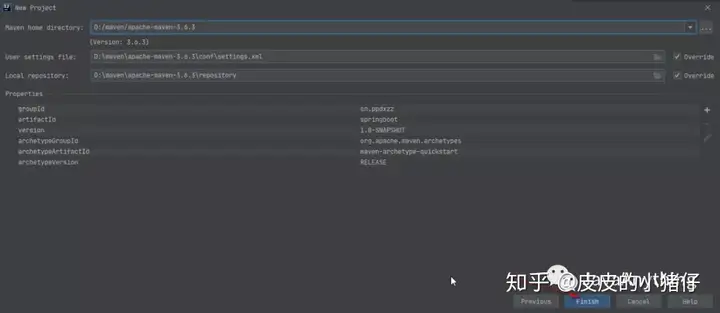
第一步,新建maven工程(以maven的形式新建SpringBoot项目),选择骨架,点击webapps,单击next,根据需要一路点下去。


第二步,引入依赖,在 pom.xml 文件中引入 SpringBoot 父项目依赖,以及 web 依赖。
<!--继承springboot的父项目-->
<parent>
   <groupId>org.springframework.boot</groupId>
   <artifactId>spring-boot-starter-parent</artifactId>
   <version>2.2.4.RELEASE</version>
</parent>
<!--引入web支持-->
<dependency>
   <groupId>org.springframework.boot</groupId>
   <artifactId>spring-boot-starter-web</artifactId>
</dependency>
第三步,在 src/main/resources 目录下新建application.yml配置文件(只能在该目录下),指定 SpringBoot 项目名(可选,也可不指定)。
server:
  servlet:
    context-path: /springboot
第四步,开发 SpringBoot 的全局入口类,此类位于所有子包之上。
package cn.ppdxzz;

import org.springframework.boot.SpringApplication;
import org.springframework.boot.autoconfigure.SpringBootApplication;
import org.springframework.web.bind.annotation.GetMapping;
import org.springframework.web.bind.annotation.RequestParam;
import org.springframework.web.bind.annotation.RestController;

/**
 * Description: SpringBoot入口类
 * @Author: PeiChen JavaAnything
 */
@SpringBootApplication
@RestController
public class Application {
    public static void main(String[] args) {
        //启动SpringBoot应用,参数一:入口类类对象,参数二:main函数参数
        SpringApplication.run(Application.class,args);
    }

    @GetMapping("/hello")
    public String hello(@RequestParam(value = "name", defaultValue = "SpringBoot") String name) {
        return String.format("Hello %s!", name);
    }
}
第五步,启动 SpringBoot 项目,浏览器输入http://localhost:8080/springboot/hello,就会看到输出的信息==hello SpringBoot==。
最后,给大家一个好玩的东西,那就是 SpringBoot 支持自定义 banner,SpringBoot 的 banner,这个已经被程序员玩坏了,哈哈哈。下面是我的 banner,直接网上找,有好多,也支持在线生成,使用也非常简单,在 src/main/resources 下新建一个 banner.txt,把内容拷贝进去就行了。