1.配置yum源
vim /etc/yum.repos.d/gitlab-ce.repo
内容
[gitlab-ce]
name=Gitlab CE Repository
baseurl=https://mirrors.tuna.tsinghua.edu.cn/gitlab-ce/yum/el7/
gpgcheck=0
enabled=1
以上资源地址根据具体情况可以换成阿里、网易等
https://mirrors.tuna.tsinghua.edu.cn/gitlab-ce/yum/el7/
2.更新本地yum缓存
yum makecache
3.更新系统软件库
安装gitlab之前,先更新以下系统软件库
yum update -y
4.安装gitlab依赖库

sudo yum install -y curl policycoreutils-python openssh-server perl
出现以下错误
Error: Unable to find a match: policycoreutils-python

参考了这篇文章也没有解决,后续直接不检查依赖安装
https://blog.csdn.net/P_L_Wen97/article/details/123329885
5.开启端口
开放http与https端口
firewall-cmd --permanent --add-service=http
firewall-cmd --permanent --add-service=https
systemctl reload firewalld
6. 启动sshd服务
systemctl enable sshd
systemctl start sshd
7. 安装 Postfix 以发送电子邮件通知
yum install -y postfix
systemctl enable postfix
systemctl start postfix
具体配置可以参考
https://docs.gitlab.cn/omnibus/settings/smtp.html
8.安装gitlab
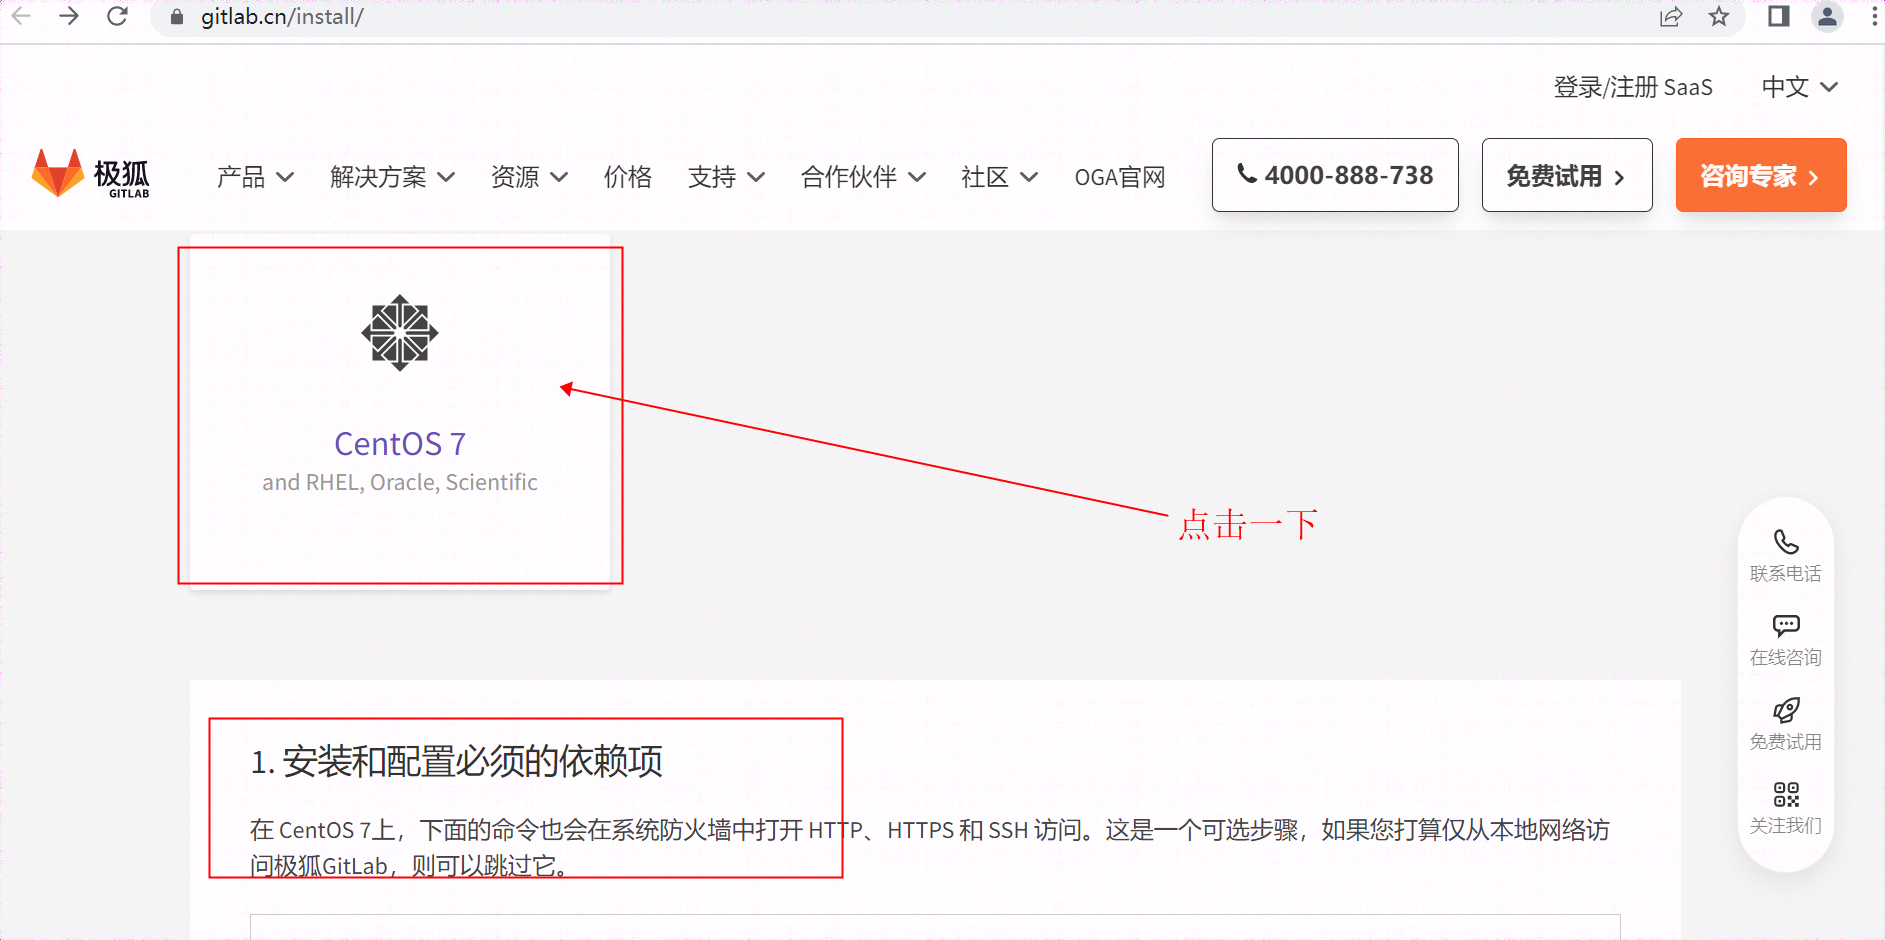
安装可以参考官网的安装方式
https://gitlab.cn/install/
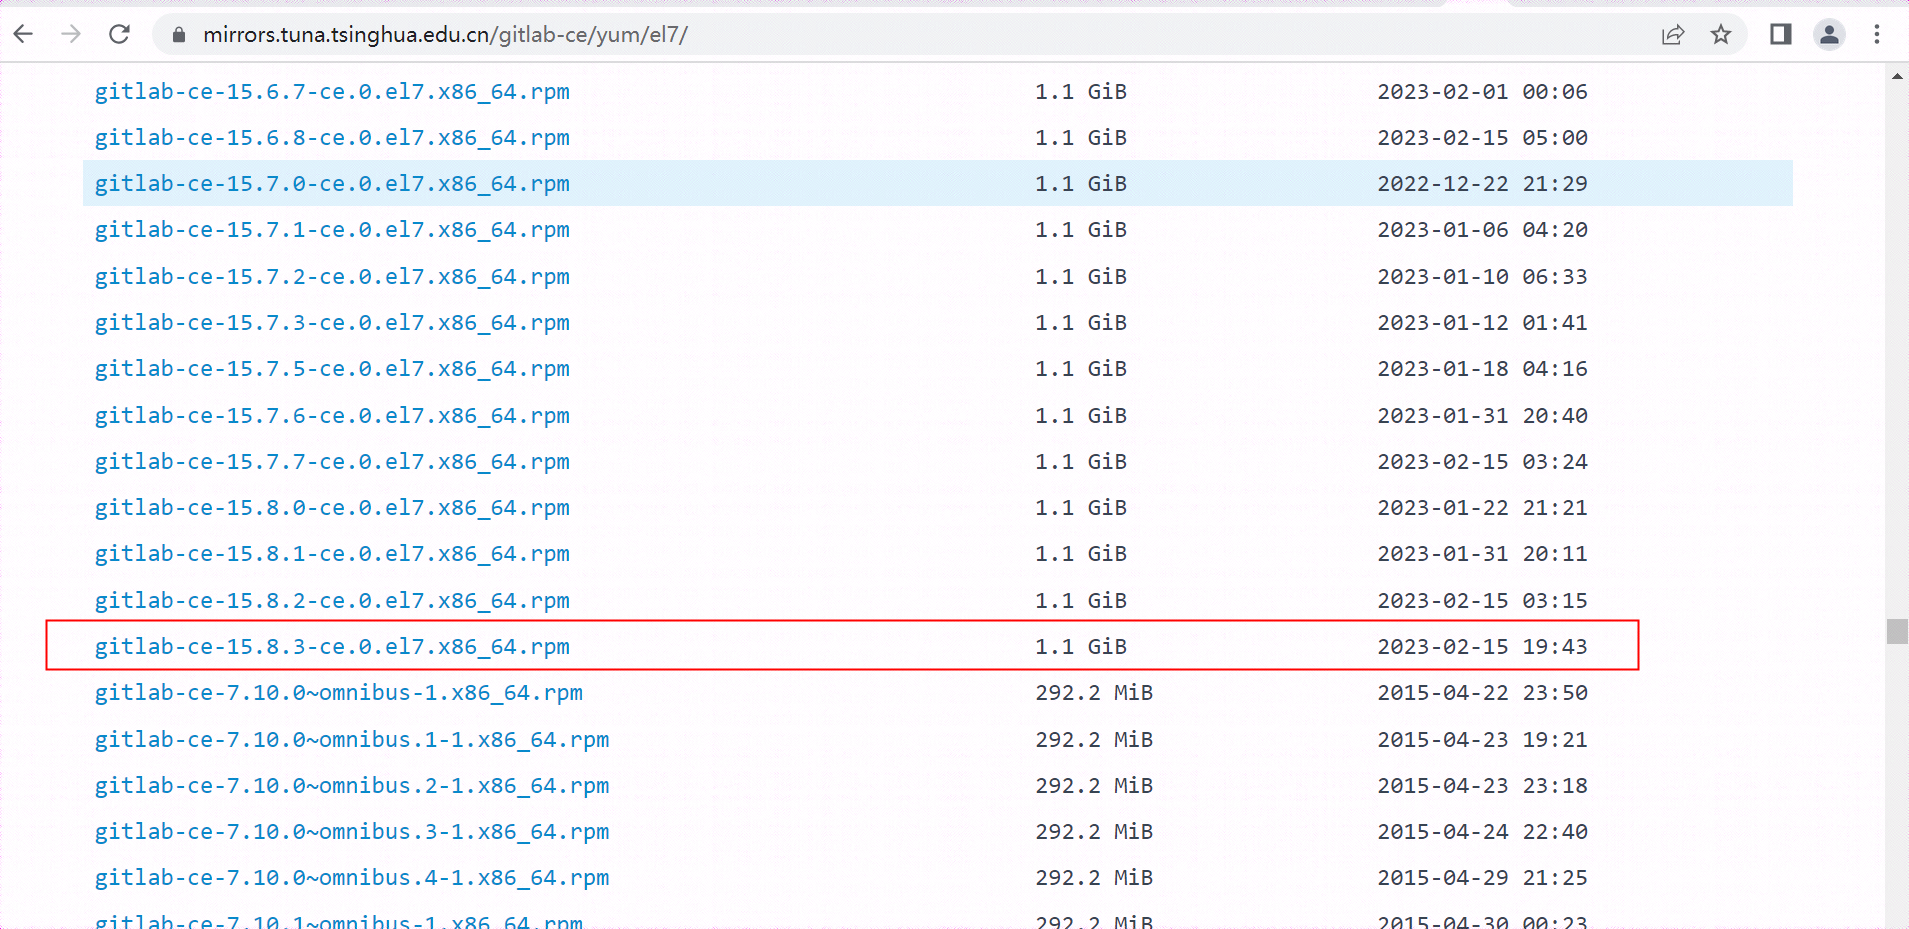
这里采用rpm包的安装方式,下载gitlab的rpm包,下载地址
https://mirrors.tuna.tsinghua.edu.cn/gitlab-ce/

最新的发布版本gitlab-ce-15.8.3-ce.0.el7.x86_64 ,安装文件大小 1.1G
安装
rpm -ivh gitlab-ce-15.8.3-ce.0.el7.x86_64.rpm
出现步骤 4.安装gitlab依赖库 的错误

直接不检查依赖安装
rpm -ivh gitlab-ce-15.8.3-ce.0.el7.x86_64 --force --nodeps
修改配置文件/etc/gitlab/gitlab.rb的配置项external_url
vi /etc/gitlab/gitlab.rb
指向服务器的ip地址
external_url 'http://192.168.10.66'
重新加载配置,并重启 GitLab 服务,执行命令
gitlab-ctl reconfigure
gitlab-ctl restart
获取root用户密码
cat /etc/gitlab/initial_root_password
9.附录
最终发现使用docker方式安装是最简单的
https://docs.gitlab.cn/jh/install/docker.html#使用-docker-engine-安装极狐gitlab
https://docs.gitlab.cn/jh/install/docker.html#使用-docker-compose-安装极狐gitlab
获取root用户密码
docker ps
docker exec -it 93789f8225b8 /bin/bash
cat /etc/gitlab/initial_root_password
参考
https://blog.csdn.net/m0_52091913/article/details/127009412