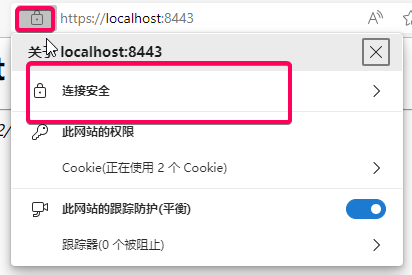
我在wsl里面测试http2协议的时候,在wsl用openssl创建了证书,
然后我把证书放在windows证书管理后,用chrome打开发现提示这个:
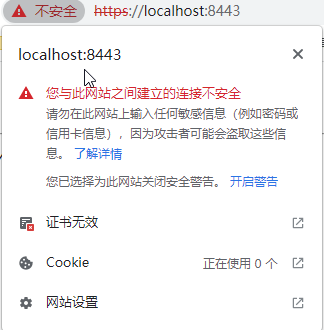
虽然可以点击下面的强制 访问
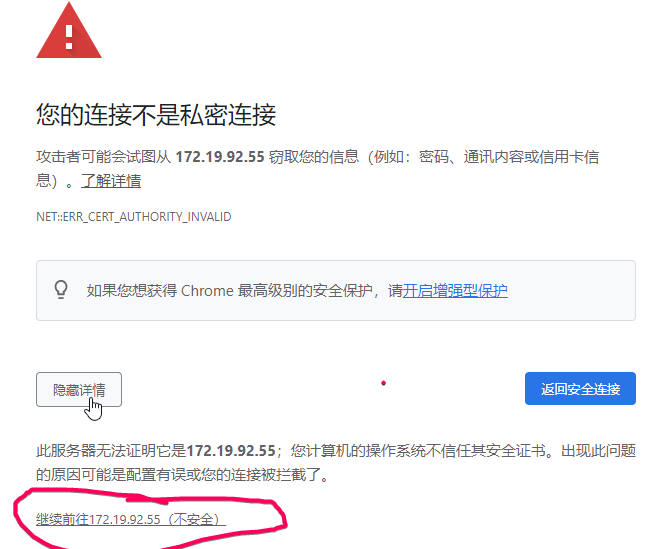
但是chrome会显示

对于我这种有强迫症的是接受不了的。
研究了一下,原来是需要创建的证书得先在wsl的ubuntu系统里面进行信任(我就是少了这个步骤)
下面是完整的操作步骤:
- 先创建一个目录:
mkdir localhost

cd localhost
- 创建一个 localhost.conf文件
vi localhost.conf
并填入以下内容:
[req]
distinguished_name = req_distinguished_name
req_extensions     = req_ext
x509_extensions    = v3_ca

[req_distinguished_name]
commonName                  = Common Name (e.g. server FQDN or YOUR name)
commonName_default          = localhost
commonName_max              = 64

[req_ext]
subjectAltName = @alt_names
1.3.6.1.4.1.311.84.1.1=ASN1:UTF8String:Something

[v3_ca]
subjectAltName = @alt_names
basicConstraints = critical, CA:false
keyUsage = keyCertSign, cRLSign, digitalSignature,keyEncipherment

[alt_names]
DNS.1   = localhost
DNS.2   = 127.0.0.1

当它询问Common Name时只需按 Enter,因为它默认为localhost
这个时候因为还没有授信于ubuntu系统

下一步是确保 Ubuntu信任证书。
将公钥复制到/usr/local/share/ca-certificates,
然后运行update-ca-certificates
这时候再验证就ok拉

接下来就是根据刚刚创建的crt证书,转存windows需要的PFX版本
openssl pkcs12 -export -out localhost.pfx -inkey localhost.key -in localhost.crt

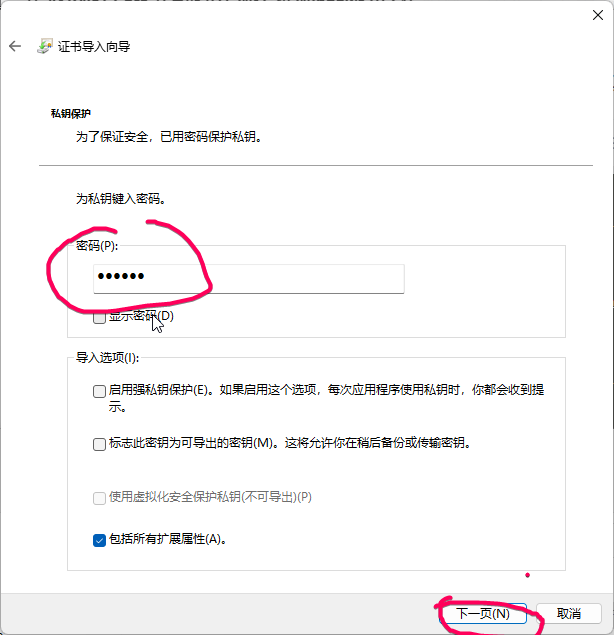
这将要求输入密码,输入并记住他
最后就是将这个证书添加到windows的证书管理器的受信任根域名证书里面去
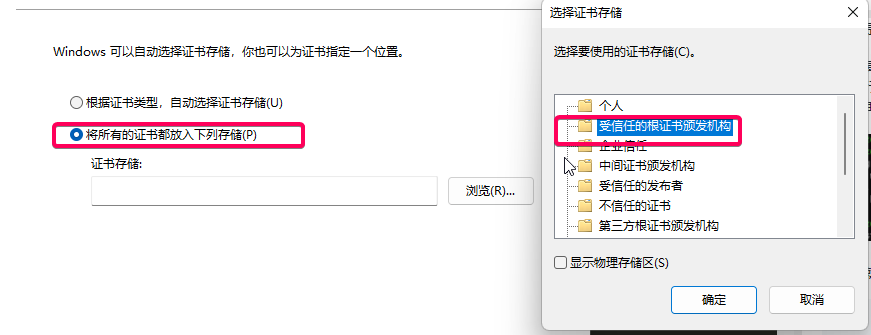
搞定后测试下

