推流服务器方案一
一、前期准备
- 操作系统:Centos7 Linux 系统
- Nginx版本:nginx-1.22.0.tar.gz
- RTMP模块:nginx-rtmp-module
- 推流工具:OBS-Studio
- 拉流工具
二、环境搭建
1.安装依赖
yum install gcc make pcre pcre-devel openssl openssl-devel
2.下载并解压Nginx
-
这里下载的是
nginx-1.22.0.tar.gz安装包,并将其放在了root目录下wget https://nginx.org/download/nginx-1.22.0.tar.gz -
在
/usr/local下创建nginx文件夹并进入cd /usr/local/ mkdir nginx cd /nginx -
将
nginx安装包解压到/usr/local/nginx中tar zxvf /root/nginx-1.22.0.tar.gz -C ./解压完成后,在
/usr/local/nginx目录下出现一个nginx-1.22.0目录
3.下载并解压插件
-
这里下载的是
nginx-rtmp-module模块,放在/usr/local/nginx目录下[root@localhost nginx] git clone https://github.com/arut/nginx-rtmp-module
4.配置和编译安装
[root@localhost nginx] cd nginx-1.22.0
[root@localhost nginx-1.22.0] ./configure --perfix=/usr/local/nginx --add-module=../nginx-rtmp-module
# 编译安装
[root@localhost nginx-1.22.0] make
[root@localhost nginx-1.22.0] make install
5.查看安装结果
[root@localhost nginx-1.22.0] /usr/local/nginx/sbin/nginx -v
# 输出 nginx version: nginx/1.22.0 即为安装成功
三、配置Nginx
1.设置Nginx开机启动
# 创建Nginx服务文件
vi /usr/lib/system/system/nginx.service
输入以下内容
[Unit]
Description=nginx - high performance web server
After=network.target remote-fs.target nss-lookup.target
[Service]
Type=forking
ExecStart=/usr/local/nginx/sbin/nginx
ExecReload=/usr/local/nginx/sbin/nginx -s reload
ExecStop=/usr/local/nginx/sbin/nginx -s stop
[Install]
WantedBy=multi-user.target
启动Nginx服务
systemctl start nginx
systemctl enable nginx
2.修改Nginx配置文件
vi /usr/local/nginx/conf/nginx.conf
配置模板
rtmp_auto_push on;
rtmp {
    server {
        listen 1935;
        application live {
            live on;
            hls on;
            hls_fragment 3s;
            hls_playlist_length 10s;
            hls_path /usr/local/nginx/html/hls;
        }
        application hls {
            live on;
            hls on;
            hls_cleanup off;
            hls_fragment 3s;
            hls_playlist_length 10s;
            hls_path /usr/local/nginx/html/hls;
        }
    }
}
#user  nobody;
worker_processes  1;
#error_log  logs/error.log;
#error_log  logs/error.log  notice;
#error_log  logs/error.log  info;
#pid        logs/nginx.pid;
events {
    worker_connections  1024;
}
http {
    include       mime.types;
    default_type  application/octet-stream;
    #log_format  main  '$remote_addr - $remote_user [$time_local] "$request" '
    #                  '$status $body_bytes_sent "$http_referer" '
    #                  '"$http_user_agent" "$http_x_forwarded_for"';
    #access_log  logs/access.log  main;
    sendfile        on;
    #tcp_nopush     on;
    #keepalive_timeout  0;
    keepalive_timeout  65;
    #gzip  on;
    server {
        listen       80;
       server_name  localhost;
        #charset koi8-r;
        #access_log  logs/host.access.log  main;
        location / {
            root   html;
            index  index.html index.htm;
        }
        #error_page  404              /404.html;
        # redirect server error pages to the static page /50x.html
        #
        error_page   500 502 503 504  /50x.html;
        location = /50x.html {
            root   html;
        }
        # proxy the PHP scripts to Apache listening on 127.0.0.1:80
        #
        #location ~ \.php$ {
        #    proxy_pass   http://127.0.0.1;
        #}
        # pass the PHP scripts to FastCGI server listening on 127.0.0.1:9000
        #
        #location ~ \.php$ {
        #    root           html;
        #    fastcgi_pass   127.0.0.1:9000;
        #    fastcgi_index  index.php;
        #    fastcgi_param  SCRIPT_FILENAME  /scripts$fastcgi_script_name;
        #    include        fastcgi_params;
        #}
        # deny access to .htaccess files, if Apache's document root
        # concurs with nginx's one
        #
        #location ~ /\.ht {
        #    deny  all;
        #}
    }
    # another virtual host using mix of IP-, name-, and port-based configuration
    #
    #server {
    #    listen       8000;
    #    listen       somename:8080;
    #    server_name  somename  alias  another.alias;
    #    location / {
    #        root   html;
    #        index  index.html index.htm;
    #    }
    #}
    #server
    #{
    #       listen 8080;
    #       location /stat{
    #           rtmp_stat all; #所有状态
    #           rtmp_stat_stylesheet stat.xsl #state的样式表
    #           }
    #       location /stat.xsl{
    #           root /root/workspace/tmp/rtmp/nginx-rtmp-module;#state的样式表路径
    #   }
    # HTTPS server
    #
    #server {
    #    listen       443 ssl;
    #    server_name  localhost;
    #    ssl_certificate      cert.pem;
    #    ssl_certificate_key  cert.key;
    #    ssl_session_cache    shared:SSL:1m;
    #    ssl_session_timeout  5m;
    #    ssl_ciphers  HIGH:!aNULL:!MD5;
    #    ssl_prefer_server_ciphers  on;
    #    location / {
    #        root   html;
    #        index  index.html index.htm;
    #    }
    #}
3.重启Nginx,开启端口
sudo firewall-cmd --add-port=1935/tcp --permanent
sudo firewall-cmd --add-port=80/tcp --permanent
sudo firewall-cmd --add-port=8080/tcp --permanent
sudo firewall-cmd --reload
1935端口是默认的推流端口
# 重启Nginx
systemctl restart nginx
4.浏览器查看
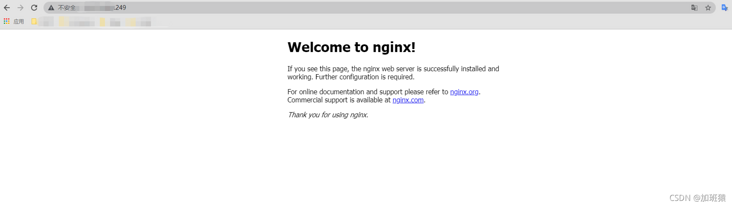
出现Welcom to nginx ,配置成功
四、推流测试
打开OBS,在文件 -> 设置->直播中,填入rtmp://ip:port/live/,以及推流码

设置好了,添加一个屏幕捕获,点击开始直播
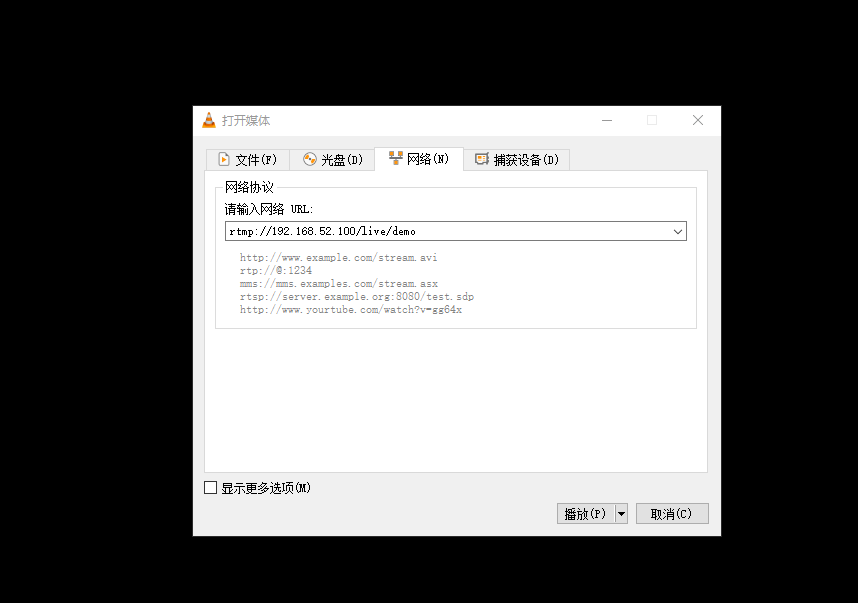
五、VLC拉流
打开VLC,媒体->打开网络串流->网络
输入: rtmp://ip:port/live/demo
或http://ip:port/hls/demo.m3u8